BWHeader

Jefferson, Monticello, Notebooks, and Tools

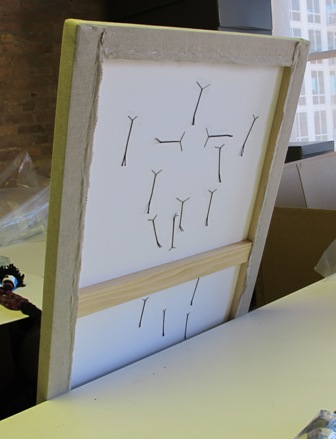
I am an obsessive note maker. A small notebook is in pocket or bag, always at the ready.

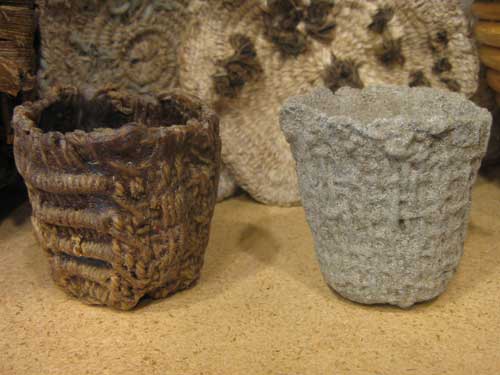
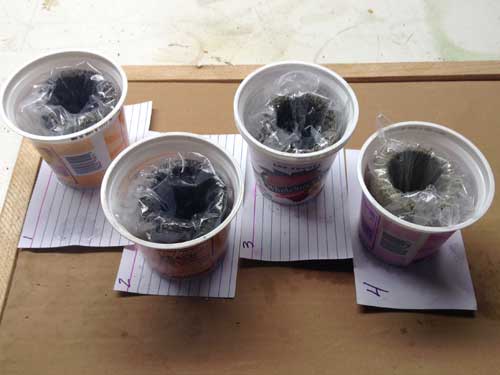
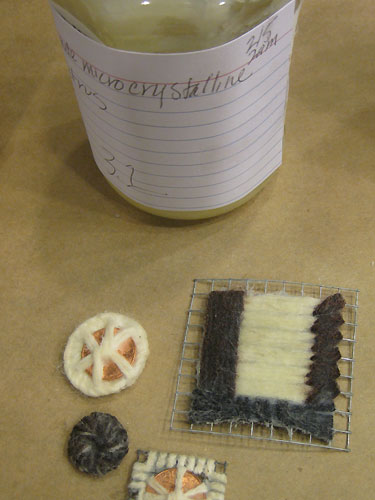
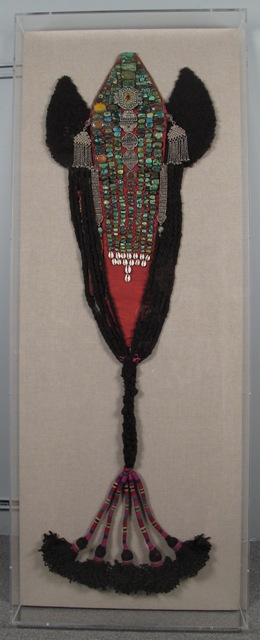
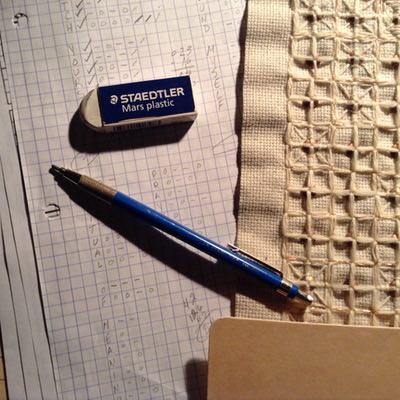
A Staedtler Lead Holder was my go to writing utensil, until last night. I am in the process of planning a wool, knitted and fulled wallpiece.

The problem with using lead is the possible disappearance over time. But it is easy to erase for changes.

Pencil and Eraser

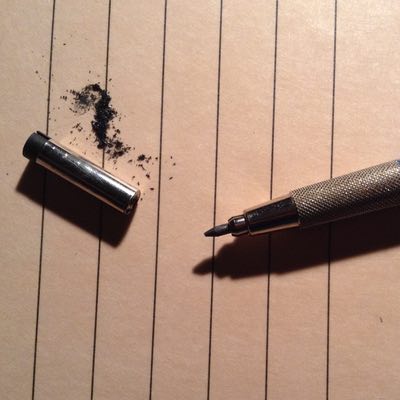
One of the cool things about the Staedtler Lead Holder is the built in sharpener, which eliminates the need to carry another tool.

Pencil and Sharpener

There are two problems with a felt marker, not permanent and mistakes.

Marker

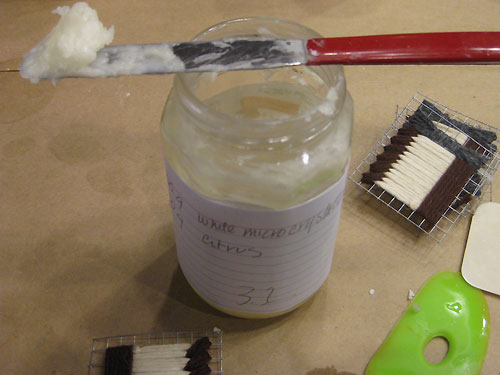
I stopped by target today and picked up a bottle of Bic Wite Out.

Bic Correction Fluid

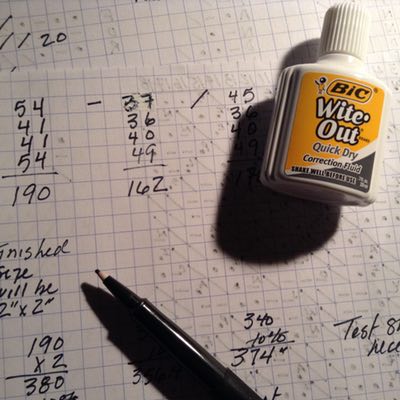
It is so much nicer than the last bottle. No longer is the applicator a brush, it is a little sponge wedge that glides nicely.

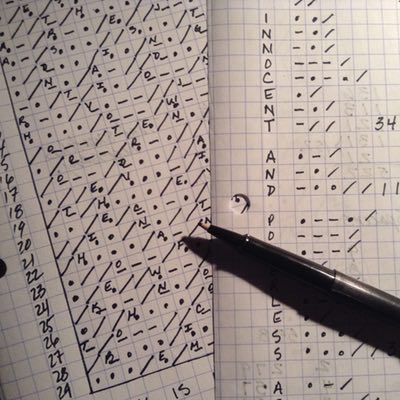
Back to notebooks and note making. I was delighted to see reference to Thomas Jefferson and his pocket notebooks at this great book art site. It was a different time, but I am not keen on the material that was used for the pages. I do like the idea of reusable pages that you could write notes in pencil and erase when notes are transferred to sketchbook or journal.

Jefferson Ivory Books

According to the Monticello site, Jefferson carried a small ivory notebook on which he could write in pencil. Back in his Cabinet, or office, he later copied the information into any of seven books in which he kept records about his garden, farms, finances, and other concerns; he then erased the writing in the ivory notebook. The photo of the notebooks was taken by Edward Owen.

The Monticello site also included additional information about tools that he carried with him, Among his collection of pocket-sized devices were scales, drawing instruments, a thermometer, a surveying compass, a level, and even a globe.

Got to thinking about tools that I tend to carry with me. When I go hiking I always carry gloves, tool for digging, small cutters, bags for finds, a magnifier, a small flashlight, twine, and often a camera.

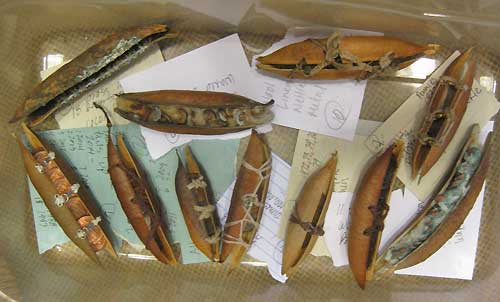
The Monticello site has loads of interesting facts and fun things for purchase. I am an avid gardener and have purchased seed from the site. My favorite seeds have been: Sunset Hibiscus (Abelmoschus manihot), Aquilegia Barlows, and the Fringed Pink (Dianthus superbus).

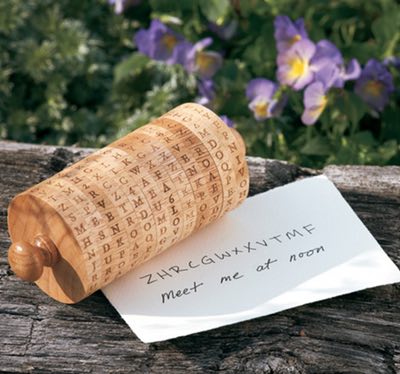
Every time I visit the site I look at the wheel cypher decoder. Maybe one day I will actually purchase it.

Jefferson Wheel Cypher Decoder


Concrete as an Art Medium

I attempted to use concrete several times over the past 20 years. While some results were promising, I wasn’t ready to commit time to figure out why problems occurred.

I am currently working on a series of pod pieces. The pieces are constructed of actual woody pods. The contents removed and replaced with coins or metal bits woven into fulled wool, with hinges and bindings added.

Pods in Progress

Yep, they are in a plastic box. Ever since casemaking moths came to live in my studio, everything they might like to eat is stored in plastic or glass.

The plan was to make cedar boxes for the pods. And then a fun thing happened. I was rearranging some things in my studio and found some concrete cups and tiles from my last concrete casting attempt.

Concrete Cup and Prototype

The concrete cup on the right was cast in a silicone mold.
The mold was made of a waxed woven cup similar to the on the left.

Immediately I started thinking about making concrete boxes for my pods. But how? Concrete box with wood lids? Concrete with bamboo support? Concrete with inlaid copper? Concrete with metal mesh and code?

I googled concrete and found loads of stuff on using ready mixed concrete to make functional objects and tons of stuff on hypertufa.

Then I found Andrew Goss. He has a website with lots of great information for using concrete to make art pieces.

After reading the information on his site, I realized that I had attempted to cast thin walls without compensating for the removal of aggregate. Adding latex wasn’t enough especially when I was not caring properly for the pieces. I did not know the importance of wrapping the pieces in plastic. Why, I don’t know. My background is in clay and I definitely know how to care for clay during forming and drying.

I selected four concrete and hypertufa mixes for my first test–

 Materials Mix 1  Mix 2  Mix 3  Mix 4 
 Concrete
 Vermiculite 1.5    
 Peat Moss    1.5    
 Sand      

I added very little water so that I could press the concrete into silicone cup molds. I wrapped the concrete-filled molds in plastic. After two days I removed the pieces from the molds, leveled the bottoms of the cups, then wrapped them in plastic. Every day I have given the concrete cups a dip in water, then rewrapped them in plastic, and popped them in yogurt cups. I do think that a thinner plastic would be better.

Wrapped Concrete Cups

The main objective is to find a concrete mix that when cured will live nicely with my pod pieces. I like the texture that results from using peat in a hypertufa mix, but I do not like the bits flitting about in the air when it is sifted. Wearing a respirator does not keep the peat dust from collecting all over the studio. Also, I really dislike the way it smells in the wet mix and every time I unwrap the test pieces.

Since I want to make a success of concrete this time, I thought it would be a good idea to use good and tested information. I purchased Andrew’s book, Concrete Handbook for Artists, Technical Notes for Small-Scale Objects. I wish that I had found the book the first time I attempted concrete.


Andrew Goss’ blog, Art Concrete.

Elder Jones’ blog, Sandpudding Studio. Wet Carved Concrete

John Annesley’s blog, Sustainable Buildings as Art. Burlap-crete

The Hypertufa Gardener

The Cement Tile Blog


Dots

When a dot is placed over a vertical line it can become an i. When it is placed at the end of a sentence it emphasizes a thought. Dots and dashes together can become a message in code. Dots used by artists can become so much more.

It is amazing that minimal materials, tools, and a limited palette can result in such beauty.

Today I ran across the work of Dorothy Napangardi on Margaret Cooter’s blog.

Dorothy Napangardi

Dorothy Napangardi

And then I saw Junko Kitamura’s bowl on Musing About Mud.

Junko Kitamura Bowl

And finally the post Africa on the Floor on Fibercopia.

Africa On The Floor


Moths, Conservation, Cold Wax…

I am still fighting case making moths. Last night I opened a jar of small pieces that I made for testing, to find moths living amongst them. I hate killing things, but I am getting quite frustrated with not knowing where or when I will find critters. I am pretty sure that I brought them into the house in hay for the bunnies.

On the Conservation Center site I found this information about a moth infestation of a Tibetan Ladahki Headdress. I had originally read that the only way to kill the moth cycle was heat. Not a good solution, since I previously used wax on some of my pieces. This is the method used–

…frozen to prevent contamination of the other objects in the lab and to kill moth activity, including all adults, larvae and eggs. After remaining in a freezer at -20˚C for one and a half months…

I have been reading a bit about artifacts and conservation looking for information as to how to age/distress components added to artifacts. Thought perhaps some interesting materials or methods to use them might be appropriate for some of my work.

I feel like I am constantly learning new things about, well just about everything. I don’t want to alter the color of the wool pieces too much, but I do need to distress them. Perhaps the solution for future pieces is to distress the wool before I use it, or not use it at all. When I have used hot wax on wool the result is a rather plastic appearance.

I ordered a variety of waxes and am attempting to use cold wax processes. I am liking d-limonene with white and amber microcrystalline, but I do not like that my studio has the odor of orange oil.

White Microcrystalline Wax with d-Limonene

Waxed Pieces

Displaying the finished wool pieces is another problem that I have been thinking about. I was planning to build boxes/crates to house/display the pieces, but then how to keep the pieces in place? I generally opt for nails straight through with a head that I like.

This would be a great option–

Mounting Headdress

Mounting Headdress. Image from the Conservation Center Site

Finished Conservation of Headdress

Finished Conservation of Headdress. Image from the Conservation Center Site

The Two John von Bergens

Today I was reading a Booooooom post and saw this image. I like the quiet elegance.

Hang Nail

Hang Nail (part 1), 2011, Steel nails, jute, epoxy, graphite, 1.5×25.5×4 cm (0.5” x 10” x 0.5”), Mikesell Collection, Miami. Photo by Denis Darzacq.

According to the post the work is by John von Bergen. Since I liked the work so much I googled him. In doing so I found that there are two people with the same name who make sculpture.

This is the site of John von Bergen who made the piece–

http://www.jvonb.com/

Check out the pdf for more images and information about his work.


So the very cool thing is that the other John von Bergen is a sculptor who has a description of the sand casting process with a short video of a pour on his site. I do miss casting.

This is his site–

http://www.johnvonbergen.com/artist.html

And this is the url for the sand casting information and the video of a pour is near the bottom of the page–

http://www.johnvonbergen.com/methods.html

I picked this image because I like that it looks a bit sharp and pointy and yet protective.

Almond