BWHeader

Penny Piece Yet Again

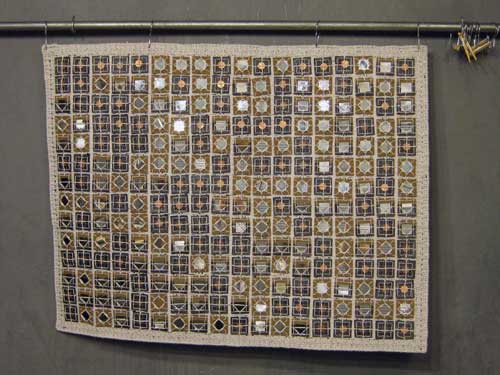
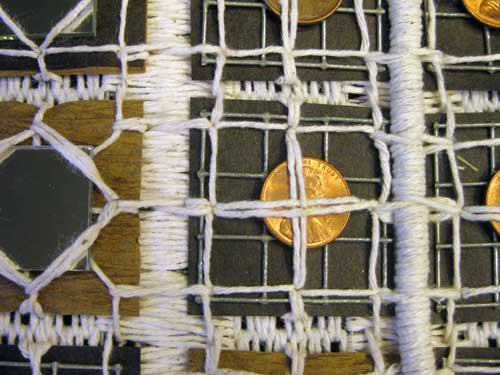
Last night I completed the verticals and 4 horizontal rows. I have an additional 9 horizontal rows and 2 borders before I can “age” the piece.

Aging can be the most exciting part of the process because it can be somewhat destructive. It takes the “newness” edge off of the work while integrating the materials and giving the work a sense of history.

Verticals CU

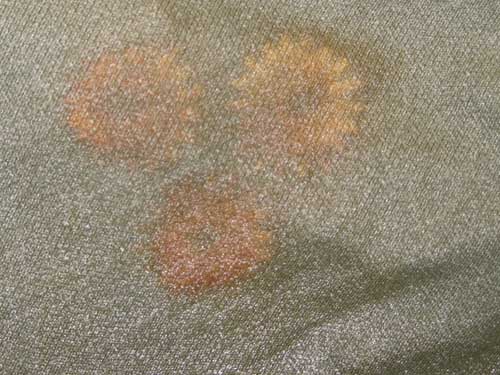
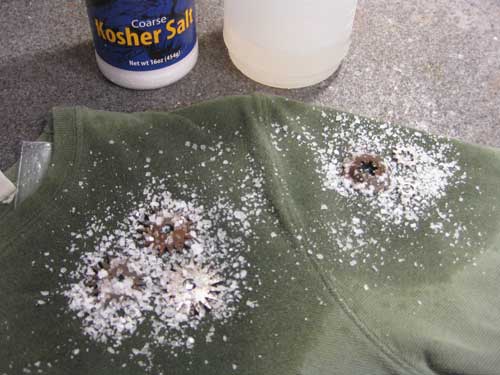
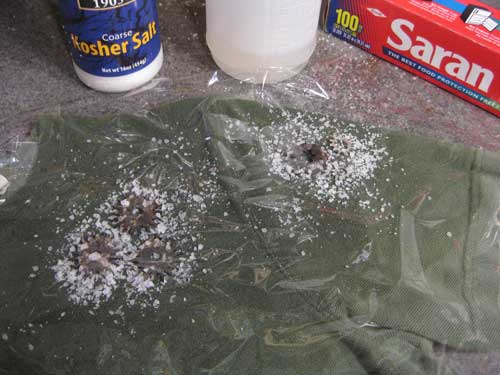
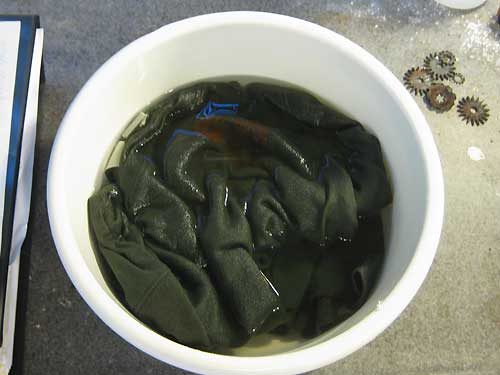
This was prior to completing the verticals and beginning the horizontals.
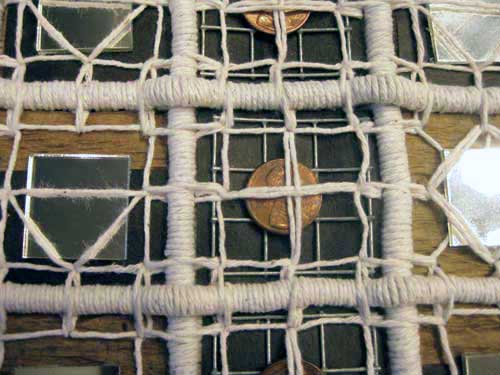
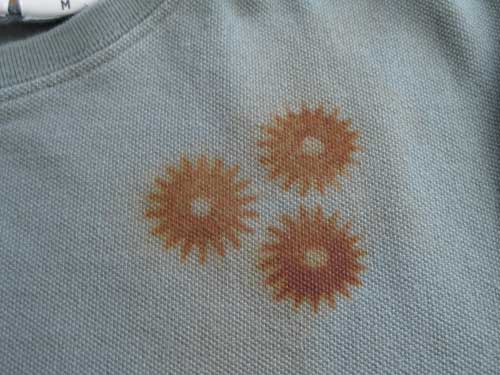
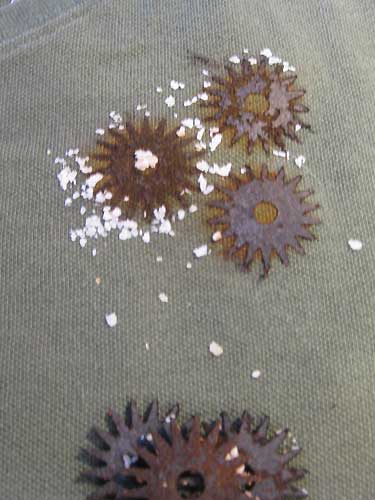

Horizontals

First Horizontals


This weekend I am planning to test patina and wax techniques. I also need to decide how to hang the piece. Box it or not. I do love boxes and have a tendency to want to box up everything.

My love for boxes started with the empty box as the piece.

Adele

Adele is part of my Avian Headbox series


Anzen

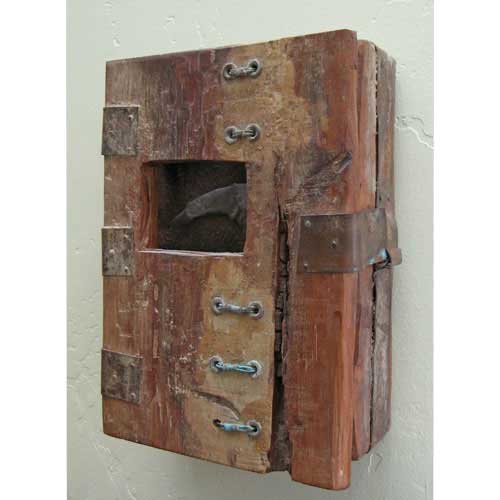
The box element of my Tools for Rent or dagger series was for protection, storage, and presentation.


Wholly Luck

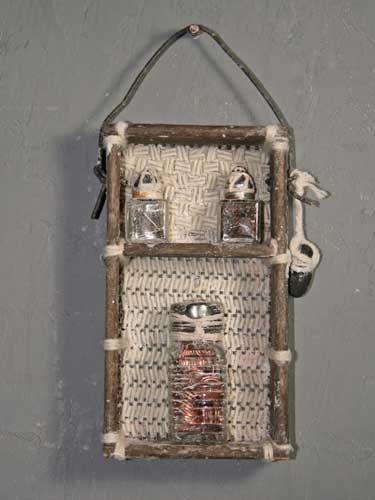
I opened up the box for Wholly Luck which is part of my Make Your Own Luck series


My website is GirlArtist.com. Nancy Scarry Girl Artist is my take on Wile E. Coyote Super Genius.


See A Penny Continuation

Been busy making apps, so little studio time in the past couple of weeks. Finally some studio time this weekend.

When you are not able to have consistent studio time, sometimes going back to a project means reacquainting yourself with it.

Current

Decided to add wrapped rope to emphasize the grid, to cover the edges of the blocks, and to give more of a quilt-like feel.

I have found that often cotton rope has a synthetic core. I didn’t know however, that cotton Venetian Blind cord is made with a synthetic core as well. And that synthetic isn’t listed on the label. The fellow working in the store said that if it wasn’t on the label it wasn’t in the rope or cord.

I purchased two types, the Venetian Blind cord for the grid and the thicker clothesline rope for the border.

Continuation 1

I cut lengths of sash cord to use for the verticals, then removed the core.

Continuation 2

The main reason that I do not want a synthetic core is because I am planning to use a hot process on the piece. Nylon melts. The removed nylon can be cut up and used in other processes.

I wrapped the lengths of sash cord by first inserting one end of the cotton twine through the sash cord.

Continuation 3


Yep, my fingernails are a bit green. I spent a couple of hours pruning my Brugs and Datura.

Datura


Wrapping was done by simply rotating the Venetian Blind cord. When nearly wrapped, I cut the cotton cord, slipped on a needle, and inserted the tail up through and out.

Continuation 4

Before and After Wrapping

Continuation 6

I have a couple of verticals to finish before starting the horizontals, and then adding a border. The wrapped cord needs to be added to the left of the penny blocks.

Continuation 8


Clearing Out and Rust Dyeing

A couple of nights back, 31 August, I decided to give rust dyeing a go. I was clearing out my closets and found some tees that could not have been donated because they had seen studio time and/or bunny teeth.

I placed metal items that I found interesting directly on the shirt, misted with full strength vinegar and sprinkled with kosher salt. I have liked using the larger salt crystals in the past.

There is a double layer of plastic inside the tee.

Rust Dye Process Image 1

Since the shirt has a bit of a mesh texture, I placed a piece of cling wrap over the salted metal bits, then weighted it with a binder of past sketches.

Rust Dye Process Image 2

Rust Dye Process Image 3

Every evening I misted the metal bits then returned the cling wrap and binder.

Tonight when I removed the binder and the cling wrap I noticed there was some salt residue where the edge of the cling wrap had been.

The rust result excited the heck out of me. And not thinking I stacked up the rusty bits on the shirt. I was so excited to see the build of rust on the fabric I forgot that the metal bits were still rusty.

Rust Dye Results 1

The result is beautiful, but how much will remain after washing?

I followed the general comments about using 1 tablespoon of salt to 1 gallon of water to set the rust dye.

Rust Dye Results 2

Here is what I was thinking–

A couple of years back, I found reference to a peroxide patina to “age” metal. The formula is simple and the result is quick. What if you use this on the metal bits and then place them on fabric?

16 ounces of Hydrogen Peroxide
2 ounces of White Vinegar
1/2 teaspoon of salt

I needed an oxidized metal hook for a piece and since I didn’t have one I gave the peroxide/vinegar/salt a go.

First Attempt Peroxide

Result Peroxide Patina

Honestly I do not remember a source for the formula. I saw reference to it several places. When I went looking for the formula this evening to give credit, I found instructions on Instructables.com.