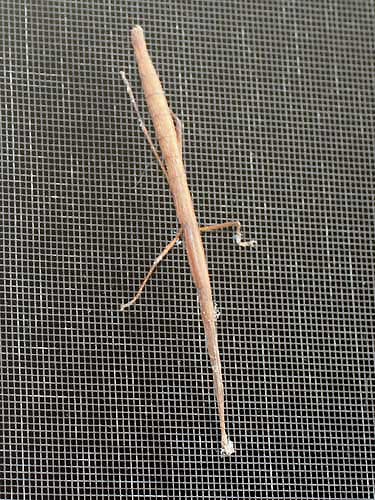
Stick Bug
It is real, but the stick bug in Pan’s Labyrinth is magical.

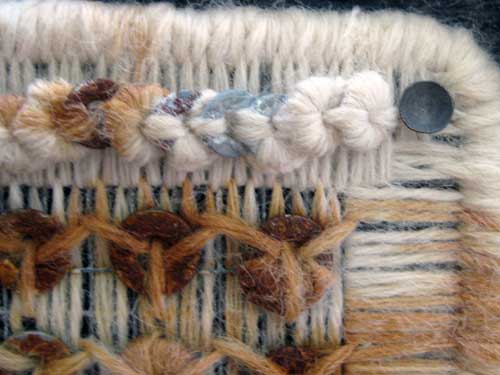
The edge of hardware cloth can be sharp enough to wound. Bound on a rope to act as an edging.
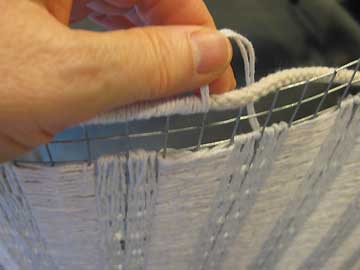
Then filled in the border with a couple of stitches.
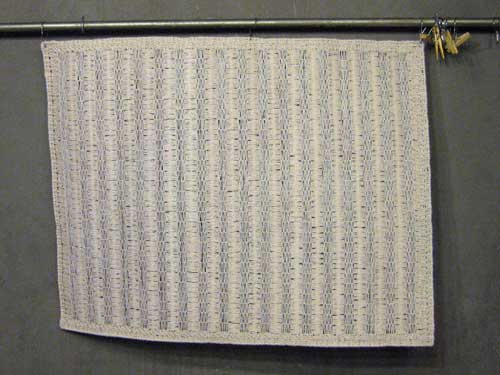
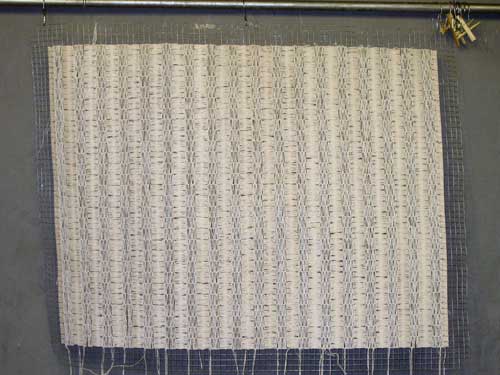
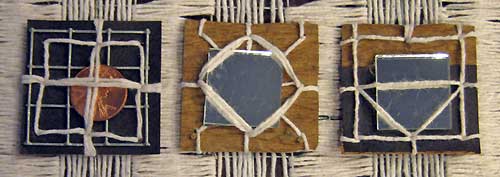
Completed Background
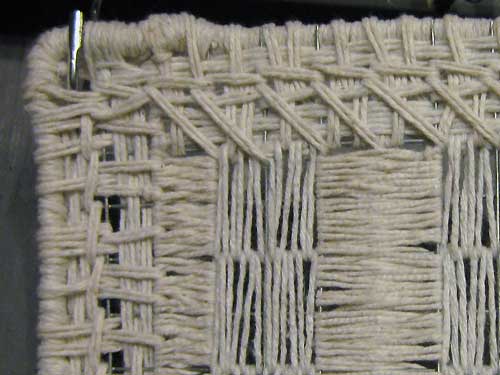
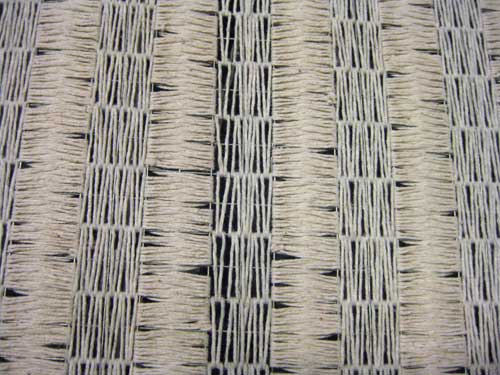
Detail of Completed Background
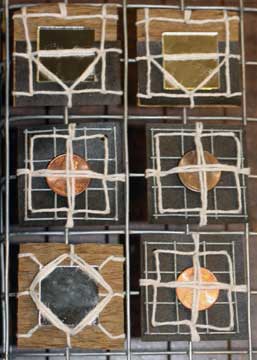
I am considering binding pennies onto the border with a message in Tap code. In Tap code the letters of the alphabet are laid out in a 5×5 grid.
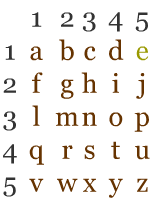
The code for E is 1,5. The code for the letter K is the same as the letter C.
Often when I refer to Tap code I actually use a grid of 11, 5 spaces for the row and 5 spaces for the column with a space between. I fill in the empty spaces with a filler component; and add three spacers at the start of words, in between words, and at the end of words. This is a quick example of how I start laying out text in code–
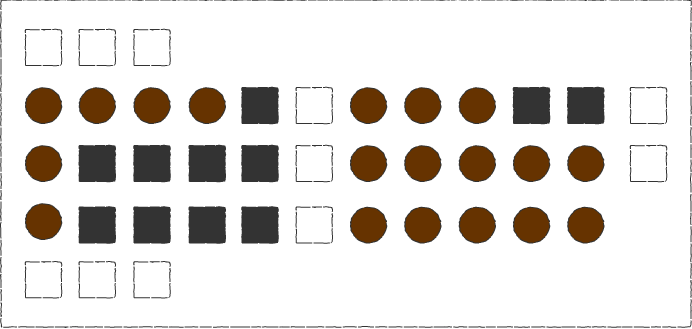
The word see in my altered version of Tap code.
I am pretty sure that I am going to give the background an application of liquid starch before binding the blocks to it. The starch will prevent fraying and any knots from coming undone. Usually the “fabric” will feel quite like canvas.
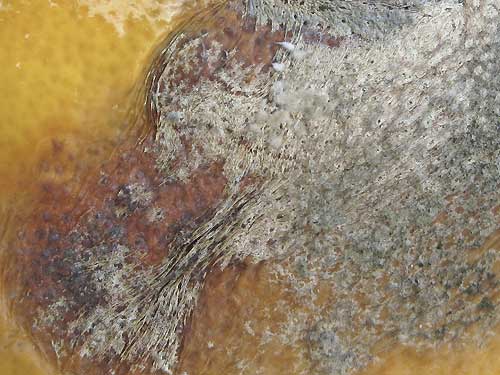
Or I might decide to age the hardware cloth which will alter the appearance of the fiber. The appearance of weeping stain might occur.
An example of oxidized metal that stained the fiber.
Monday Morning
Tuesday Night
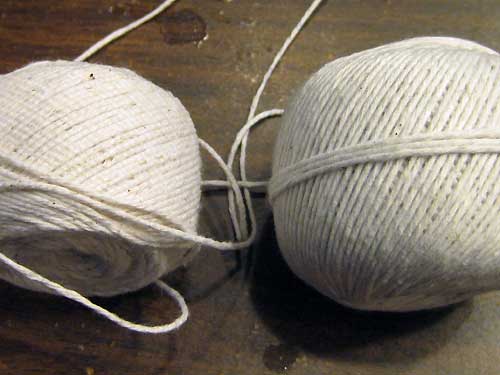
This is why it is important to purchase more than enough twine for a project.
When you return to the store to buy more it may not be the same color.
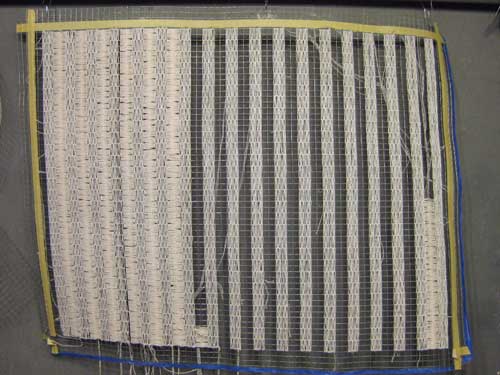
Since I am filling the background with two stitches, it made for an easy decision to make
the horizontal stitches one color and the vertical stitches the other color.
Background Sunday Morning
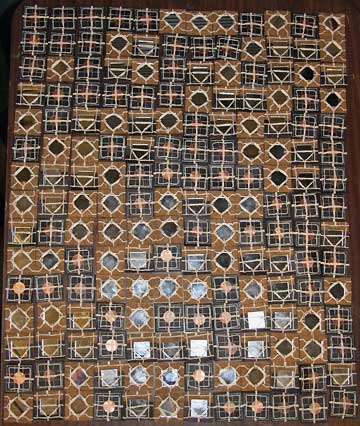
Blocks on Background
The blocks will be bound to the background and then stitched together to give the appearance that the stitching is holding them together. The tree wrap and roofing felt are not materials strong enough to support the weight of the piece. I’m pretty sure that I will use liquid starch on the background before attaching the blocks. Liquid starch is great for stiffening, to keep knots in place, and to prevent fraying. Haven’t yet decided how I will age the piece. Since I am using cotton I can use wax and fire.
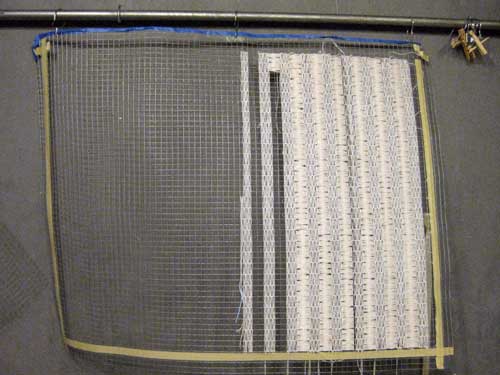
Today I opened a fresh roll of hardware cloth. It is springy and the edges sharp. Rather than standing on it and rolling it out on the floor, I slung it over the rod in my studio. Then I ran the hardware cloth behind the rod and fed it through.
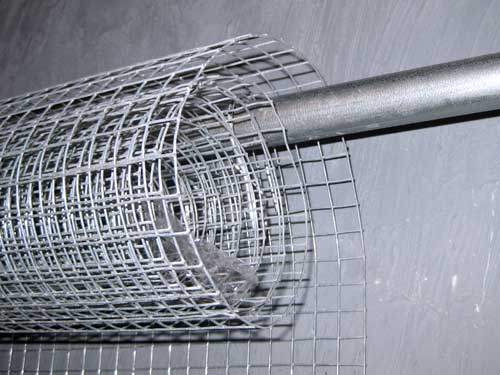
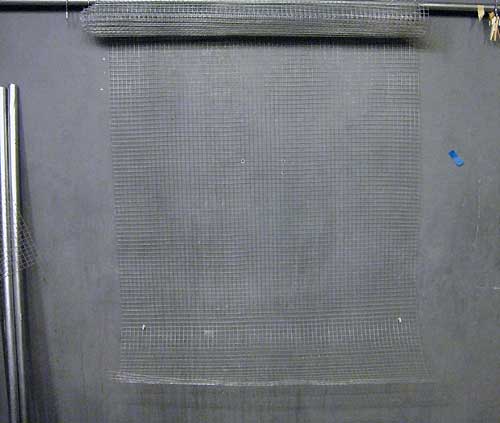
I was able to unroll and straighten at the same time. The piece of blue tape was for marking my place to cut. To prevent the hardware cloth from springing about while I was cutting it, I inserted a couple of cup hooks in the wall.

Sometimes something simple and unexpected happens to make work a bit easier.
Today I was reading a Booooooom post and saw this image. I like the quiet elegance.
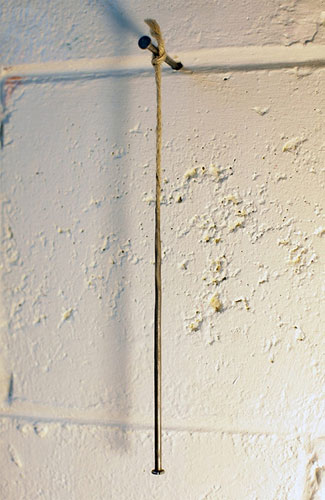
Hang Nail (part 1), 2011, Steel nails, jute, epoxy, graphite, 1.5×25.5×4 cm (0.5” x 10” x 0.5”), Mikesell Collection, Miami. Photo by Denis Darzacq.
According to the post the work is by John von Bergen. Since I liked the work so much I googled him. In doing so I found that there are two people with the same name who make sculpture.
This is the site of John von Bergen who made the piece–
Check out the pdf for more images and information about his work.
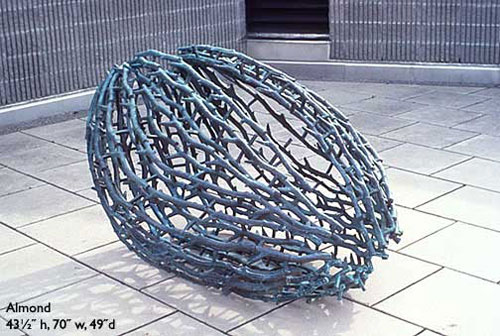
So the very cool thing is that the other John von Bergen is a sculptor who has a description of the sand casting process with a short video of a pour on his site. I do miss casting.
This is his site–
http://www.johnvonbergen.com/artist.html
And this is the url for the sand casting information and the video of a pour is near the bottom of the page–
http://www.johnvonbergen.com/methods.html
I picked this image because I like that it looks a bit sharp and pointy and yet protective.
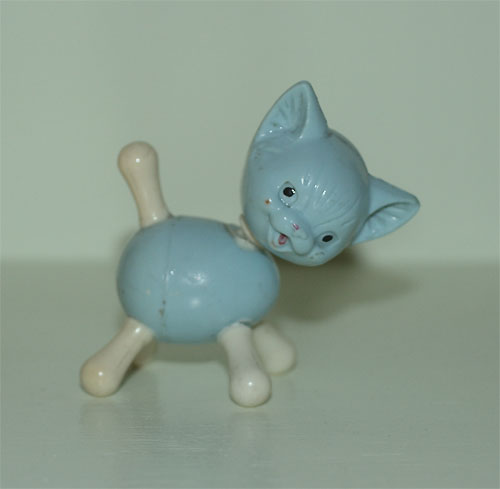
This was a baby rattle used in my husband’s family.
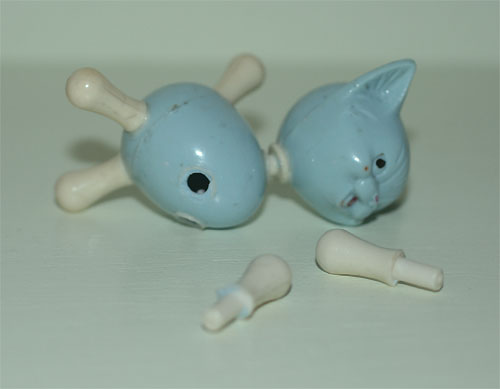
Choking hazard?
After photographing my “Make Your Own Luck” work in progress last night,
I decided that I really didn’t like the 12×15 layout.
Today I worked out an 18×14 layout.

Unfortunately, the new layout means that I need to make an additional 72 blocks–29 dashes, 20 dots, and 23 spacers.
The additional blocks will add–or make your own luck.
The total message will be–
see a penny
pick it up
all the day
have good luck
or
make your own luck
More cutting, hole punching, and binding tomorrow.
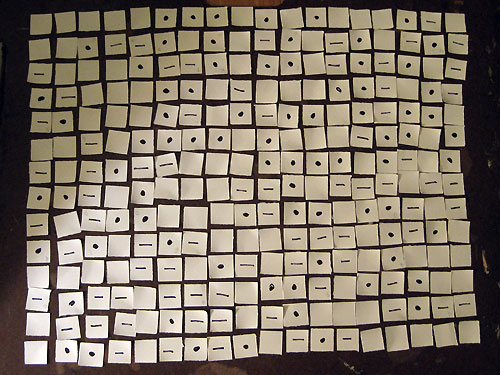
Tonight completed all 180 “blocks” for my current Make Your Own Luck piece.
The plan is to attach the blocks to a piece of 1″ hardware cloth to make the piece more stable and stronger for hanging. Since the “blocks” are approximately 1 3/4″ there will be space between for a reinforced stitched border.
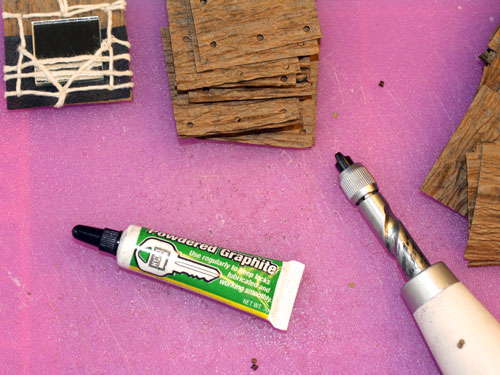
All the hole punching caused the screw punch to freeze up a bit. Graphite solved the problem.