BWHeader

Bird of Paradise Seeds: Planting Day

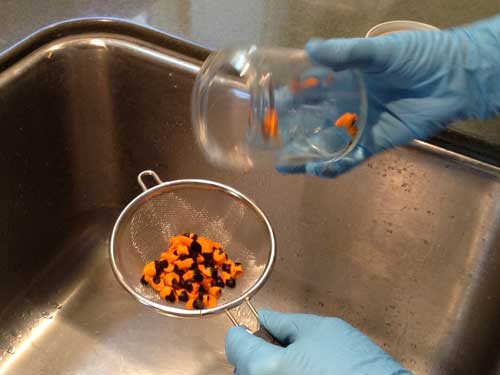
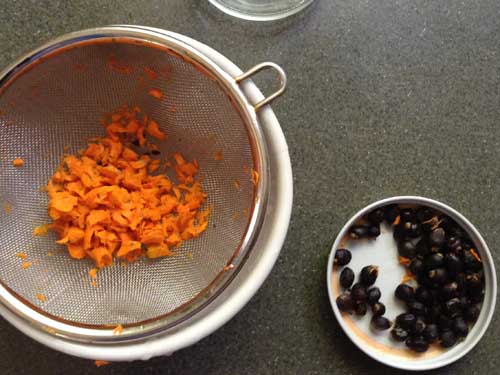
Seeds Poured Into Screen

Seeds Poured Into Screen

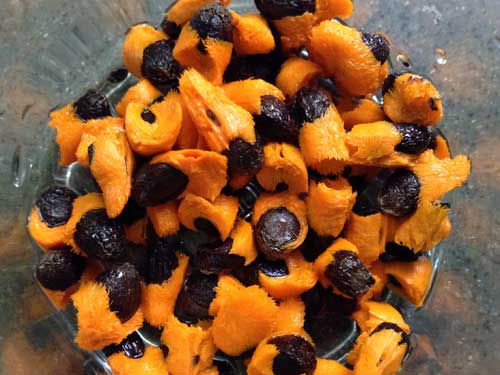
Removed Orange Spongy Cover

Removed Orange Spongy Cover

Seeds and Removed Orange Spongy Cover

Seeds and Removed Orange Spongy Cover

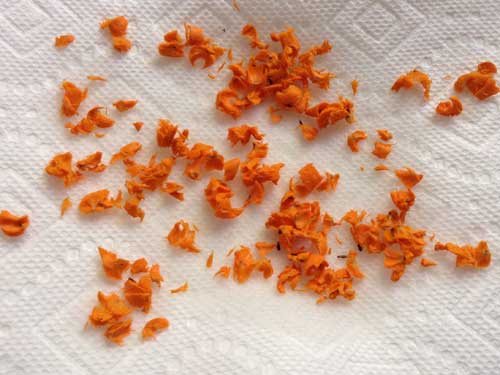
Removed Orange Cover Left to Dry

Removed Orange Spongy Cover Left to Dry

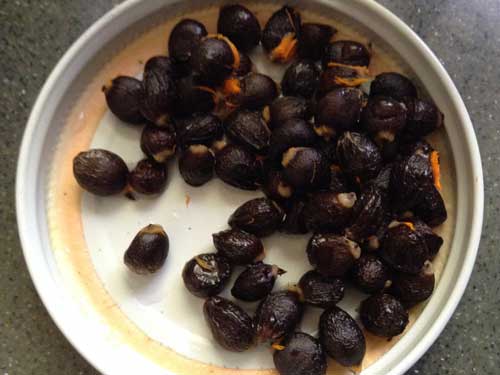
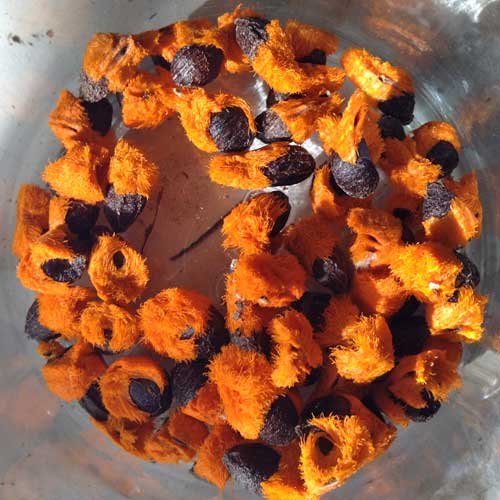
Seeds Prior to Rinsing

Seeds Prior to Rinsing

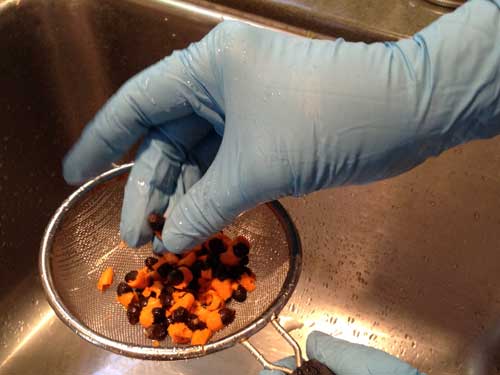
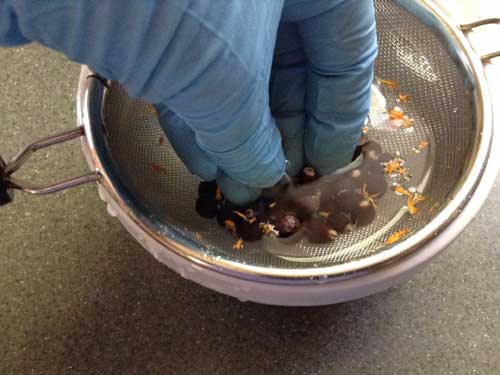
Rinsing the Seeds

Rinsing the Seeds

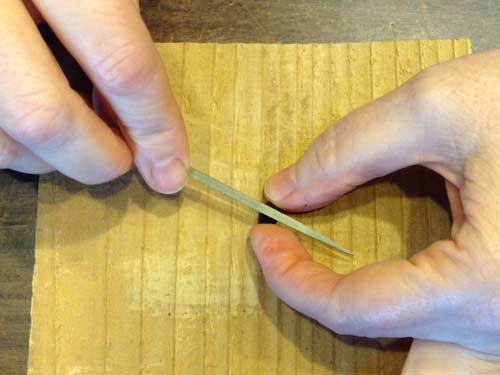
Scarred Seeds with a File

Scarred Seeds with a File

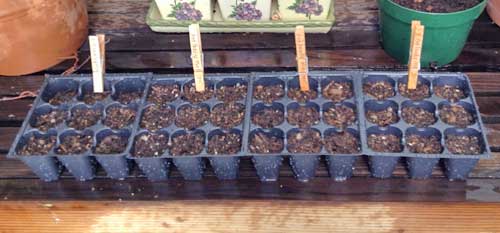
Planted 36 Seeds in Cactus Mix

Planted 36 Seeds in Cactus Mix


Used a clothes pin to label the plantings because the blue jays living in my garden like to remove any type of easily pulled out stick label.

Planted the remaining 25 seeds directly into the garden.

Now I wait.


Slat Book in Progress

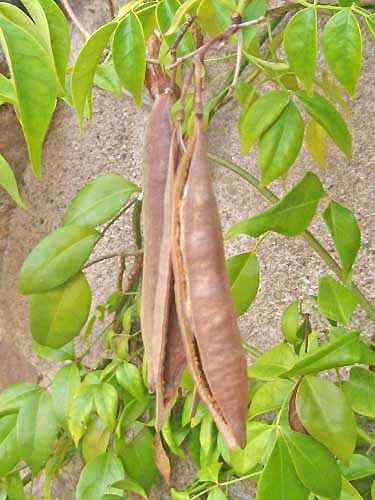
I snagged some Pandorea jasminoides seed pods from a friend’s garden. They are woody and beautiful.

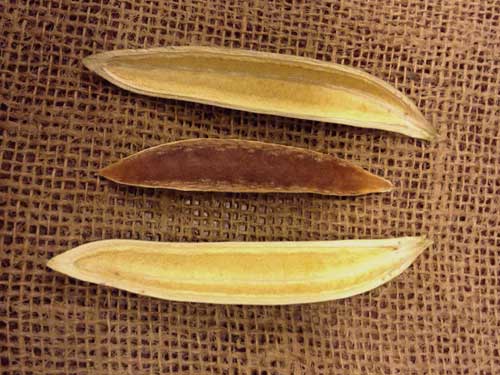
Pods

Open Pod

Open Pod Exposing Seeds

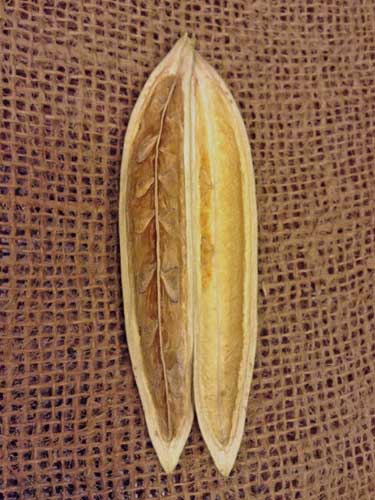
Pod Interior

Pod, Seeds Removed, With Interior Part


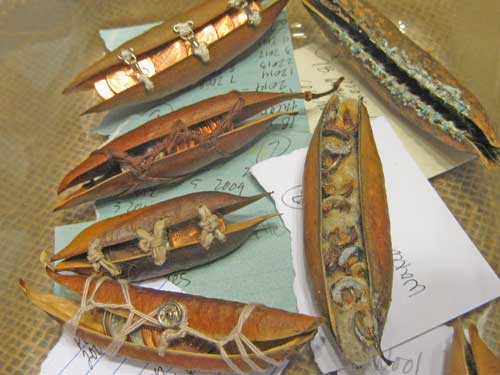
The pods have been used in my Change series.

Change Series


I kept the interior bits and seeds for possible future use.

Interior Bits

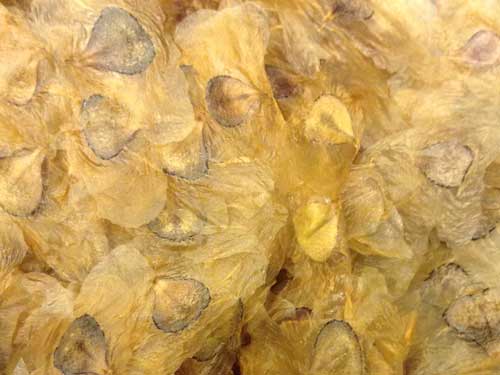
Seeds

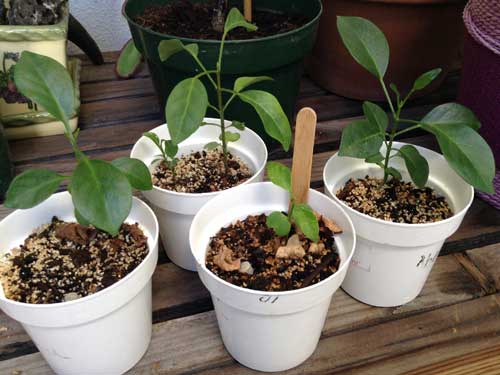
Curious if the seeds were viable, so I planted a few–

Seedlings


I kept thinking about the interior bits. How could I use them? Recently ran across reference to slat books in one of my sketch books.

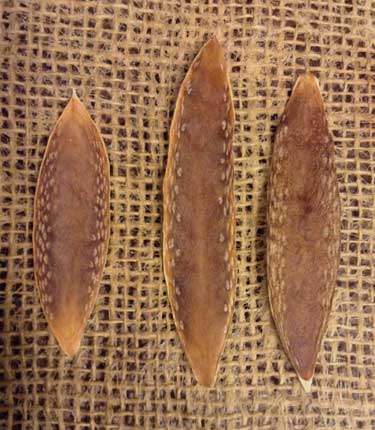
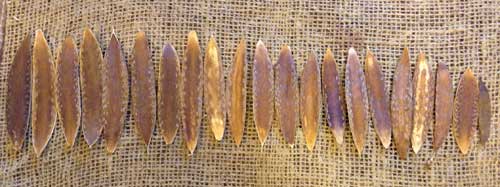
So, I selected the bits with the most interesting light lines.

Parts


The plan is to stitch a letter on each bit, then stitch them together. I had thought about using Ogham or A-tom-tom code, but for various reasons they didn’t feel right. Instead I made a stitch pattern based on Morse code. I actually made three versions. This is the phrase: Long forgotten memory.

Code for Long Forgotten Memory

For the slat book, I am deciding between the phrases, link with the past and accustomed to being invisible. Probably will use bamboo cord or Egyptian cotton thread for the stitch work.


When I quickly searched for the two types of code that I decided not use, I realized that both times I hit Omniglot, the online encyclopedia of writing systems and languages. It is a great site with loads of information.


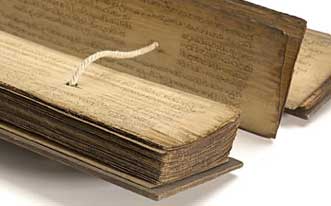
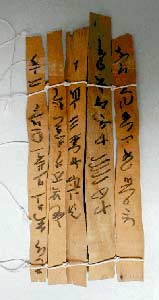
Strip or Slat books were made of a variety of material–bamboo, bark, and palm leaves. The material was cut into slats. The slats were either bound together or holes were made and cord was threaded through binding the slats together.


Information about the history of books and slat books can be found on the
Harry Ransom Center, The University of Texas at Austin website.

Slat Book


Information on Horizontal and Vertical Writing in East Asian Scripts can be found on Wikipedia.

Writing in vertical columns from right to left facilitated writing with a brush in the right hand while continually unrolling the sheet of paper or scroll with the left.


A brief description about slat books and a nice image can be found on Susan Kapuscinski Gaylord’s website makingbooks.com.

Slat Book


Information on early Chinese inscriptions can be found on Jeremy Norman’s website historyofinformation.com.


A Nice Surprise–Bird of Paradise Seeds

I have two studio spaces: one in the house for fairly clean work, and one in the garage for messy work. I keep most of my plant cuttings in the garage.

Recently, I took some cuttings from a giant bird of paradise. I thought it would be fun to remove all of the interior bits and do some stitch work on the remaining vessel.

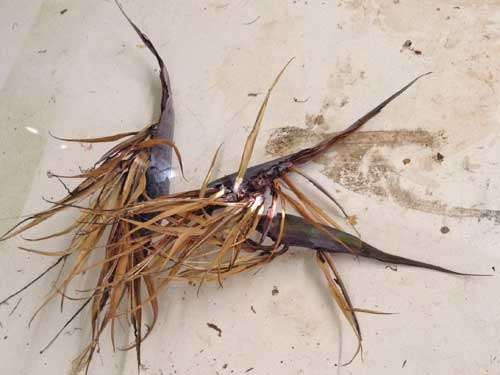
Bird of Paradise Cuttings

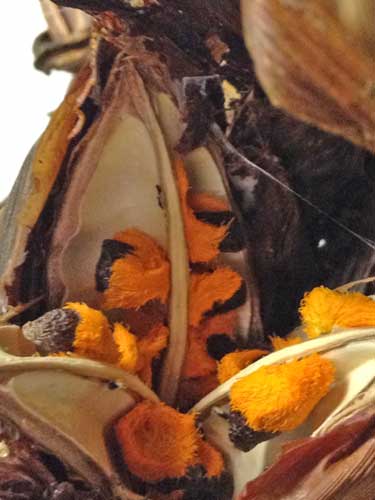
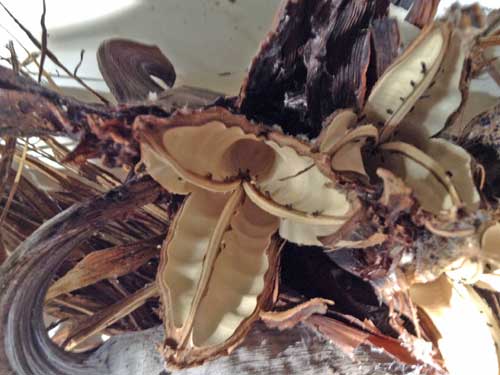
They have been drying for nearly a month. Today I found the seed pods dried, open, and gorgeous seeds were visible.

Bird of Paradise Seeds

Nature has many colorful surprises. The orange covering on the seeds feels a bit spongy.

I was curious if I could have success planting the seeds. I read several articles and it seems easy peasy. Pop the seeds in water for two to three days. Change water daily. Then drain, remove all of the orange fiber, dry, and scar the seeds. Pop them in some soil and keep moist. Maybe in a month of so there might be seedlings.

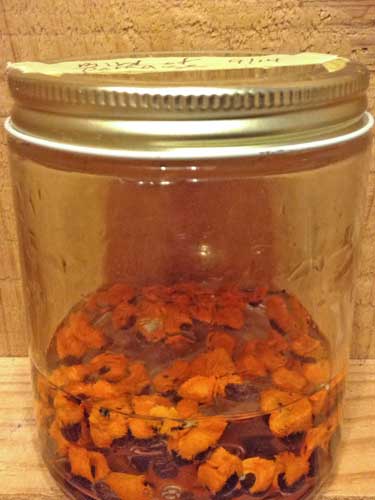
So, I removed all of the seeds and placed them in a jar.

Bird of Paradise Seeds

Empty Seed Pods

The empty seeds pods are lovely.

Seeds in Water

Seeds in water day one.


Eroded Contours

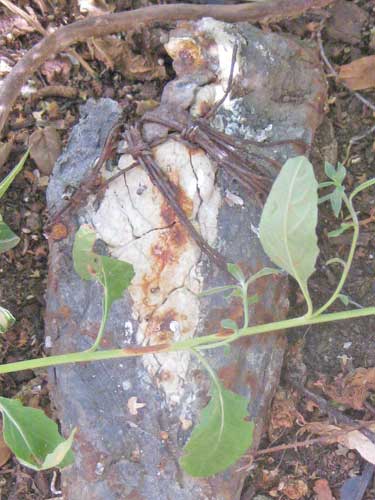
Some 20 plus years back I made a series titled, Eroded Contours. It was a process oriented series. The pieces were meant to be hung on the wall, but one of the pieces found a home in my garden.
Eroded Contours

The Process–

1. Made a plaster mold of a large philodendron leaf. Used it dry as a press mold for a mid-range stoneware body. Pulled several pieces. Fired them in a high bisque, cone 5. Broke them into pieces.

2. Used the same plaster mold wet to pull waxes.

3. Inserted some of the broken ceramic pieces into the waxes keeping in mind that the ceramic pieces could shift when the wax burns out.

4. Gated, then invested the lot.

5. Sent the investments through the burnout.

Potential problems–
1. Would there be a shift in the position of the ceramic pieces as the wax burned out?
2. What would happen to the ceramic pieces when hit with molten bronze?
3. What would happen when the bronze and ceramic pieces cool?
4. What would happen to the ceramic pieces embedded in bronze during the breakout?

Everything went quite well. Better than anticipated. Some of the fired ceramic pieces did fracture. A few bits were lost in the process.

When the fracture was more than I wanted, I mixed up a batch of Egyptian Paste to use as a filer. The plan was to glaze and fire the lot, so the addition of a cone 016 paste was compatible with the glaze temperature.

This is how the piece looked when removed from the garden. The pieces are long and quite narrow so a bit difficult to get a decent image.

Eroded Contours

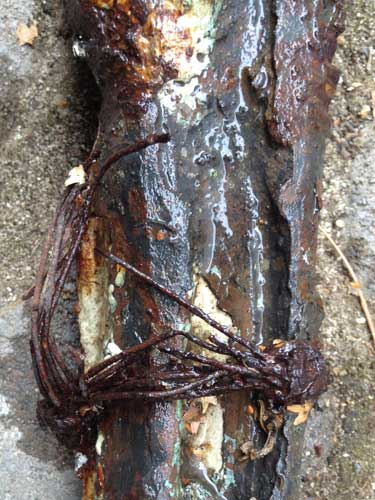
The majority of the piece is bronze. The whitish areas stained with rust from the oxidized wire. I had forgotten that some of the pieces also had wire. The wire was bound on prior to the glaze fire. Firing the wire made it a bit fragile and after years in the garden, some of the wire was broken and missing.

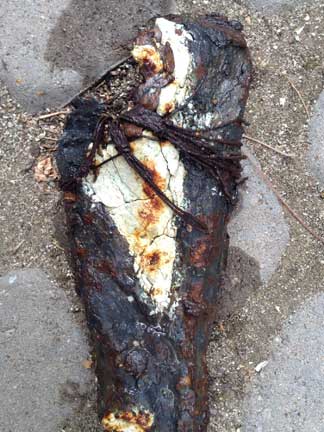
I was curious if the rust stain was permanent, so I washed the piece with a solution of water and epsom salt.

Washed Piece

Washed Detail 1

Washed Detail 2

Some of the wire has vanished, but left its mark.
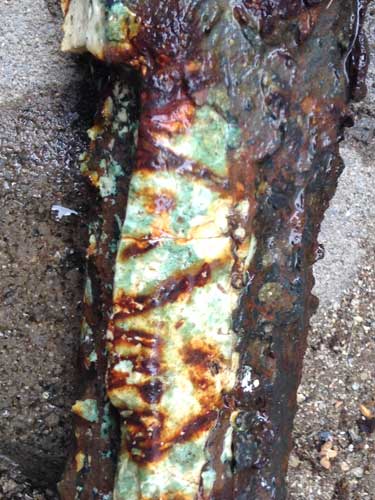
Washed Detail 3

This is how the piece looks after it dried overnight.
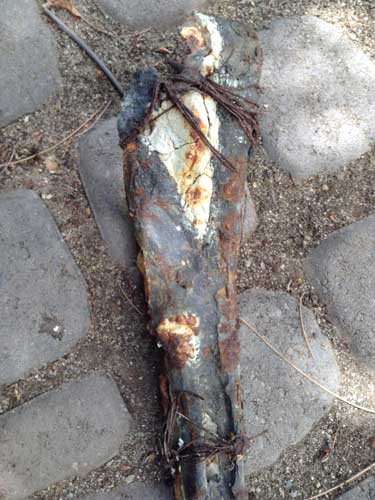
Dried

This is the detail of another piece in the series–
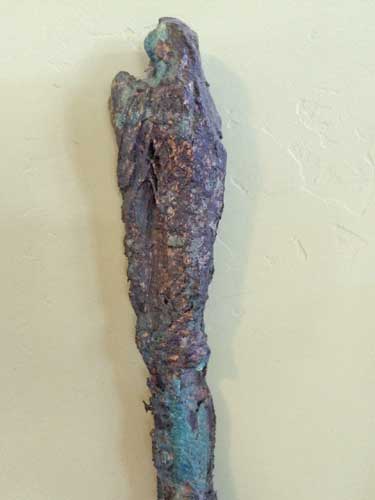
Blue Piece Detail


This bronze vessel has been moved around in my garden several times. Can’t quite figure out where to put it. It was constructed of palm cuttings and jute twine. Waxed the twine, then gated and invested the piece.
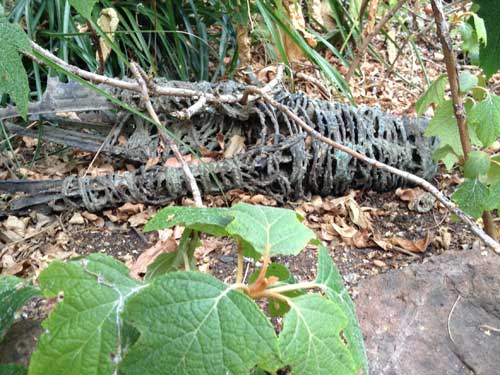
Bronze Vessel

There is always the possibility when doing a direct burn-out that some of the material will not burn-out completely or some ash will remain and prevent a good pour.

After the pour and break-out, a low-fire glaze was applied. Then the piece was fired to cone 015.


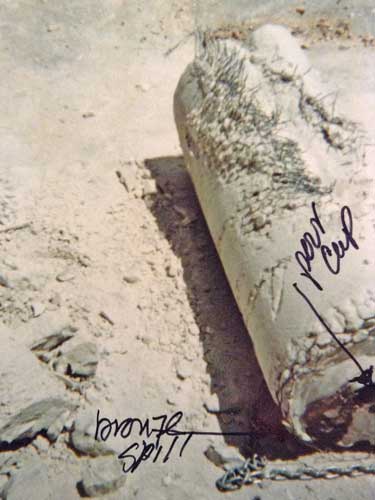
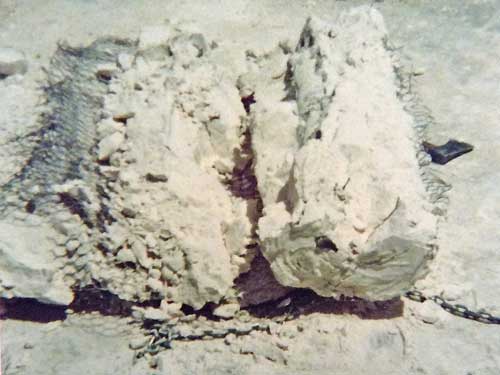
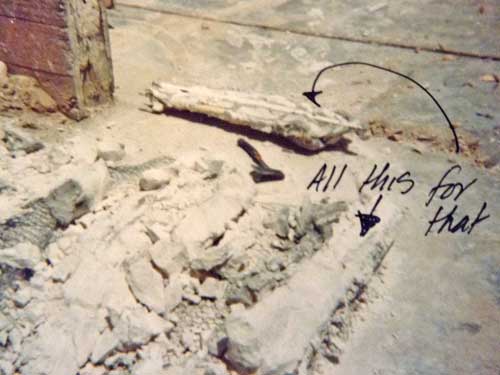
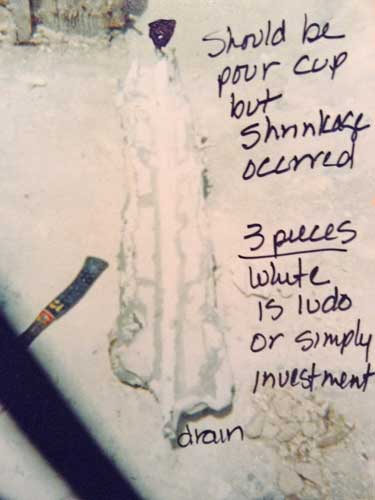
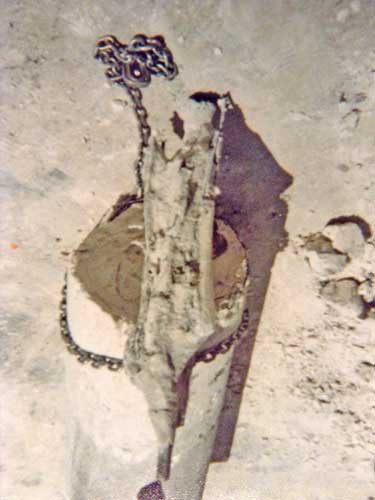
These are a few of the photos that I took the day of the Eroded Contours pour and break-out. A chain was used to pull the investments from the pit. And a fork lift was used to remove them from the foundry.

The length of the largest piece was 4.5′.
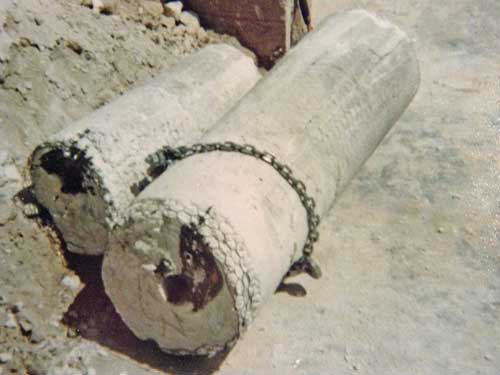
Investments

Investments

Break-out

Break-out

Break-out

Break-out