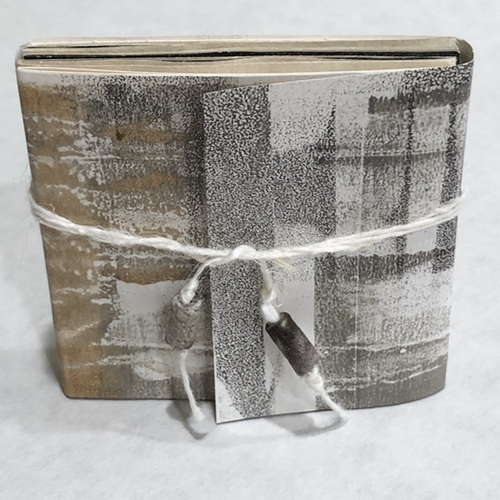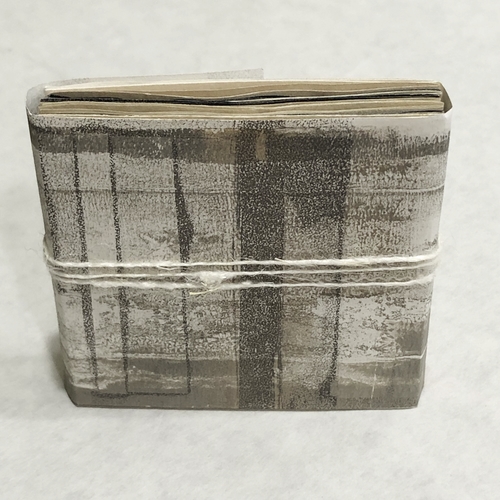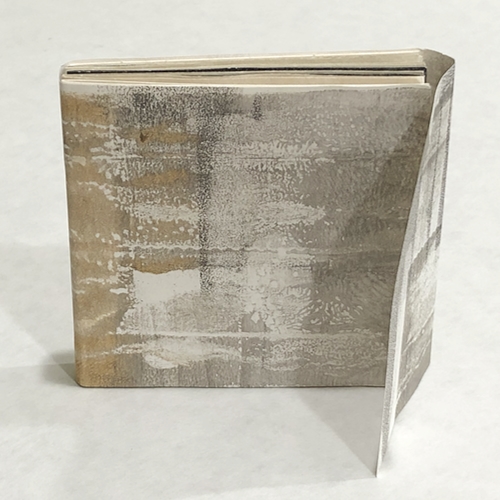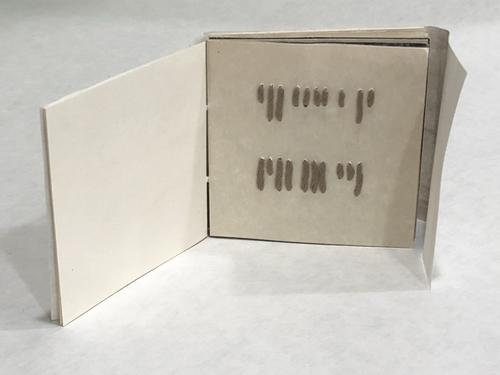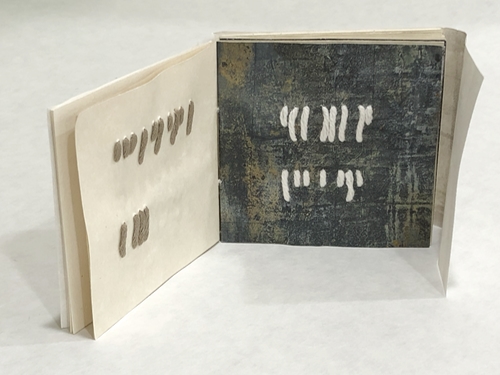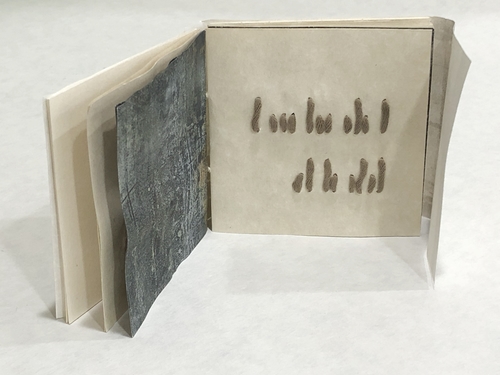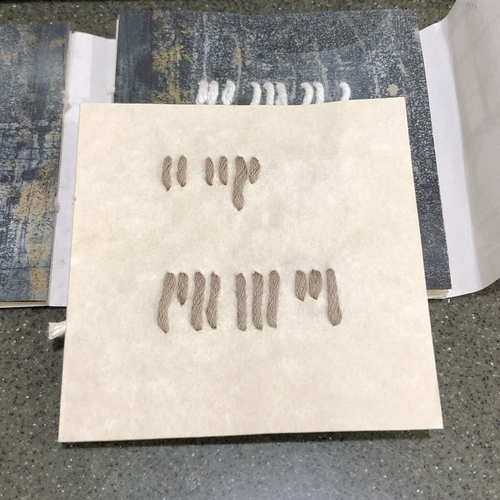
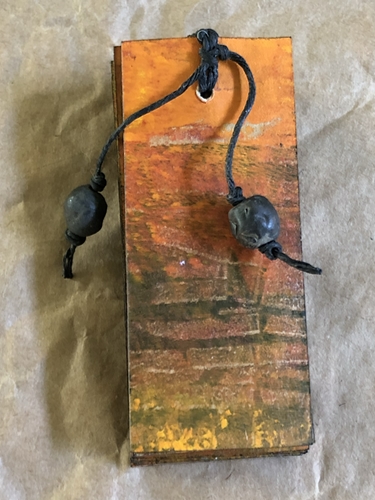
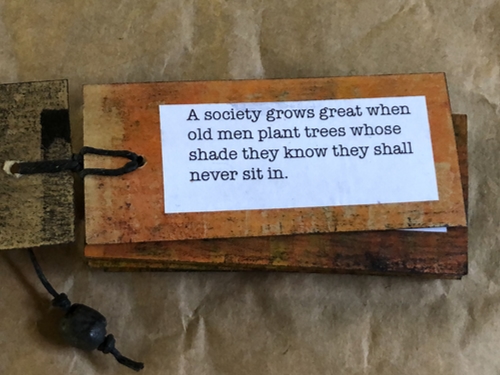

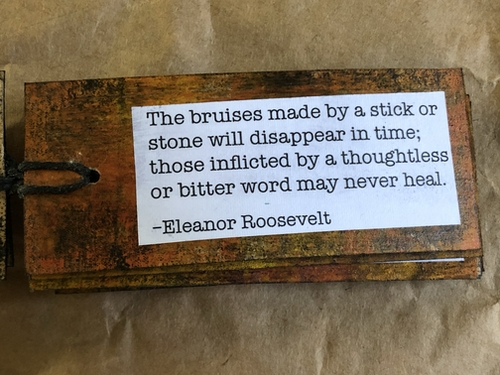
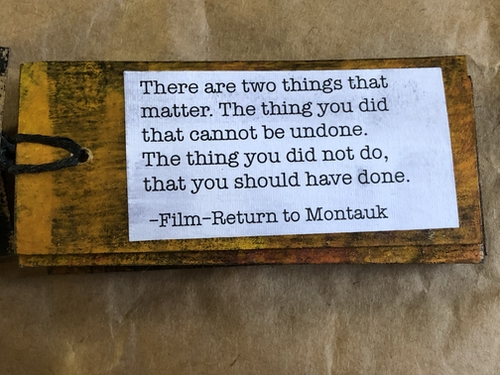


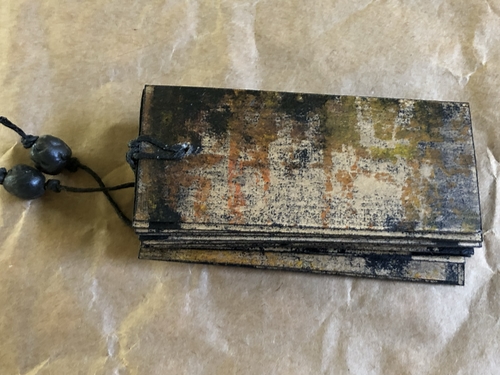
Materials–monoprints, printed quote labels, fiber, pit-fired beads, ink, sealant.
Scale–1.5″ x 3.5″ x .5″

Last night I turned on the light over my work bench and found on oddity.
This little vessel has been hanging in my studio for decades. I fired the piece multiple times. Before the last firing, I bound it with wire and applied low fire lead glazes.
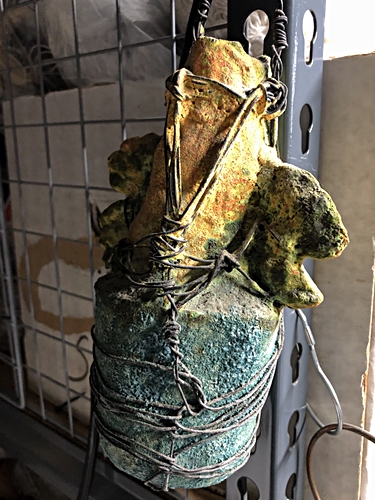
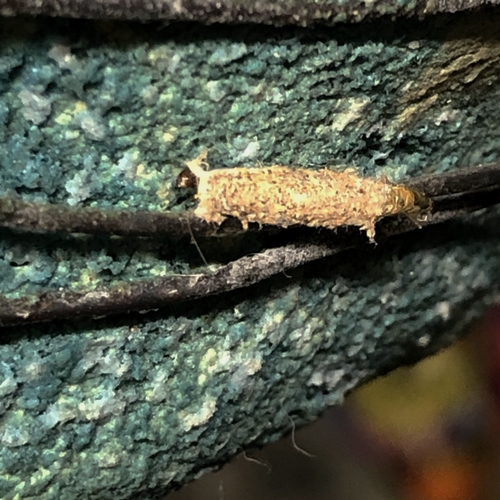
The oddity is a casemaking moth. What is it eating? Clearly not the glaze because typically the case that the casemaking moth construction will be the color of whatever it has eaten.
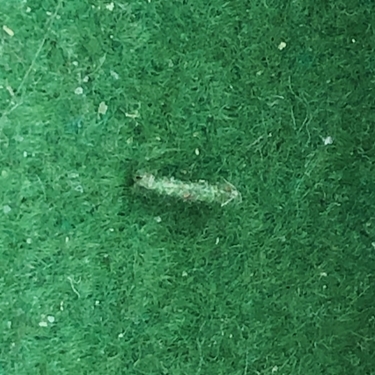
Recently looked through my stash of wood objects to use as an addition to a piece. The boxes were wrapped in plastic and stored in a wood bench. When I opened the drawer I found a green casemaking moth.
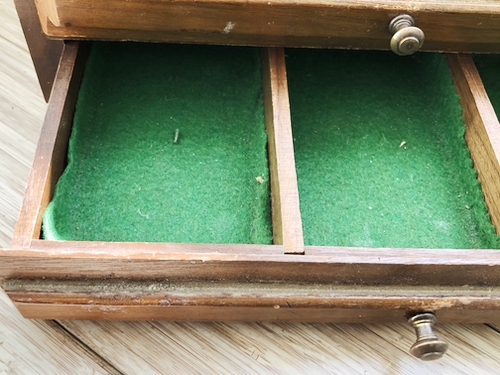
How did it even get inside? No clue.
I have cleaned my studio numerous times to remove the niches the moths like–undisturbed dark areas with fiber and plant material.
I have been forced to keep my stored completed work, work in progress and fiber materials in plastic. But, I can still find casemaking moths. It is frustrating, especially when I find that they have damaged something of value.
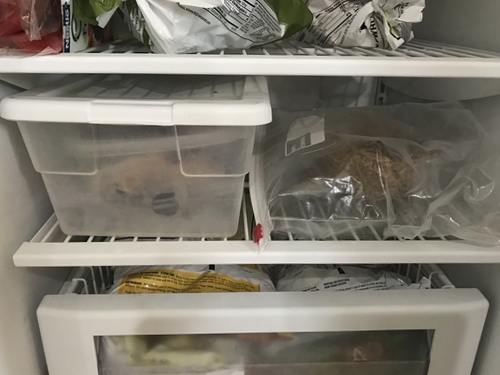
I use two methods for treating pieces and materials–place them in the freezer or someplace that becomes quite hot, like the trunk of a car.
The freezer shelf that is set aside for materials and work.
Recently found a casemaking moth on a wool I-cord that had been an embellishment for a rooster lamp that has been sitting on the china cabinet for nearly 15 years.
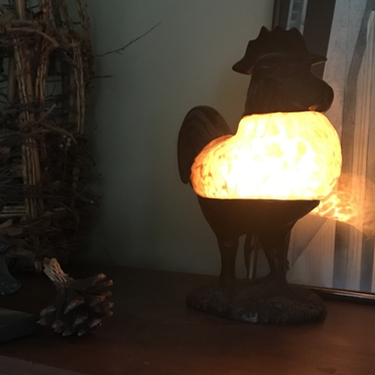
He looks lost without it.
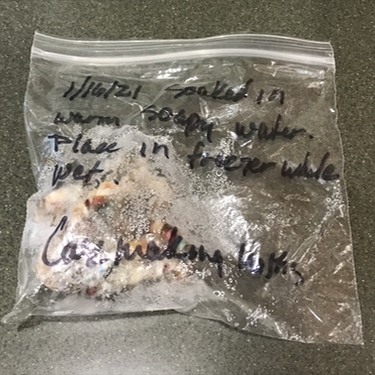
I washed the I-cord in warm soapy water. Gave it a rinse, popped it in a plastic bag, and placed it in the freezer.
While reorganizing my garage studio space I found one of my Egyptian Paste test pieces had apparently been used as a hotel for mice.
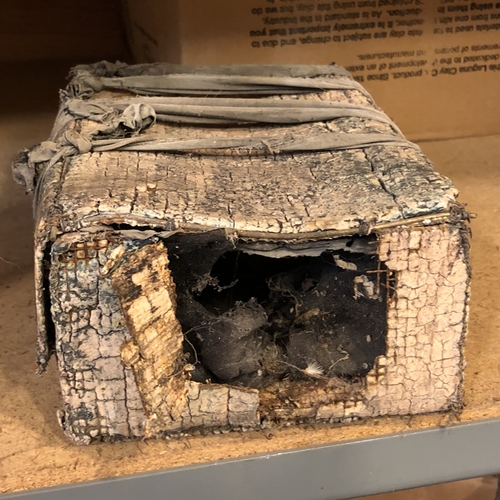
The mice managed to get in the garage and found all of the dried and drying plant materials sustaining.
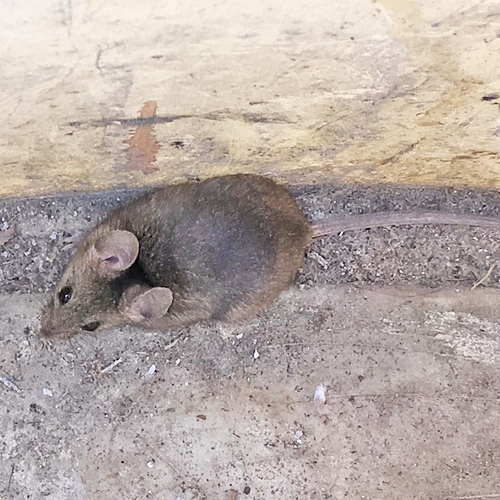
When I was cleaning the space after the mice were relocated, it didn’t occur to me that I should look through the boxes of pieces stored in the space.
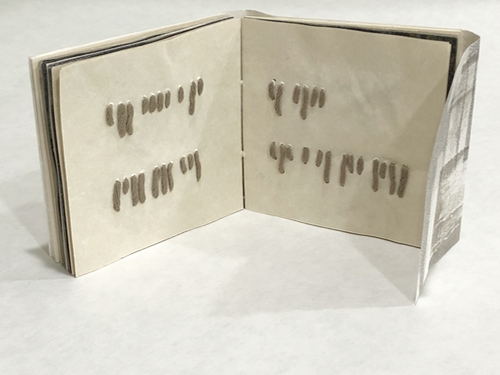
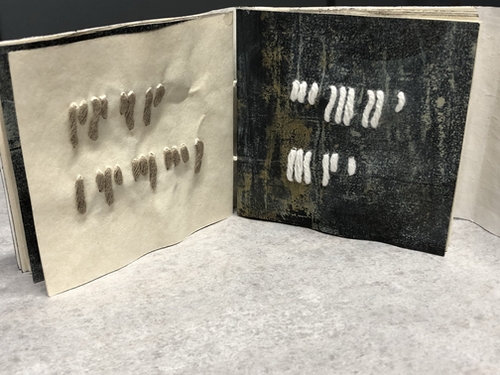
The box was constructed of hardware cloth and Egyptian paste. After firing the box, it was lined with black nylon and bound closed with strips of the same fabric. The fabric was dipped in diluted wood glue and hit with a heat gun, for a shrink wrap effect. I like that nylon can look like a skin, exposing the structure under it.
I have posted about this piece in the past. Pleased that the pieces have not developed a light coating of sodium.
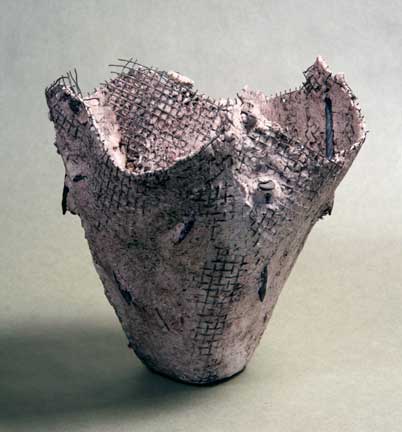
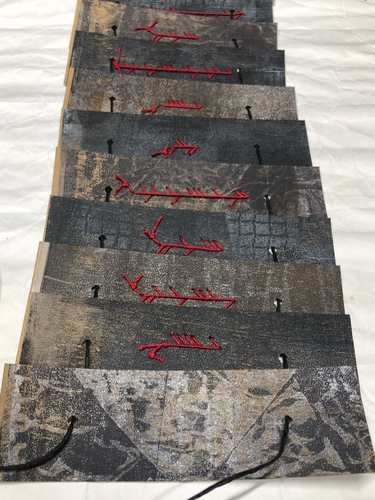
The pieces were constructed of hardware cloth, some had the addition of nails.
The Egyptian paste was used like spackle and the lot fired to cone 015.
What to do with the mouse house? I am leaning toward popping it someplace, out of the way, in the garden.
The sculpture was made while an undergrad at Ohio State University in the 80s. Unfortunately, the top rim of the smaller piece was chipped during a move. The pieces were designed to be placed in different positions while still having a dialogue. They were fired multiple times using lithium and lead glazes.
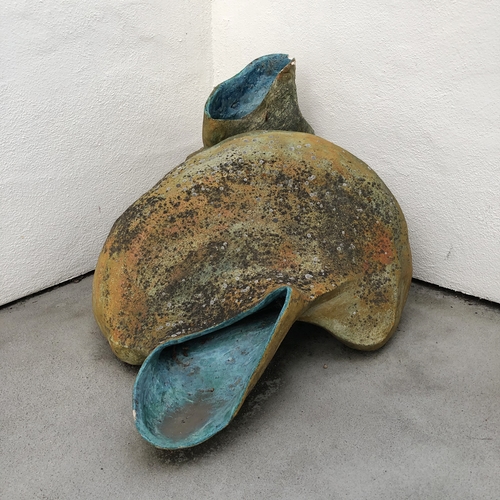
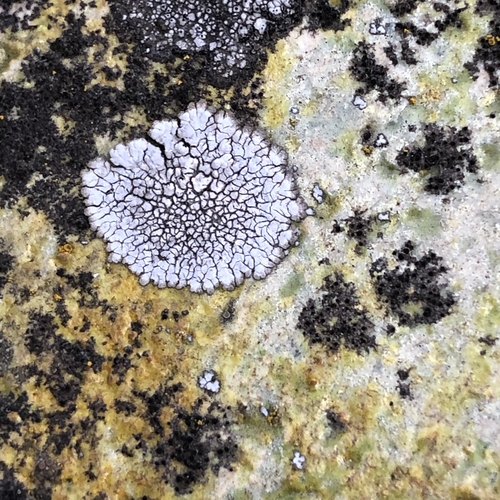
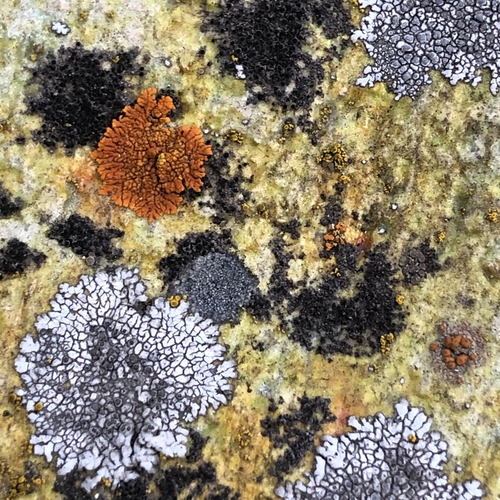
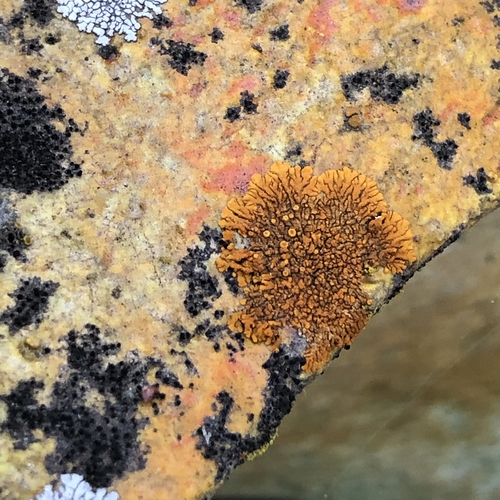
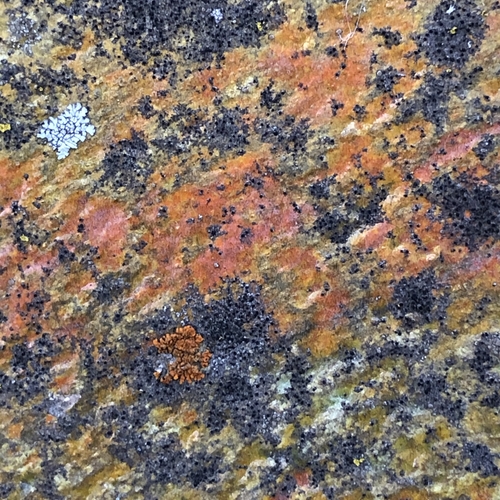
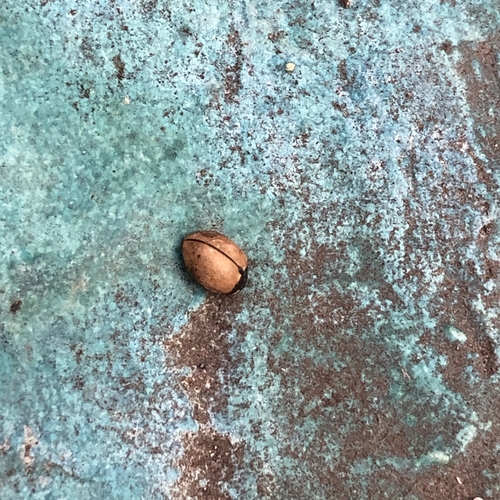
Naturally Occurring Blue-Green Found on Orange
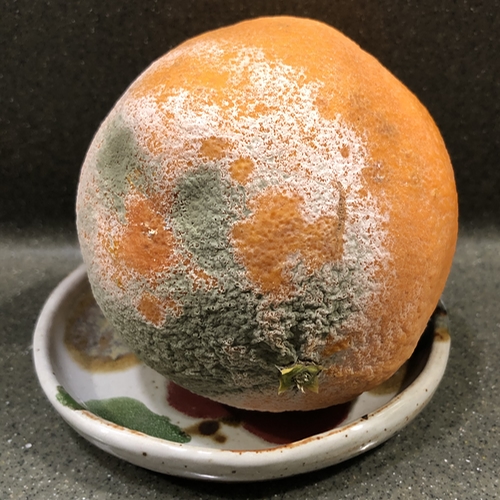
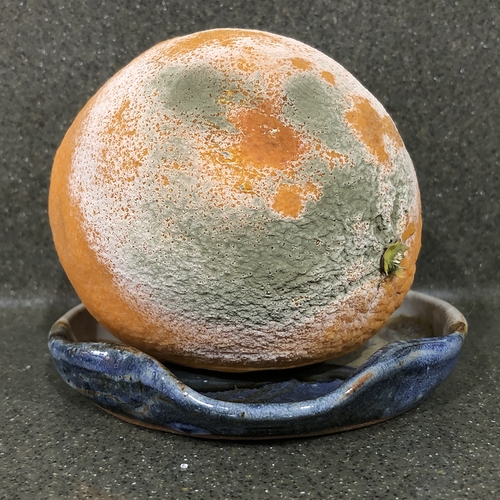
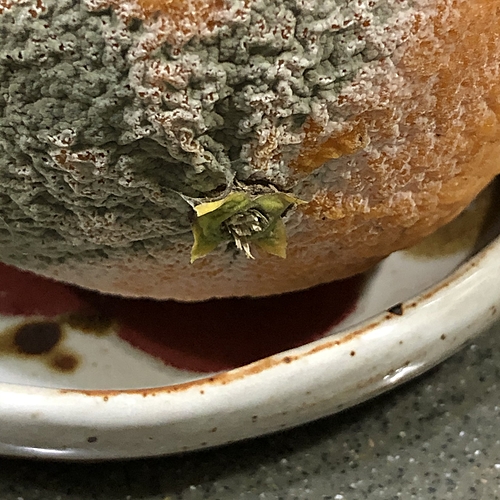
My choice of glaze surfaces occurred before my interest in mold and lichen growth.
I found the bits next to the tissue box in the bathroom.
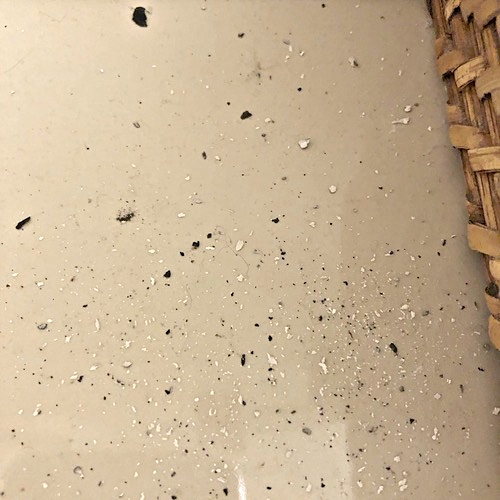
When I looked up, I realized one of my pieces was damaged.
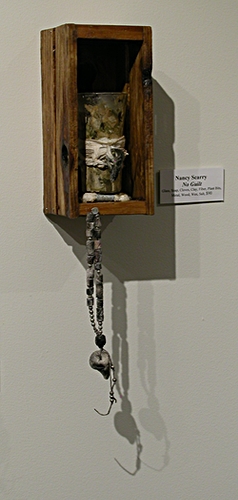
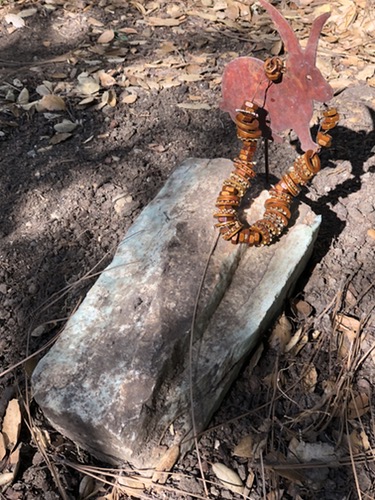
This was the piece. It is part of my Cleanse Your Palate Series, No Guilt.
The image was taken by Sharon Tetly when the work was on display at Western Nevada College.
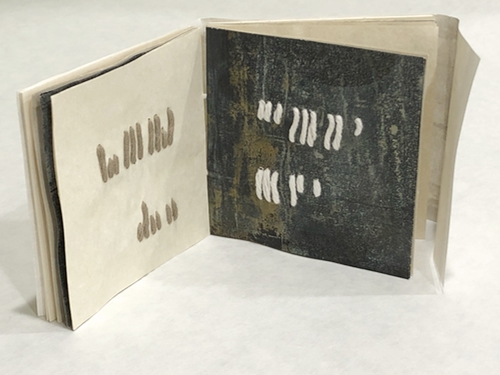
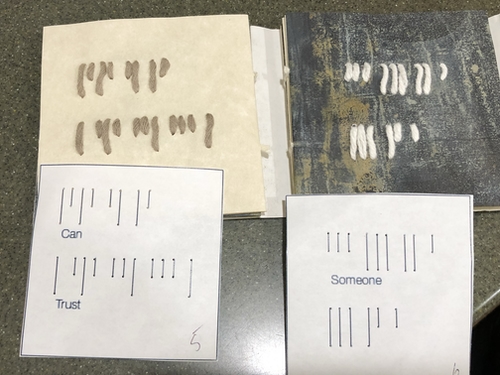
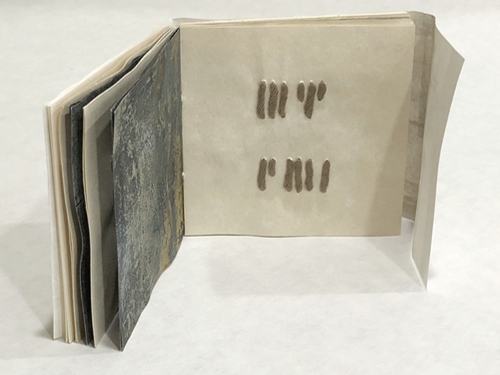
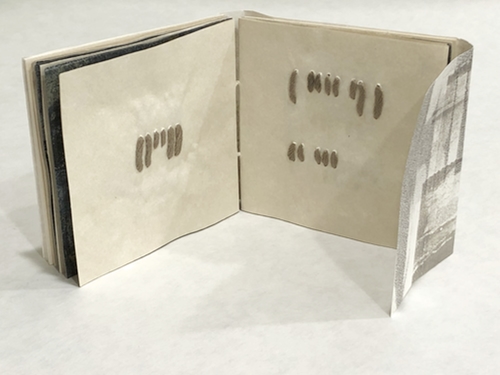
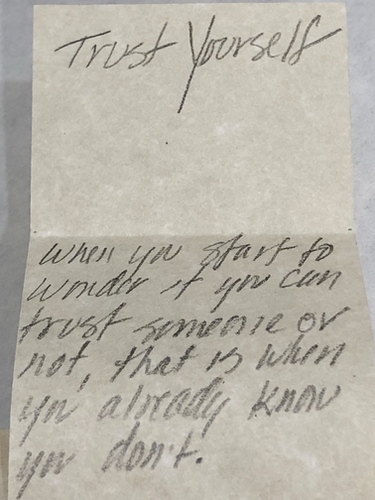
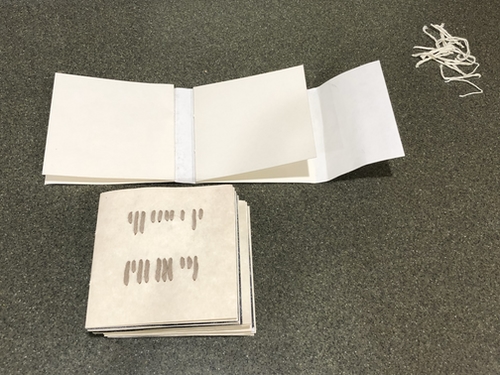
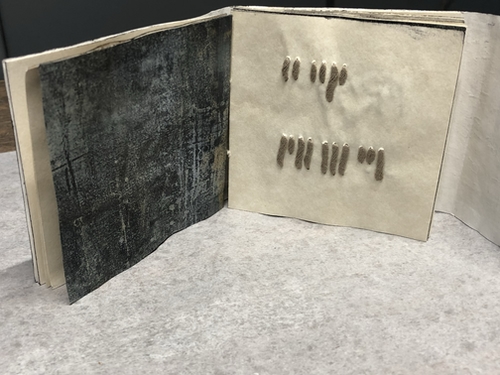
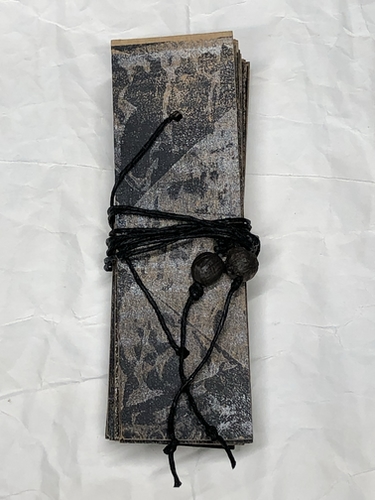
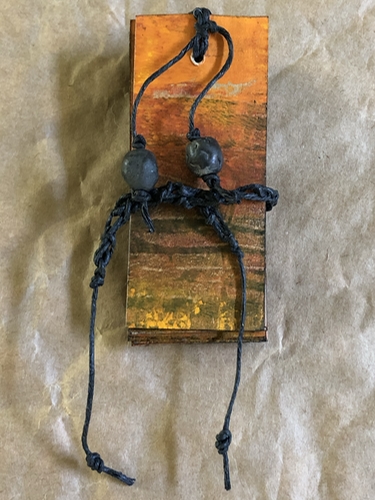
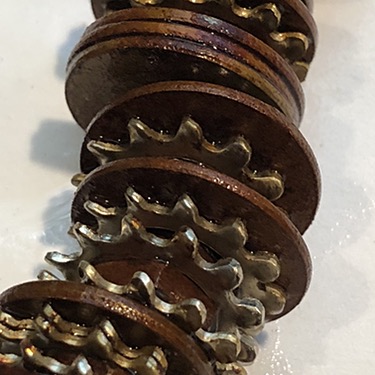
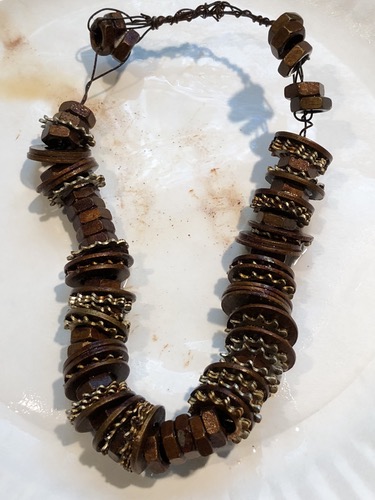
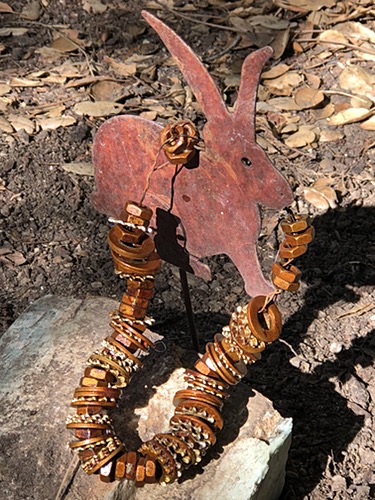
The piece has pit-fired components. The bird head is hanging from a strand of pit-fired beads. Of course there is code in how the beads were strung. The beaded piece references chaplets. The idea was to remove the chaplet, hold it, and repeat, “forgive yourself” for whatever perceived wrong.
The piece is hung in the guest bathroom. It actually has been in the same location for several years.
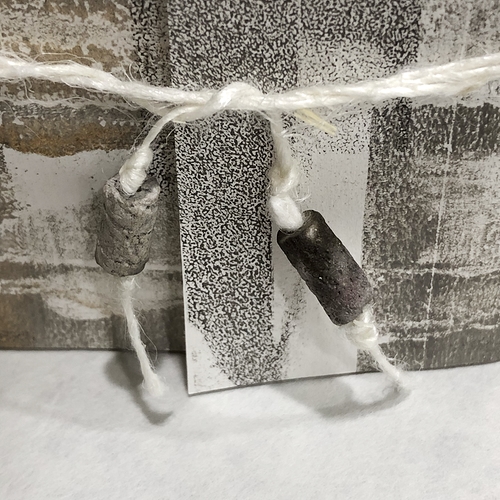
There are a few of the same pit-fired beads in my stash of beads for comparison. Maybe tests.
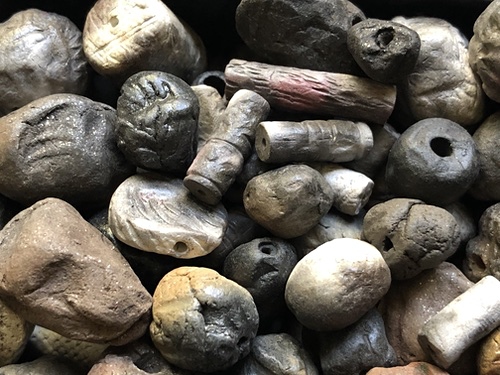
The pit-fired beads and bird head have all fallen apart.
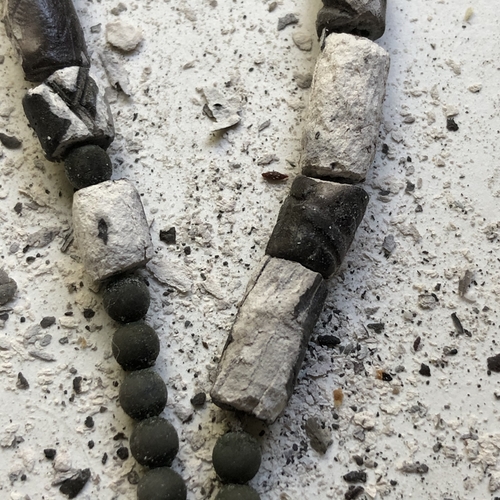
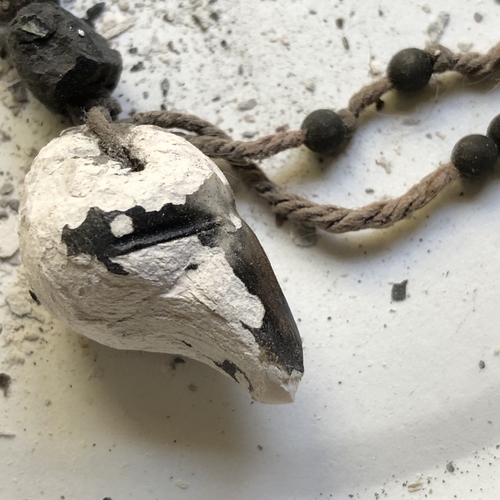
I removed the chaplet, but haven’t yet warmed to how the piece looks without it.
Why did the beads fall apart? My initial thought…the flaking off of the surface is the result of humidity. Why now? Most likely it was a gradual process until the point that flaking occurred.
Am I upset? No, more curious about how the damage occurred, how to prevent it in the future, and how to make it occur if I want to age a piece.
After a short time this occurred–
What was the patina used for? I strung together 3 kinds of shiny steel washers in code for a 3-bunny gravemarker.
This is what the washers looked like when they were removed from the solution.
And now as part of the grave marker–
Eventually the piece should become rustier, more aged, a bit more similar to the oxidized bunny marker.
This is another memorial for a bunny burial space.
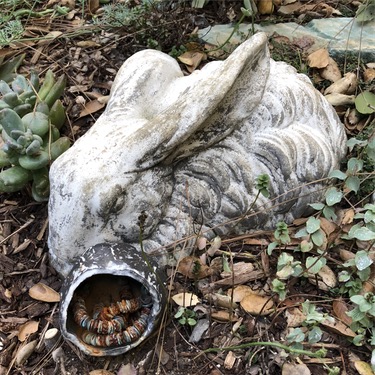
Used the same washers to make the coded memorial piece. I suspect that they have oxidized because the area of the garden gets watered frequently and the little inlaid ceramic cup does not have a drainage hole.
How many bunnies do I have buried in my courtyard? Eight. That sounds like a lot of bunnies. Eight bunnies have lived with me during the past 25 years. My oldest bunny lived a long, but not long enough 13 years.
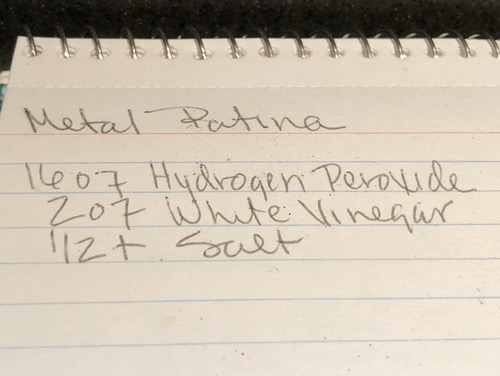
The simple rust promoter formula found online.
This has been an annoying allergy season. Had been taking loads of antihistamines, now on Sudafed and Aleve. Symptoms often wake me in the middle of the night. Sometimes I need to take addition doses of Sudafed.
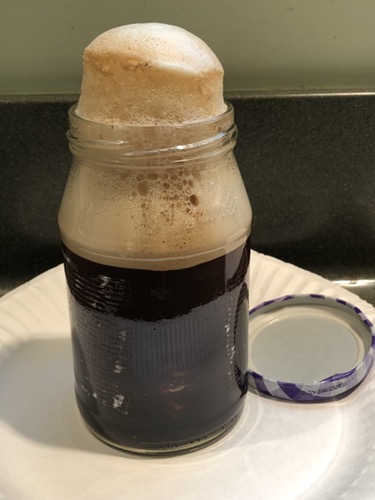
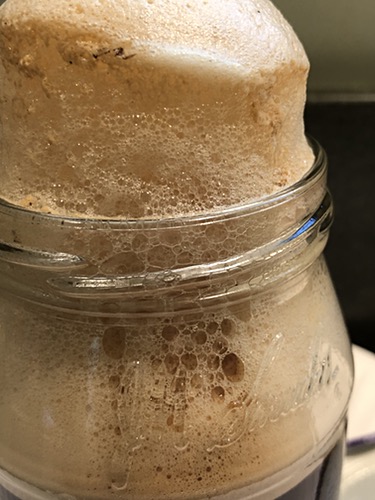
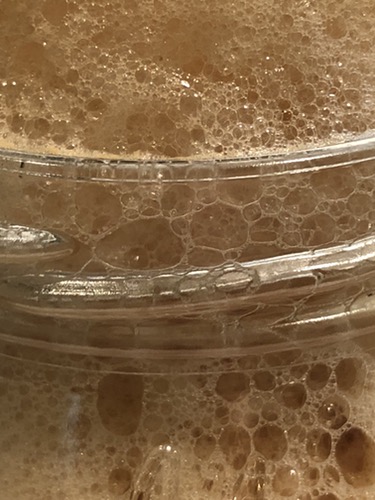
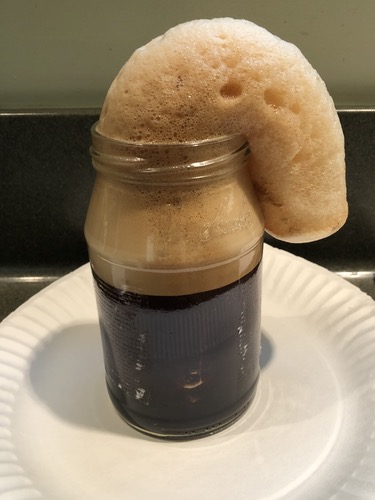
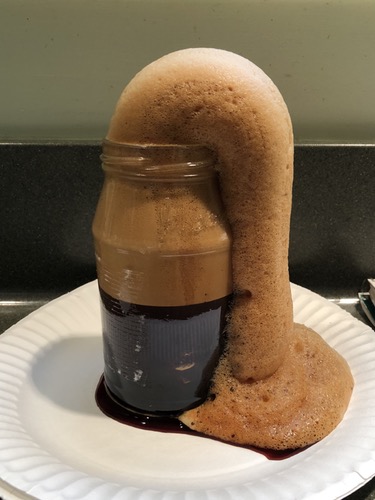
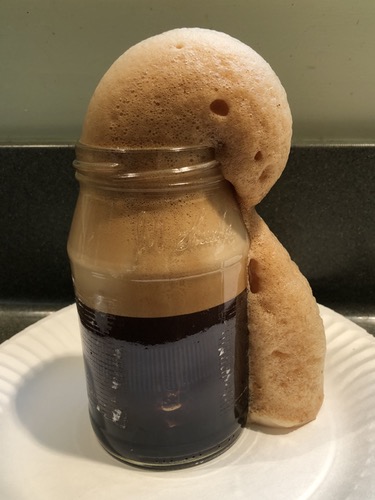
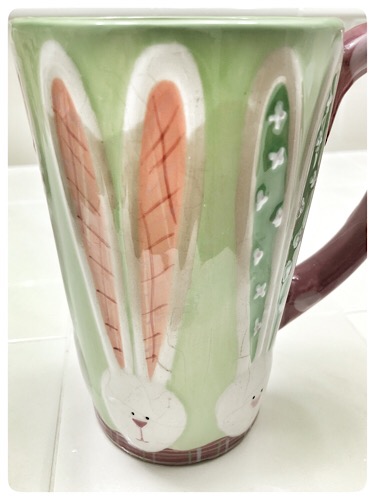
Tuesday evening I left my rabbit mug half filled with water on the bathroom counter, the top covered with a kleenex. Wednesday night the mug was still waiting to be used. As I removed the kleenex I noticed the exterior of the mug looked odd, stained.
When I looked inside the mug, the glaze looked stained.
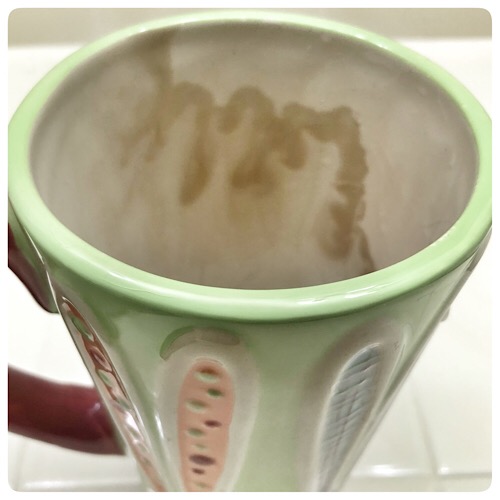
And what happened to the water?

When I held the mug it felt cold. If water can be pulled through the small fractures in the glaze surface, what else might the mug contain? Was the glaze fired to maturity? Is it possible that some of the glaze ingredients are toxic? What have I been drinking with my orange juice?
Yep, time to retire the mug.
Now I know how to achieve gorgeous textural surfaces on bronze. You must submerge the piece in the ocean for centuries!

When I saw the images of the bronze arm found during the archaeological expedition of the Antikythera Shipwreck, it reminded me of my research to create thick textural surfaces on bronze.
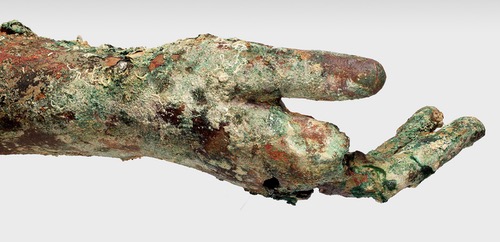
Antikythera Shipwreck Expedition, Detail of the Hand
I buried my bronze pieces with sodium mixtures and chemicals. I applied chemicals to my pieces and then set them on fire. I saturated burlap with chemicals, wrapped it around my pieces, then enclosed work in a plastic container. I applied low-fire ceramic glazes to bronze pieces and then fired them. And I did a combination.
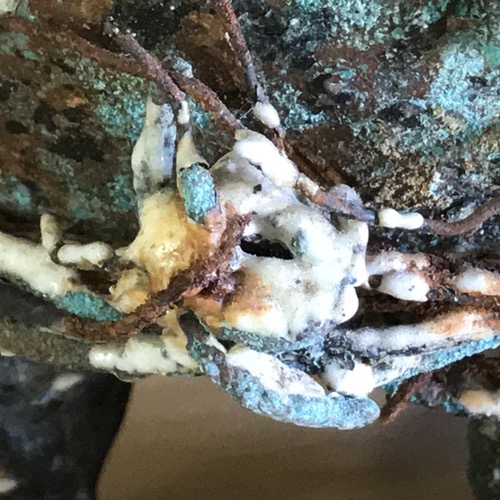
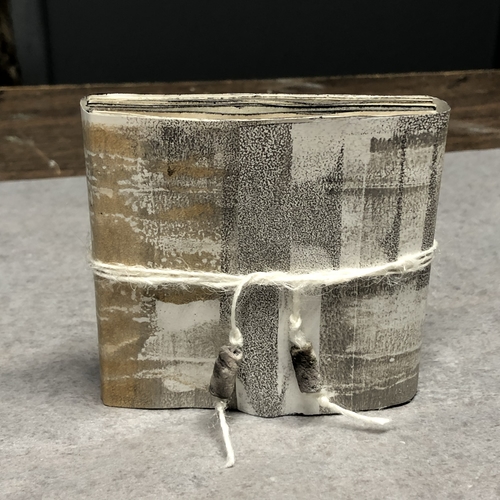
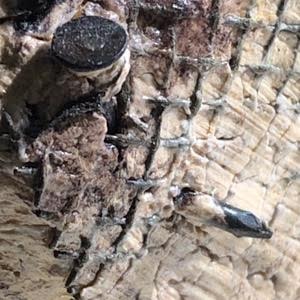
This is a detail of a little bronze bowl that was bound with wire.
I applied Egyptian paste, low-fire glazes, and the lot was fired hot enough for
paste and glaze to mature, but not hot enough for the bronze and steel wire to become molten.
Egyptian paste is a self-glazing clay body. I have used it in a variety of ways, even as a self-glazing spackle when something needs to be filled.
Hardware cloth formed into a vessel and held in place with nails. Egyptian paste was applied and the lot was fired. The pink color is the result of the addition of red iron oxide added to the paste dry batch.
Post of Eroded Contours
My series that combined ceramic and bronze processes.
Antikythera Shipwreck Excavation
It appears that the Antikythera Shipwreck excavation photos I used in my post were taken by Brett Seymour/EUA/ARGO.
Found: A Giant Bronze Arm From the Antikythera Shipwreck
Antikythera shipwreck yields statue pieces and mystery bronze disc
Greece Ministry of Culture and Sports