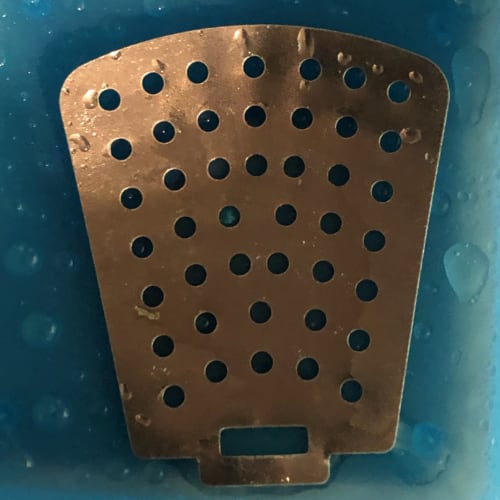
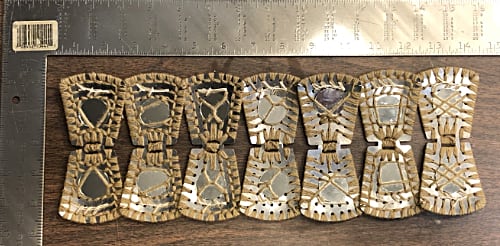
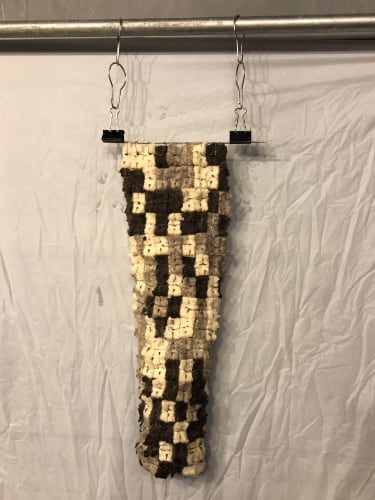
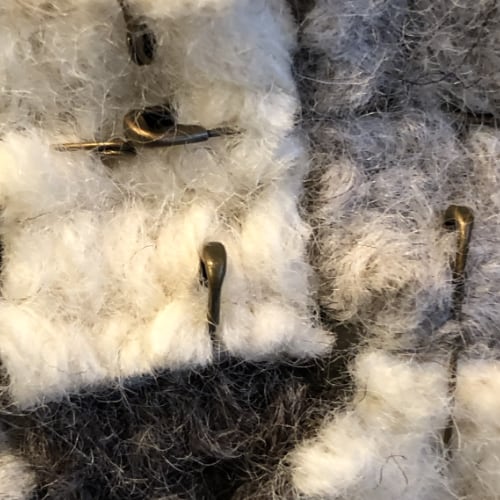
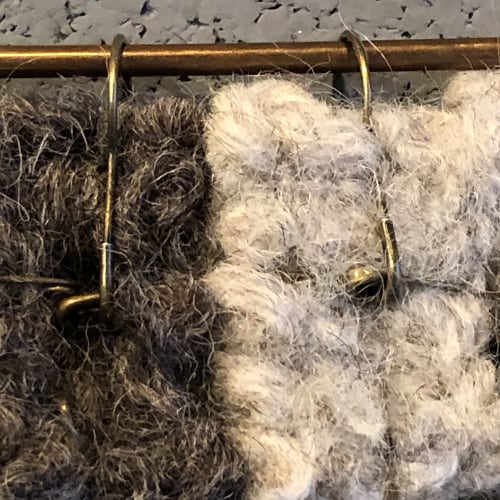
I ordered some truly beautiful safety pins from Amazon. This is the description–Household Mall 3/4-Inch Safety Pins, Bronze (1440 Pieces).
Read through the product information and not once did it state that the safety pins were not actually bronze.
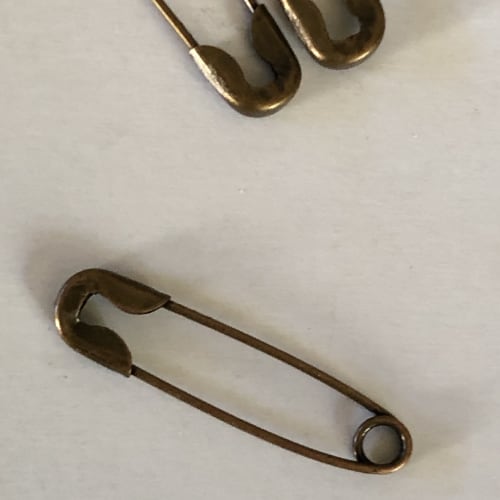
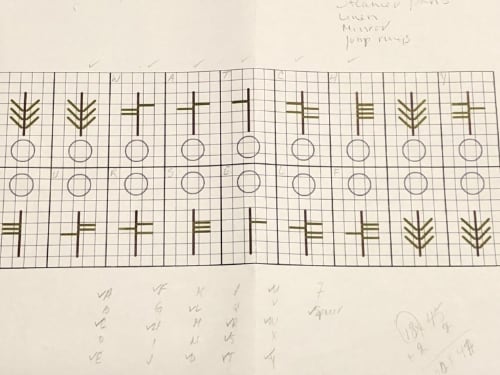
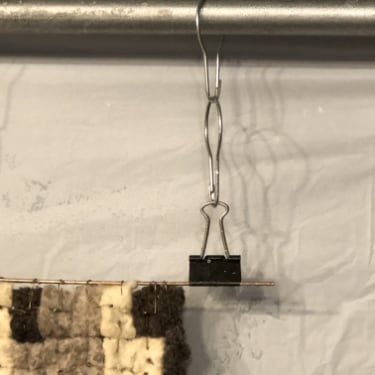
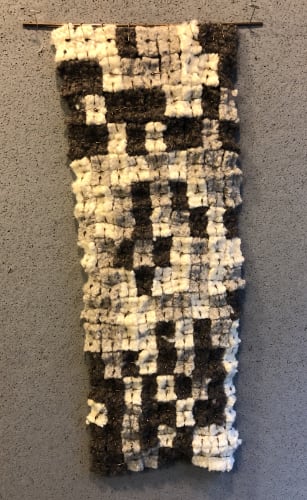
I was using the second type of safety pins to suspend Who is Left on a bronze welding rod.
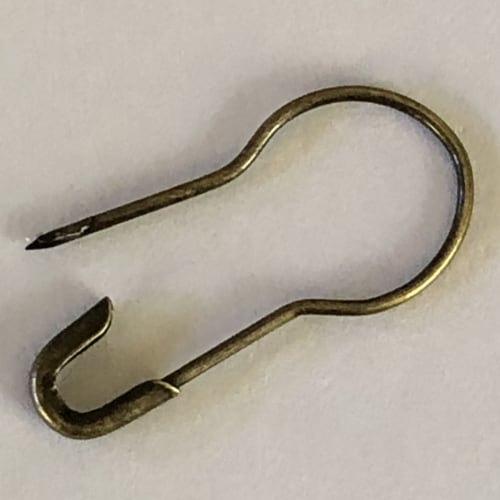
These were not bronze because the product description states–Firefly 1000 pcs Bronze Metal Gourd Pin/Calabash Pin/Safety Pins/Bulb Pin/Bead Needle Pins/Clothing Tag Pins DIY Home Accessories.
Material: Made of metal of good quality, hard and durable, not easy to break.
So, bronze colored, not bronze.
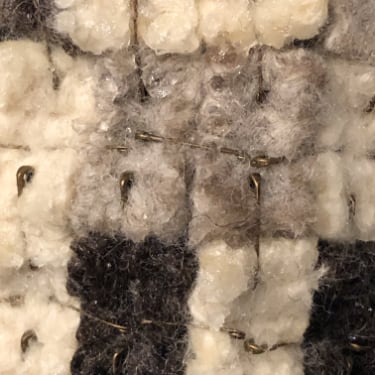
How did I find the bronze safety pins were not actually bronze? I used them to assemble the Who is Left. After an application of a patina solution, bronze would have developed a nice blue-green patina.
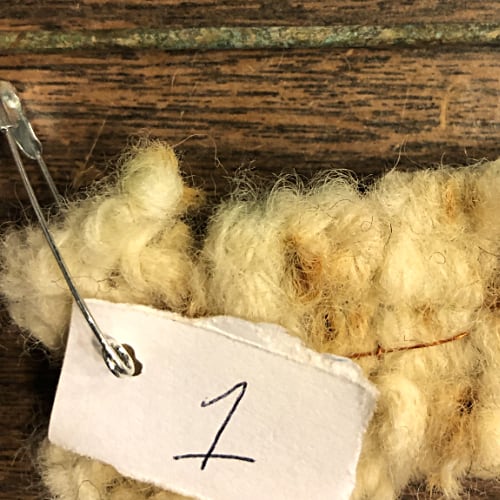
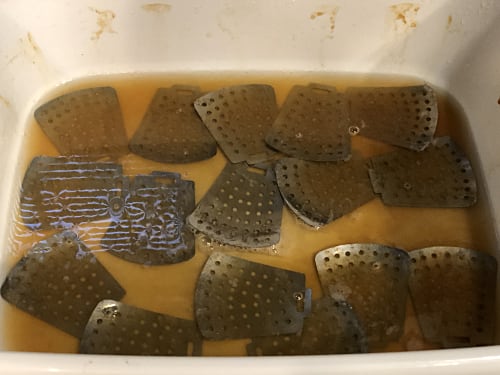
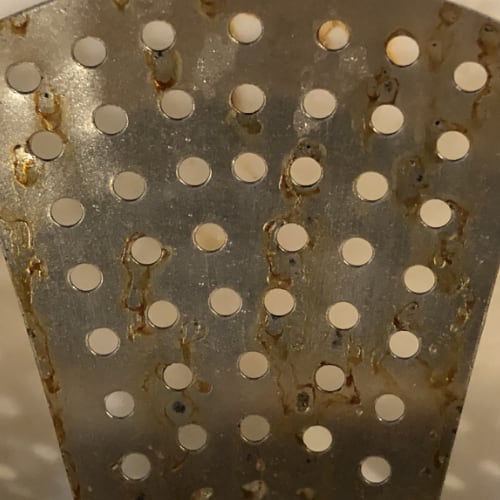
The bronze welding rod has developed the start of a nice blue-green patina, but not the safety pins.
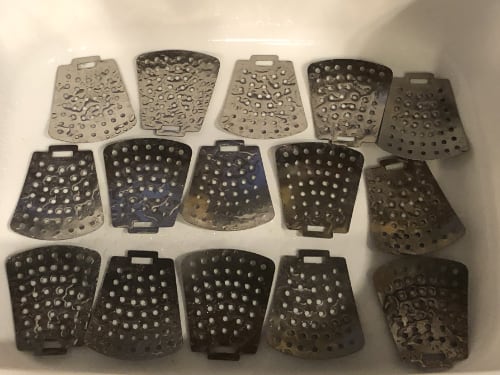
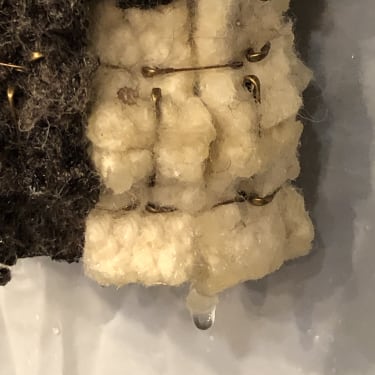
Instead the result was basic rust. That would have been totally fine if the description of the safety pins had been steel. I would have anticipated the rust result.
In my excitement to use the new safety pins, I did not test the metal. Not all mistakes are a bad thing. The results can be informative and be perfect for a future project.
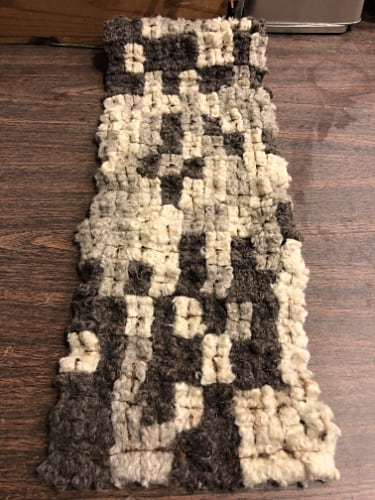
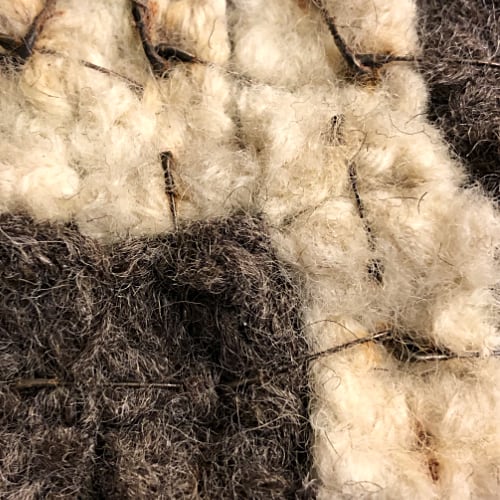
Since I am determined to add the blue-green patina staining and weeping down the piece, I removed the safety pins, row by row, and replaced them with copper wire.
That would be the copper wire I removed and saved from my hand mixer that caught fire.
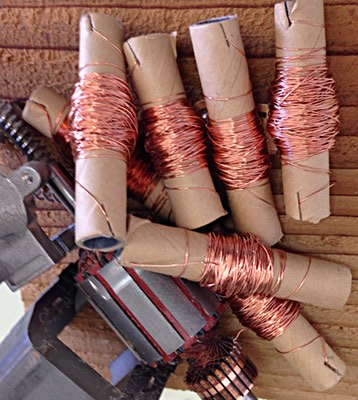
I assembled the blocks of each row with a twining technique. Cut a length of wire a longer than double the width of the piece. Folded the wire in half. Slipped the first wool block of the row into the folded wire, with the fold on the left side. One half of the wire was on the back of the wool block, the other half on the front. The wire was inserted through the middle of the block, back through to the front, front through to the back, then given a twist on the right side of the block.

The process was repeated for the remaining 8 blocks in the row, and for the other 15 rows.
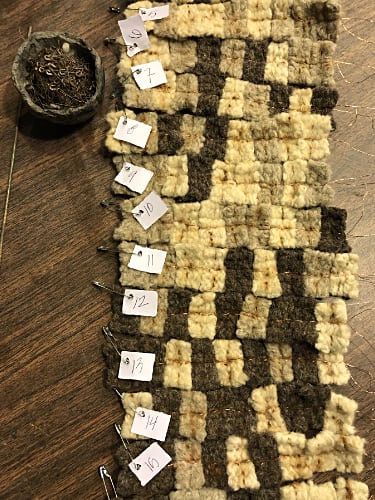
Next I will twine together the verticals. I suspect that task will be a tad challenging. Then patina.
So what about the existing rust staining on the wool blocks?
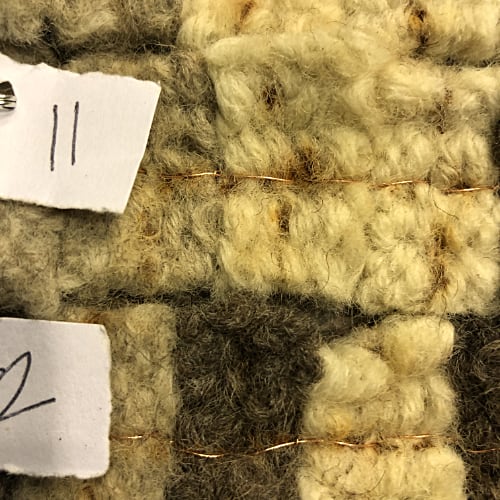
If, as I hope, the blue-green patina stains and weeps, the rust staining will add another layer of age to the piece.
The used safety pins will be used for a future project.
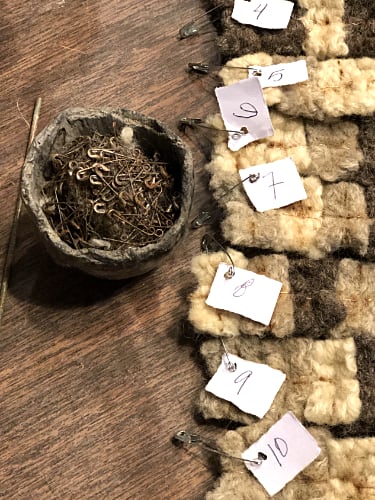
Progress 04/26/19
The back wire comes through the center of the wool block to the front.
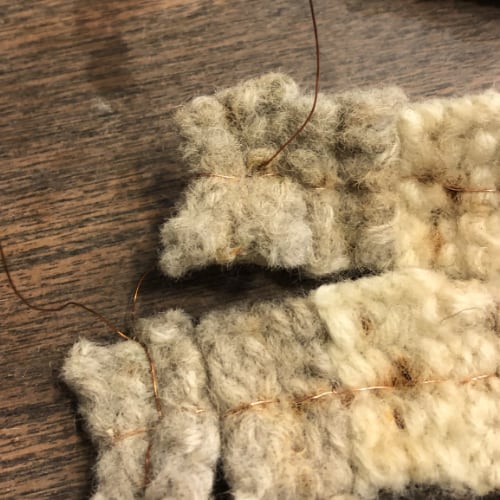
The back wire comes through the center of the block to the front; the front wire goes through the front of the wool block to the back.
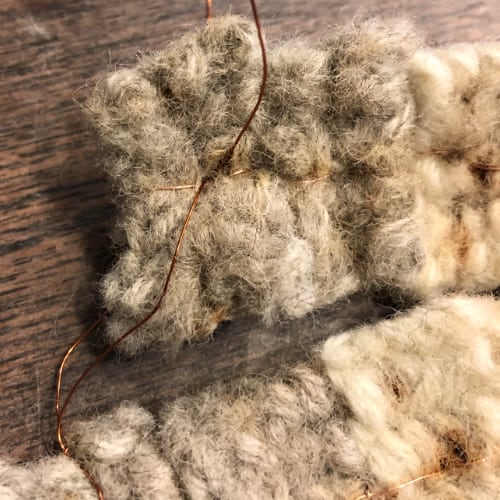
All safety pins removed and replaced with two thicknesses of coppoer wire.
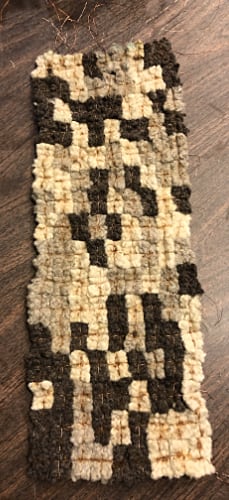
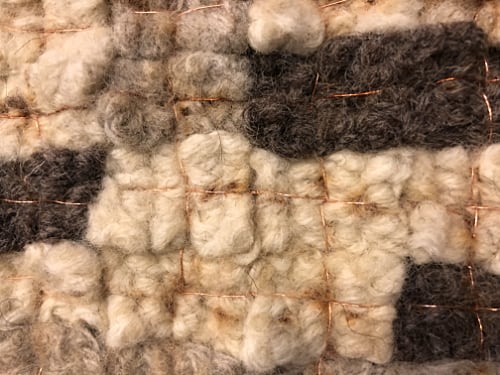
Next comes patina.
