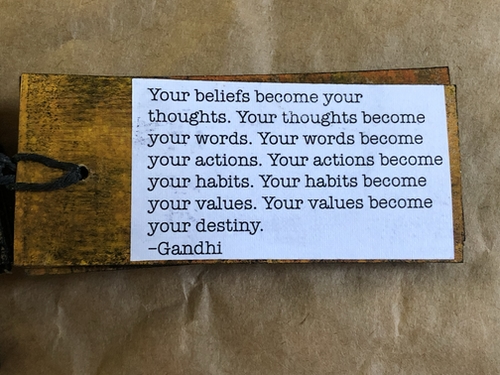
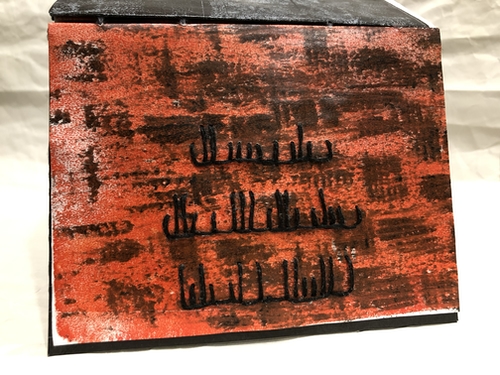
Quote used–Be the things you loved most about the people who are gone.
It may or may not be a Buddha quote.
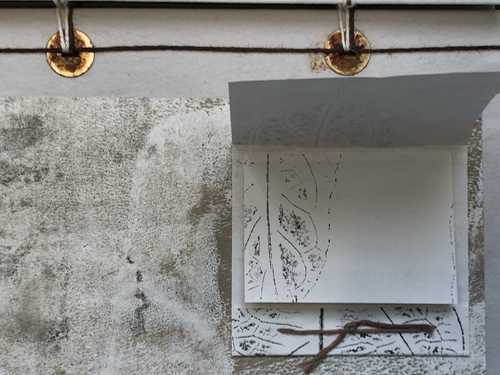
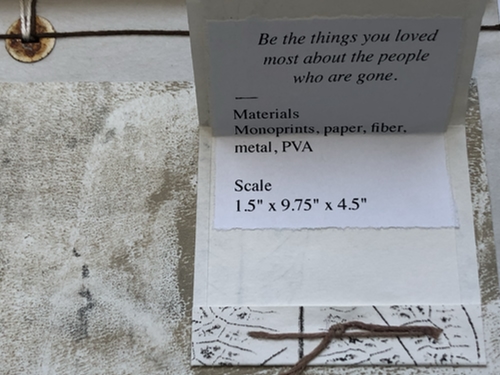
Materials–Monoprints, paper, fiber, metal, PVA
Scale– 1.5″ x 9.75″ x 4.5″

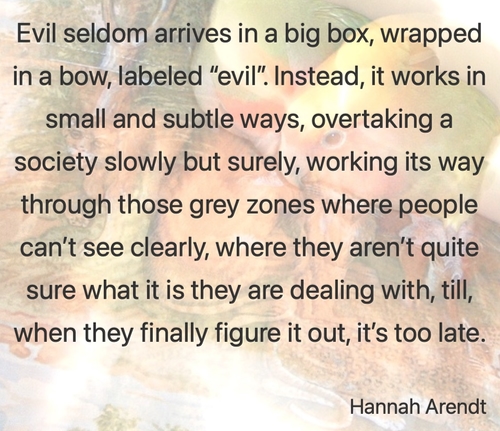
Every day there are reports of multiple books banned because some people found them offensive. Often those same people haven’t even read them. Simple Solution–if you believe that you won’t like a book; don’t read it. Don’t make books unavailable for people who would find them enjoyable, interesting, and informative.
My mother was an avid reader. She taught me to love and respect books. Some of my fondest memories are of our monthly visits to the pubic library. I loved walking through the stacks, looking for, and finding something wonderful to read.
I continued the practice when I was in college and grad school. One of the benefits about being a grad student, was being permitted to keep books for an entire term. I loved that I had a borrowed library in my apartment.
Whenever I had extra money, I bought books. I have over 1,300 printed books and nearly 650 digital books. My printed books are on shelves and stacked all over the house–on chairs, floors, desks, and my studio work table. Some books are stored in boxes in the garage. Digital books are nice because they take up little space. Just not the same sensory experience as touching, smelling, and reading paper books.
As a young adult, I never considered folding a page or making marks in my books. Most likely it was the result of decades of borrowing. Now I make notes, comments, and even record ideas for art projects. I am warming to digital books. It is easy to make highlights and add notes. The search feature and print function saves loads of time.
For the past year, I have been making books based on my reading and current events. I like that most of the books I made are small and intimate. Some are wee things can be secreted away in a shirt pocket.
I integrate several of the same techniques and materials I used in previous work. The connection to past work, makes the book format comfortable while I am learning new techniques and processes.
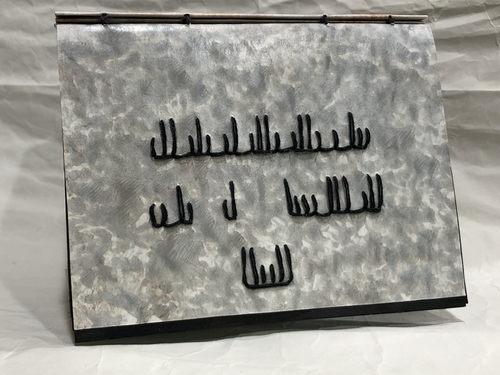
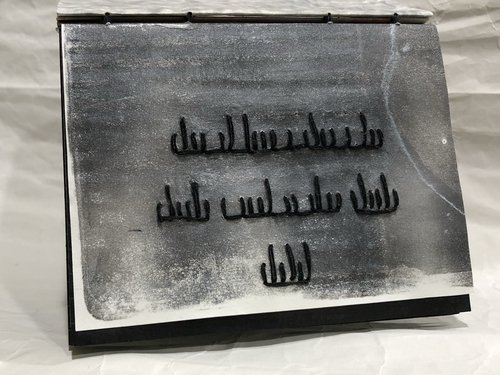
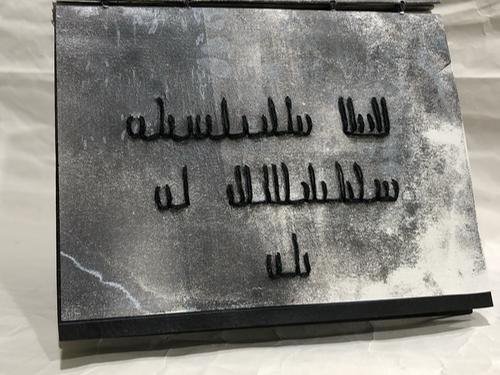
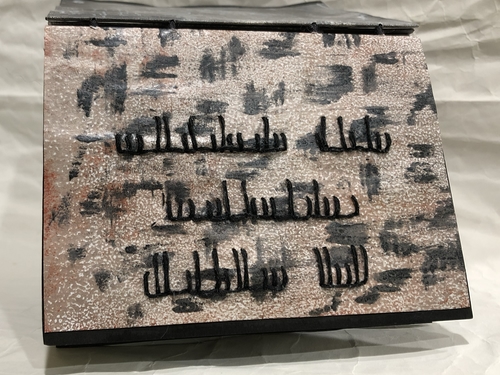
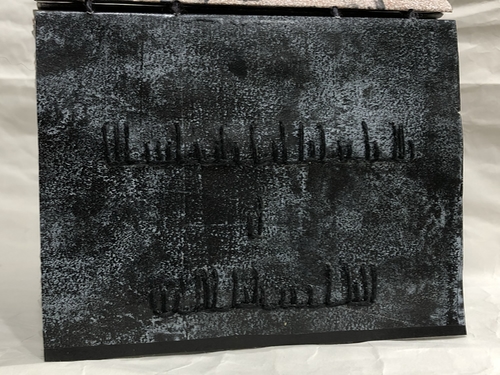
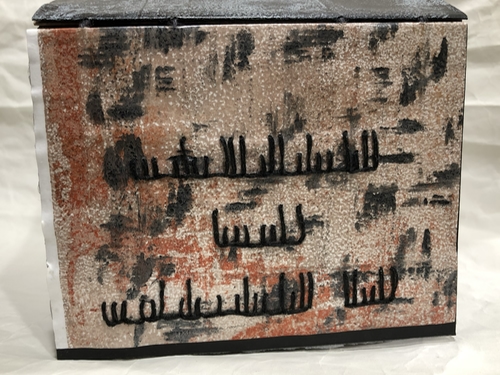
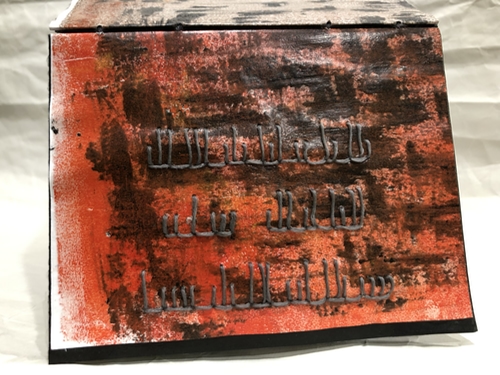
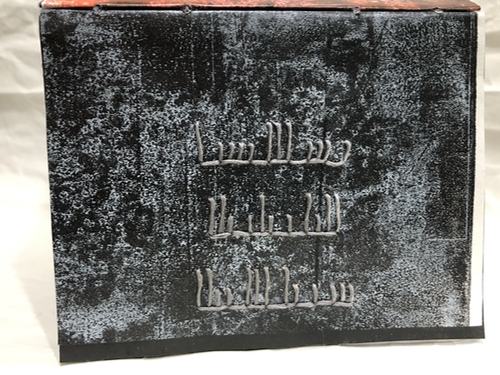
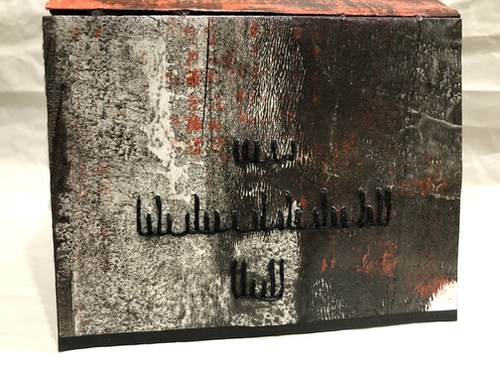
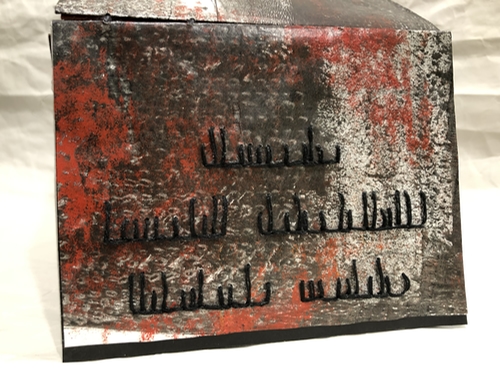
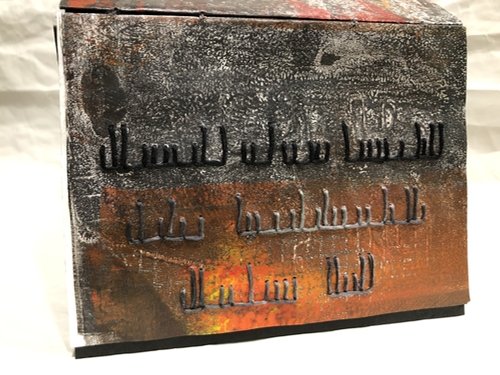
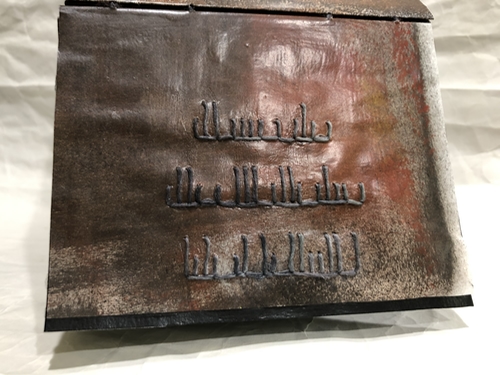
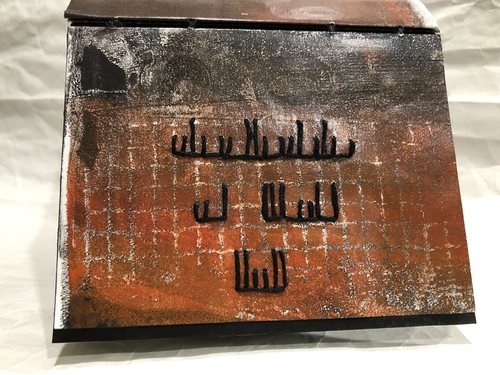
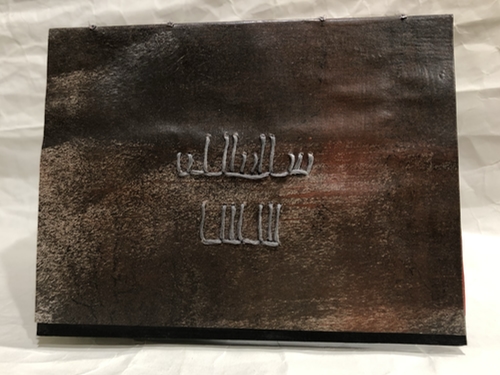
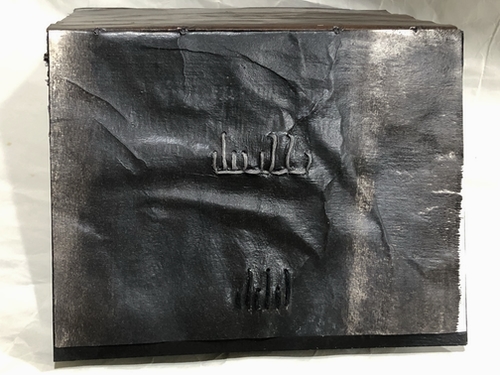
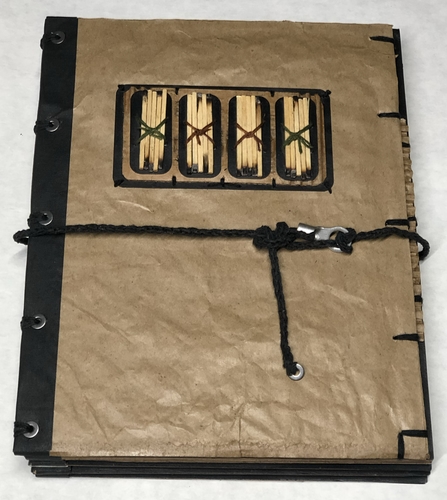
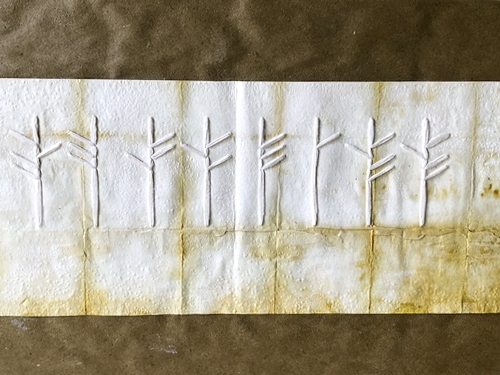
Read–Ray Bradbury
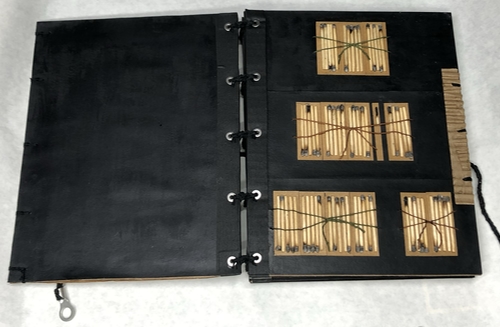
The Ray Bradbury quote used in the piece is–You don’t have to burn books to destroy culture. Just get people to stop reading them.
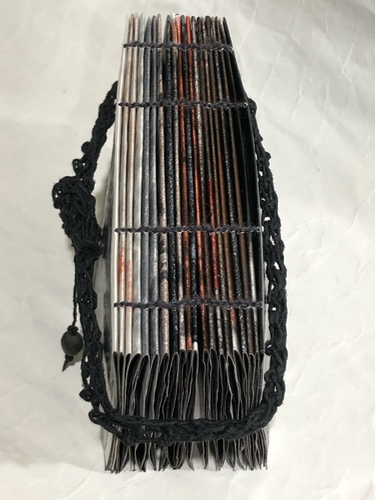
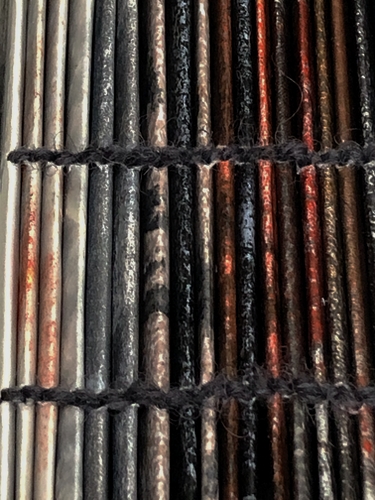
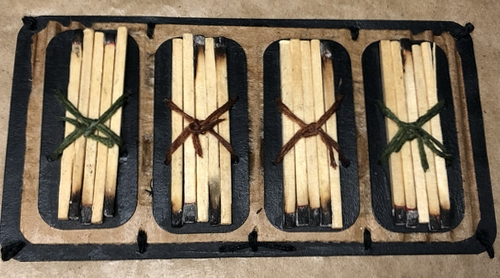
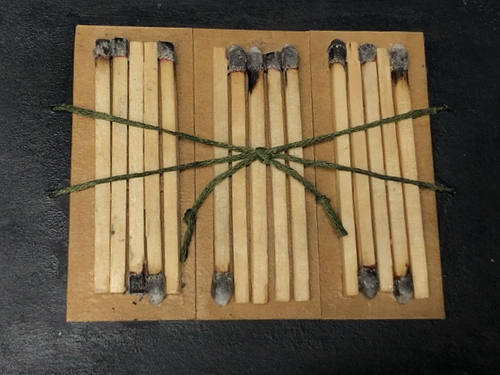
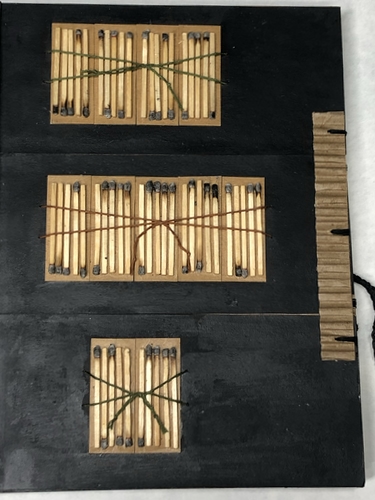
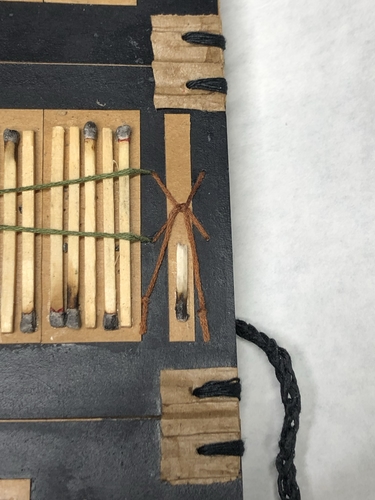
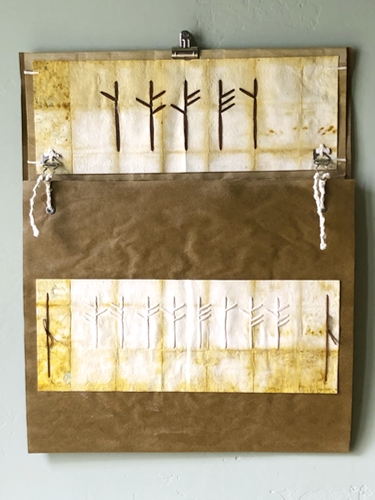
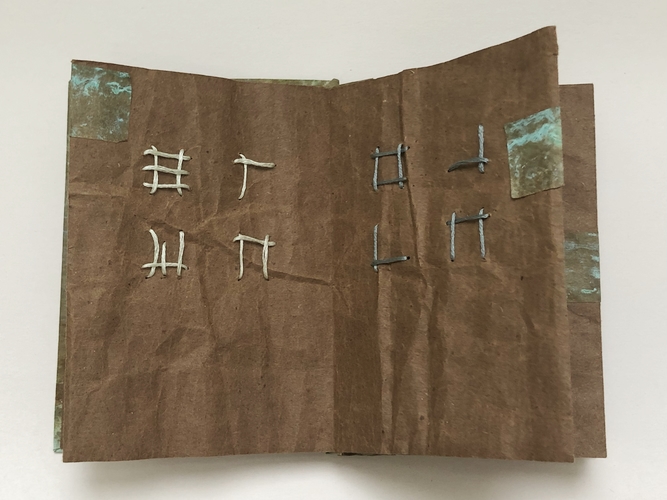
This is the first piece that I used a binary code. Since I planned to use burnt matches for the code, binary was a good fit. The book was completed in September.
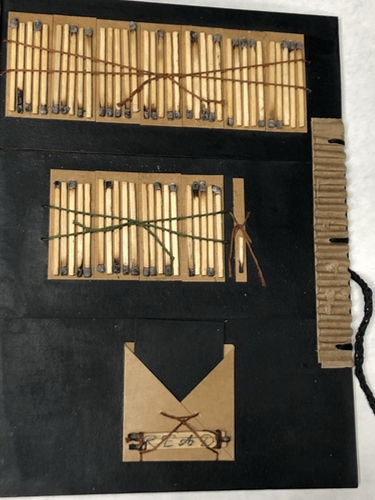
Binary Code–Read
You Don’t Have To
You
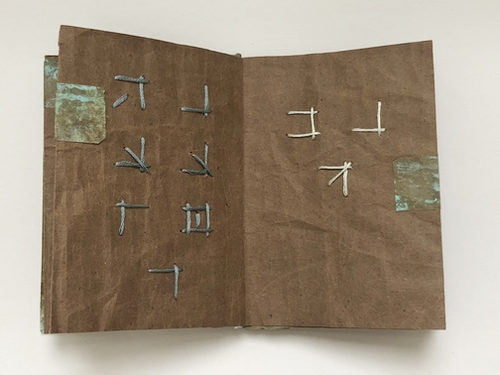
Burn Books To
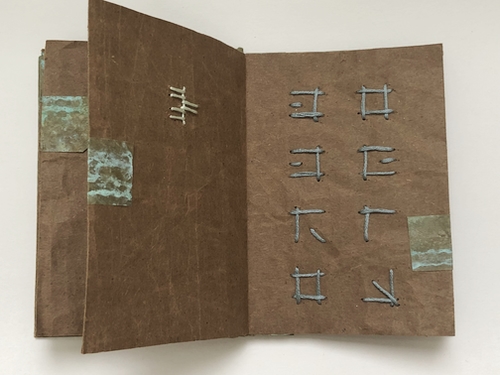
Destroy Culture. Just
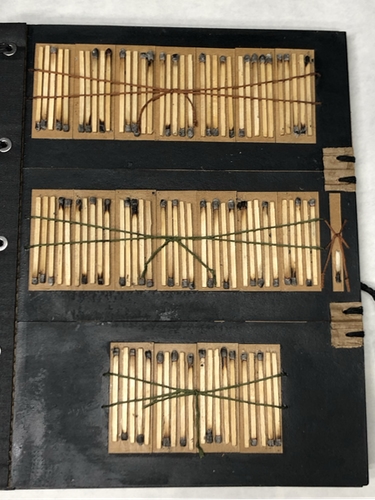
Get People To Stop
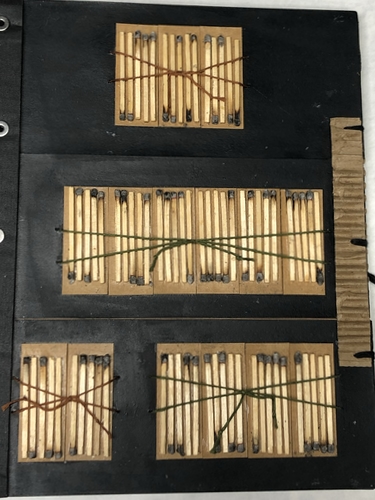
Reading Them.
Notes on Work
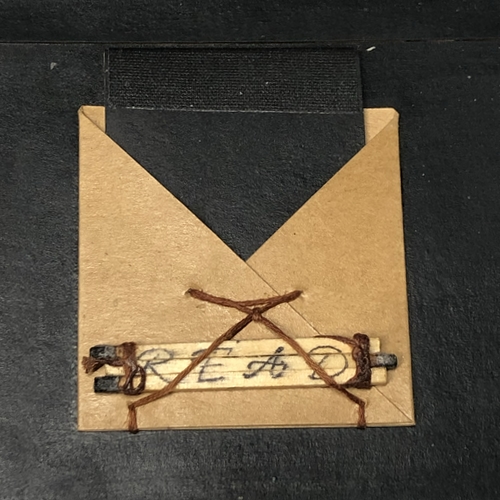
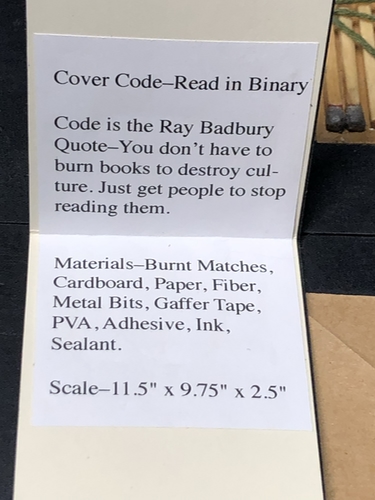
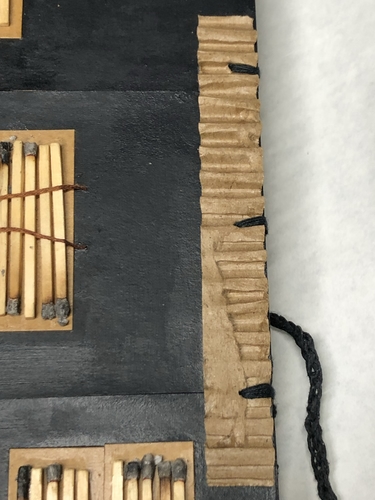
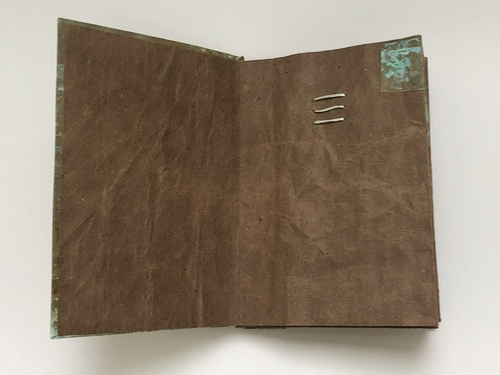
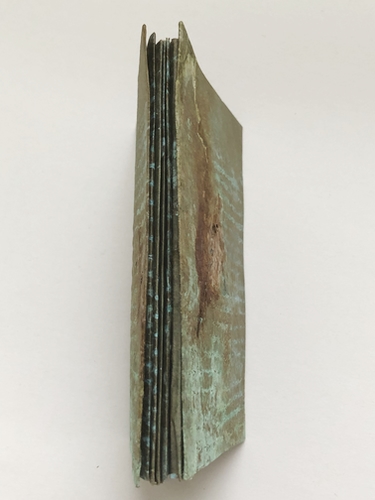
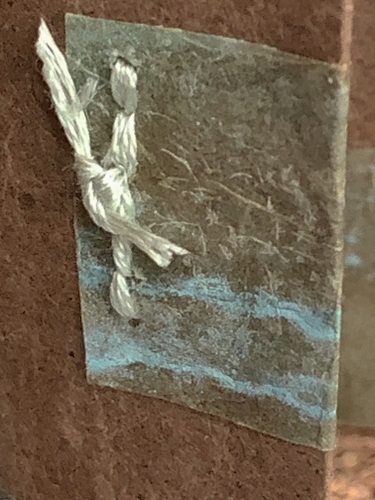
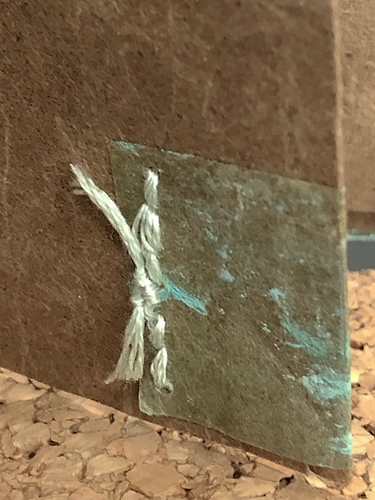
There is a square knot between each page.

Materials–Burnt Matches, Cardboard, Packing Envelope, Paper, Fiber, Metal bits, Gaffer Tape, PVA, Adhesive, Ink, Sealant.
Scale_11.5″ x 9.75″ x 2.5″
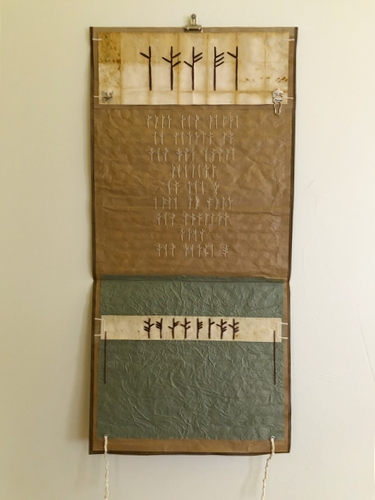
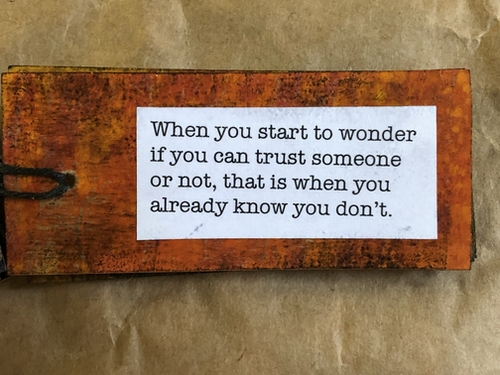
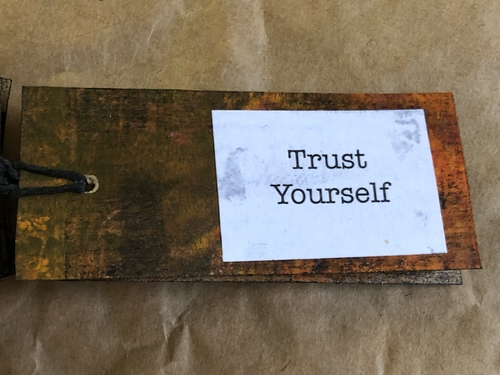
Trust
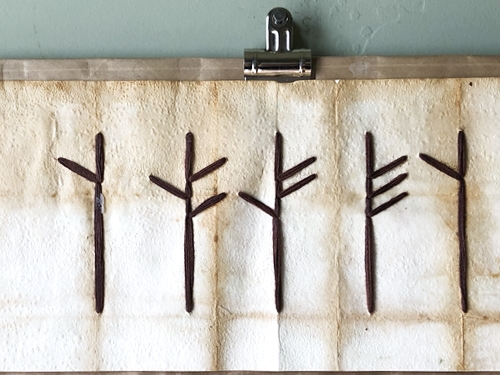
When you start to wonder if you can trust someone or not, that is when you already know you don’t.
Yourself
Yourself
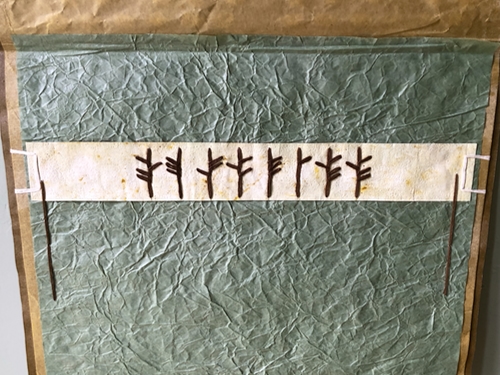
Girdle Clips
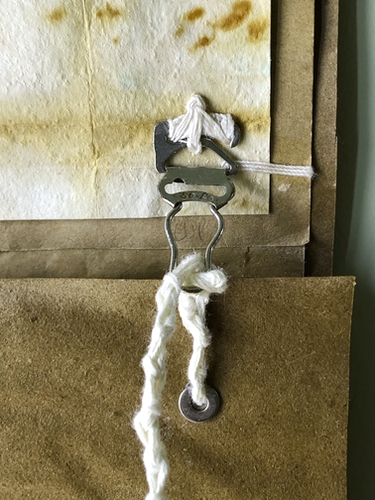
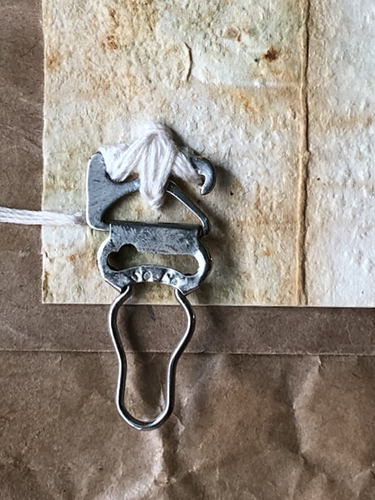
Girdle Clip Ties
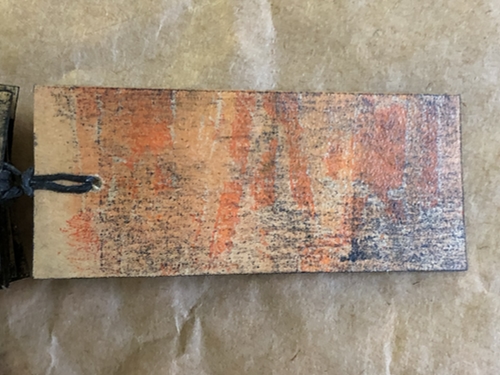
Rust Paper
Materials–paper, rust paper, fiber, PVA, metal.
Scale–(closed) 18.75″ x 14.5″ x 1″; (open) 31.25″ x 14.5″ x 1″
I am using the quote on a wallpiece in progress. Bought heavy cardstock for book covers. This little book was my first attempt. The cardstock is 110 lb. Really too thin for when I start making larger books. My plan is to use my favorite old studio shirts, rips and all, as book cloth.

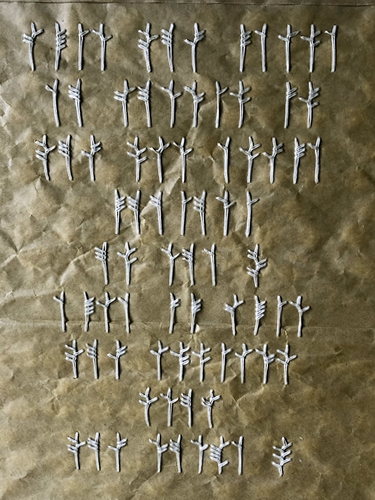
Spacer
Left page–With; Right page–Each
Left page–Passing; Right page–Day
Left page–Comma; Right page–Memories
Left page–Fade; Right page–Period
Left page–Spacer; Right page–Pocket for Note About Work

Pretty sure the next code I use, will be based on dots and dashes of Morse Code. I would like to fill the pages with text.
This code is nice because it has one symbol for each letter. In Morse there are dots, dashes, and combinations of one to four for each letter. Numbers contain five, and punctuation six.
Update
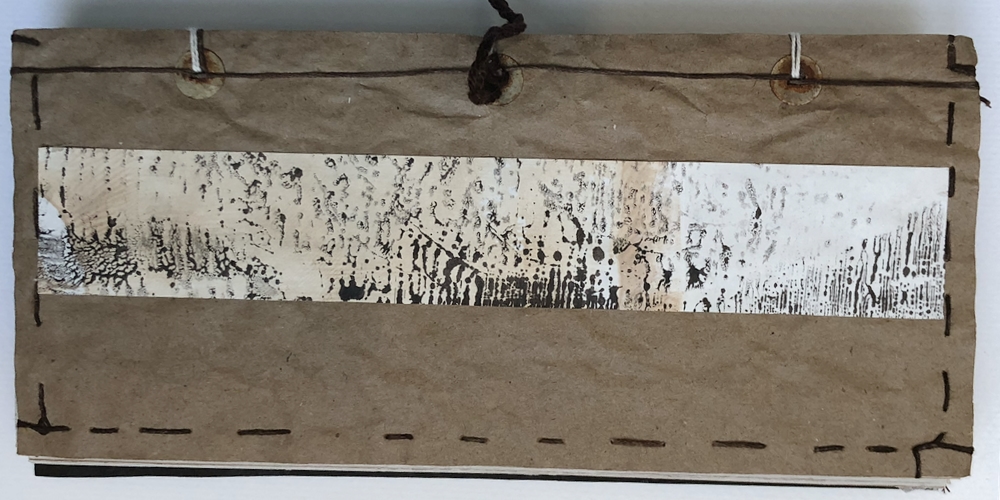
Didn’t like that the inside strips were glued. Stitching is a better idea.
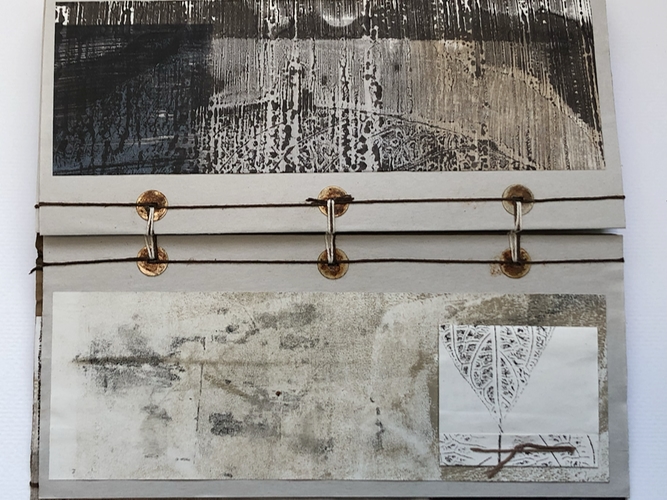
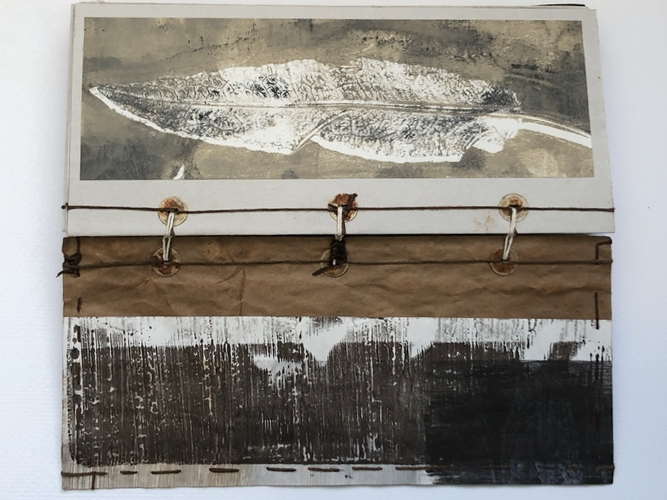
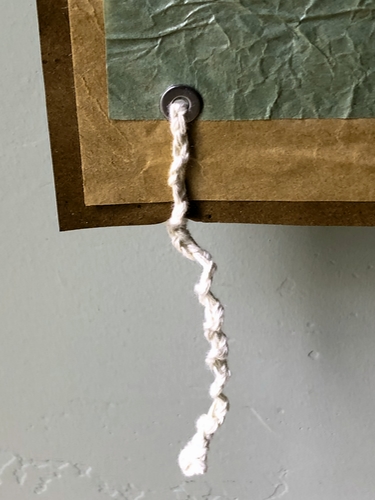
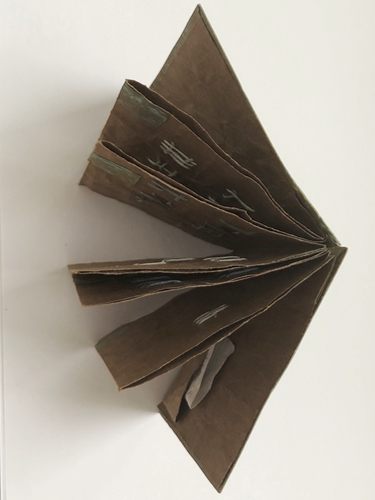
Materials–Paper, Rust, CMC, Archival Glue, Cotton Fiber
Scale–9.7cm x 13cm (19cm with tie closure) x 1.5 cm
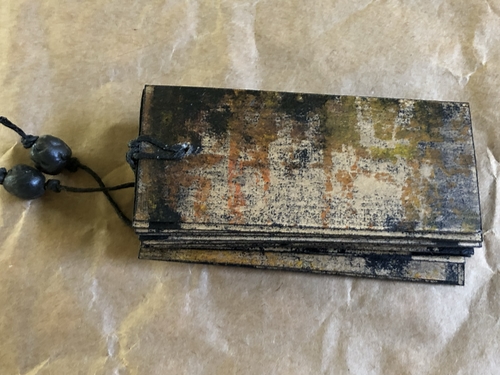
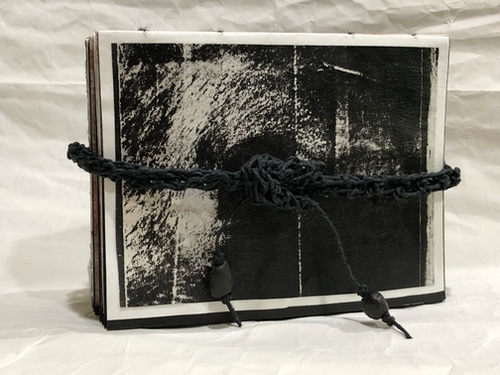
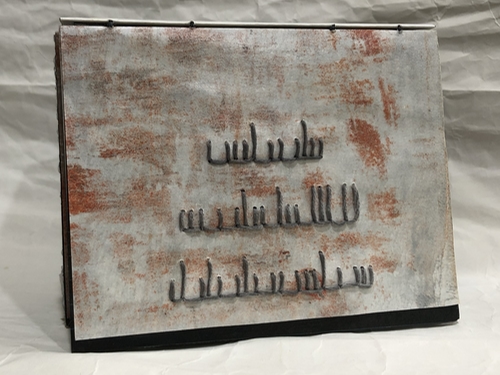
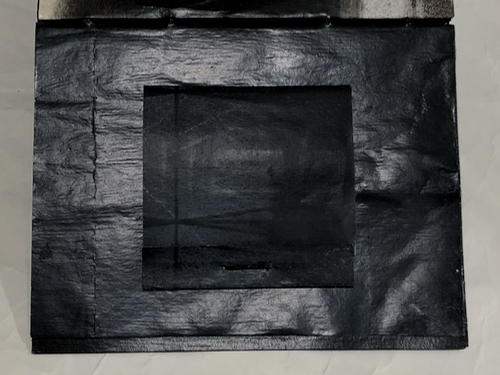
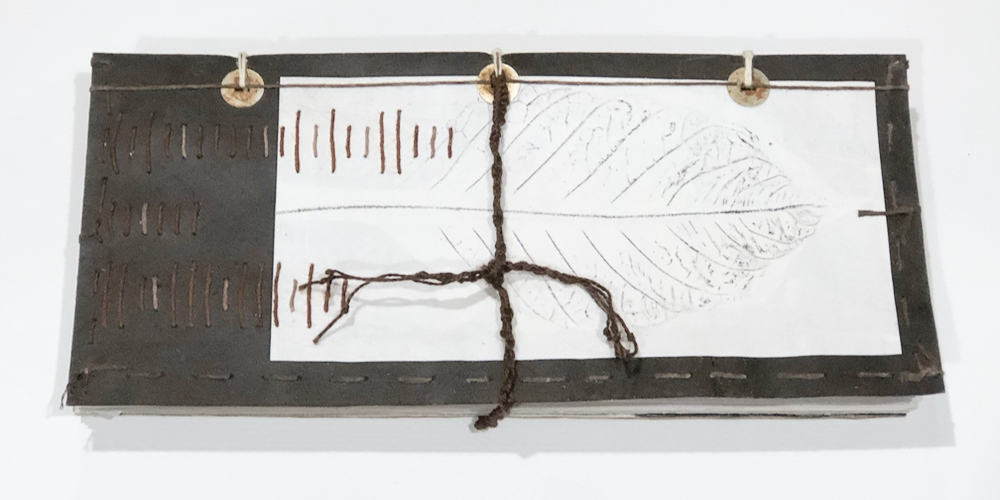
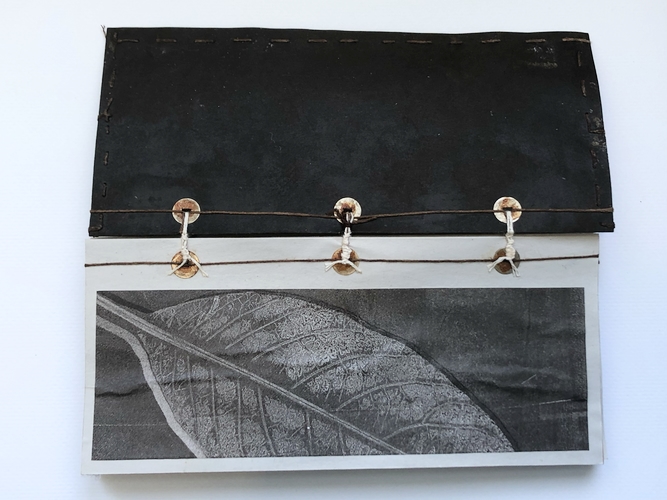
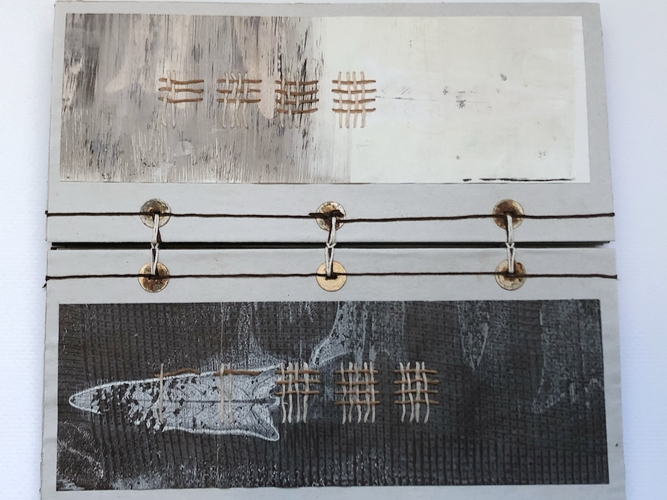
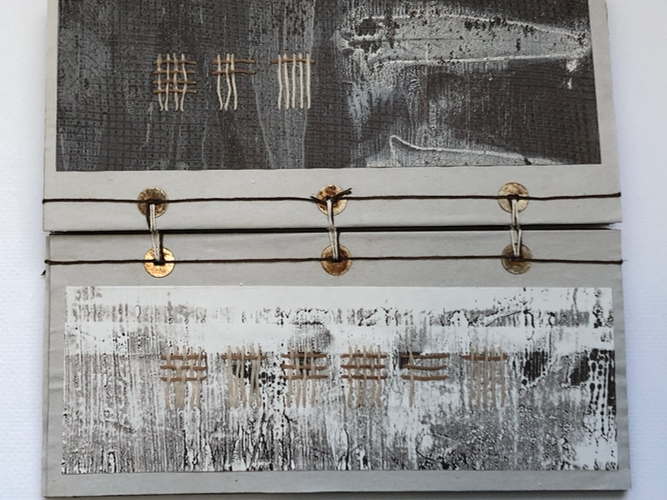
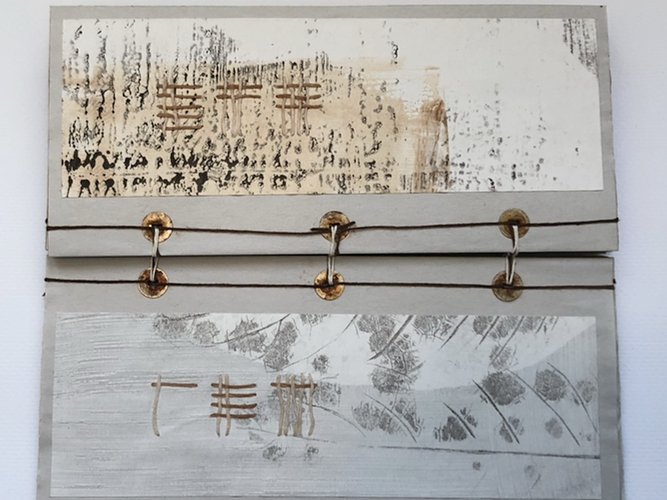
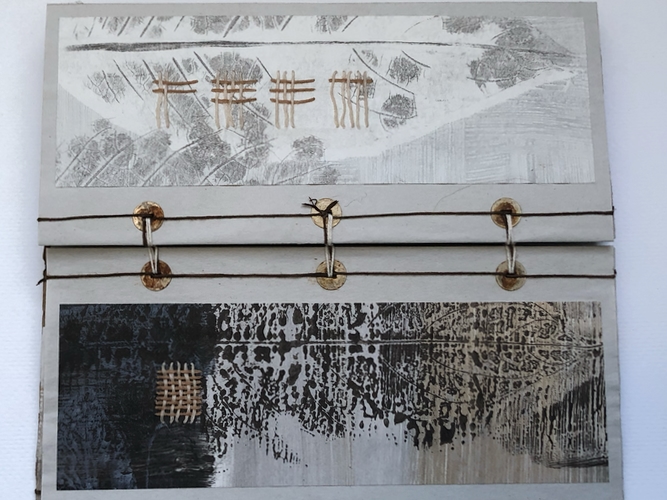
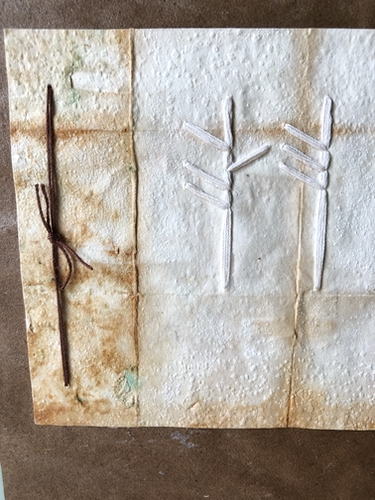
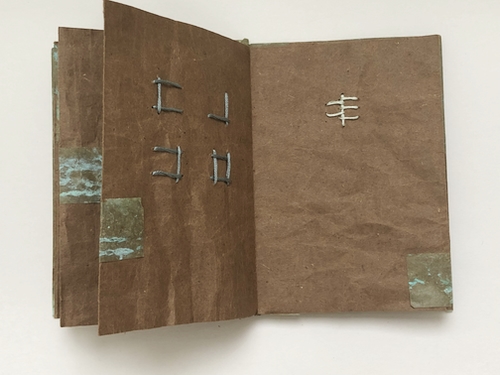
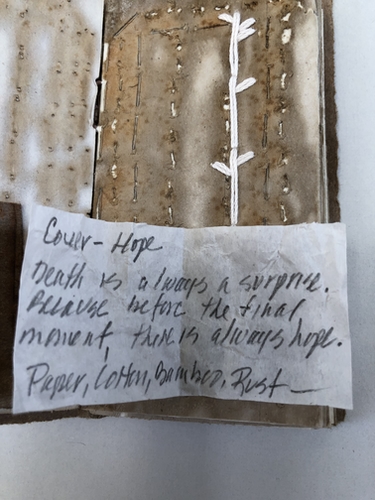
Cover–Hope
Text–Death is always a surprise. Because before the final moment, there is always hope.
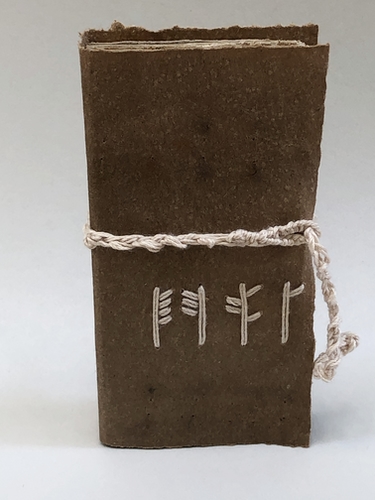
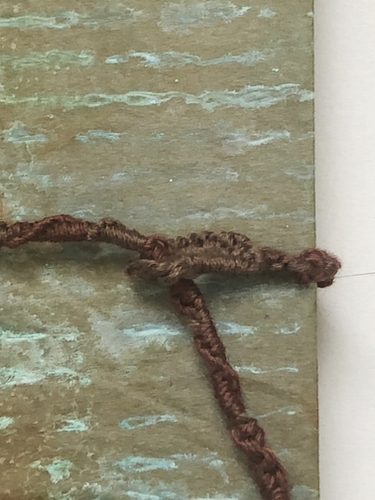
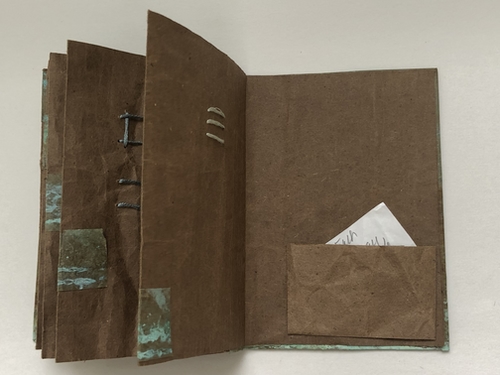
Loom knitted cotton I-cord for closure
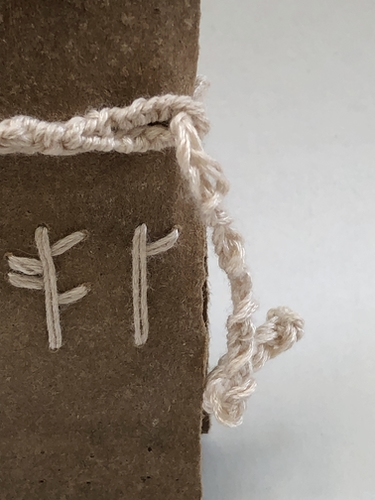
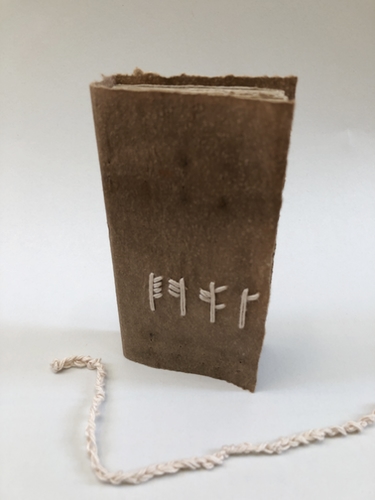
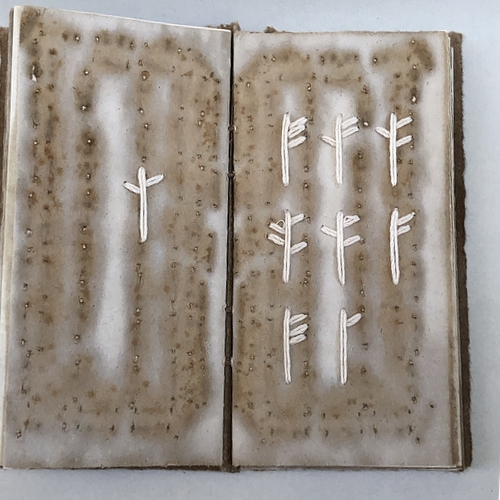
Code–Death
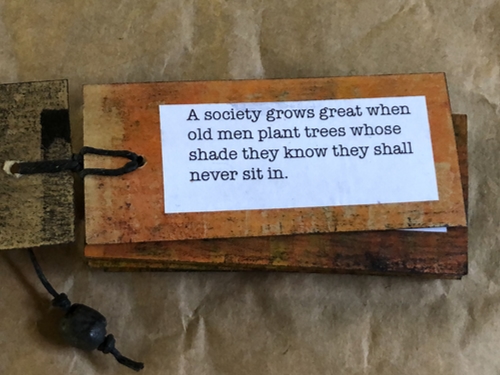
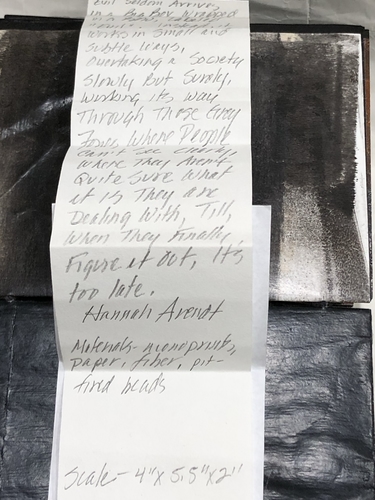
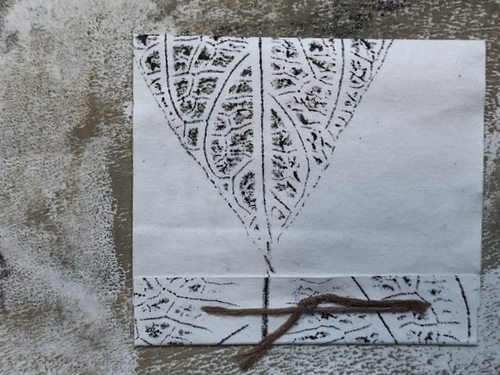
The pocket holds a piece of paper with title and description.
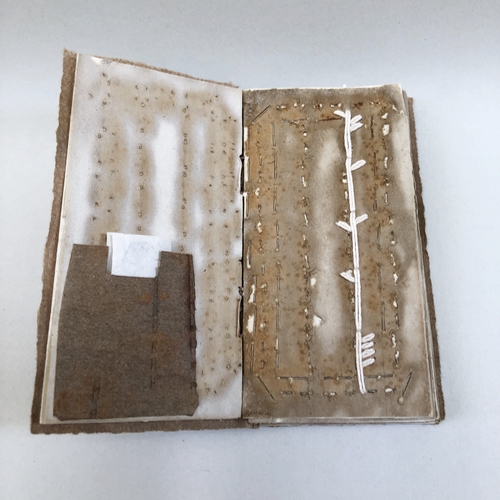
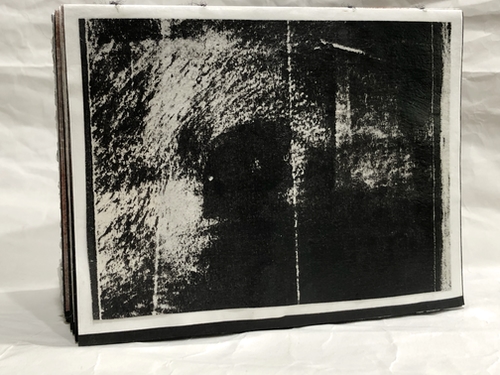
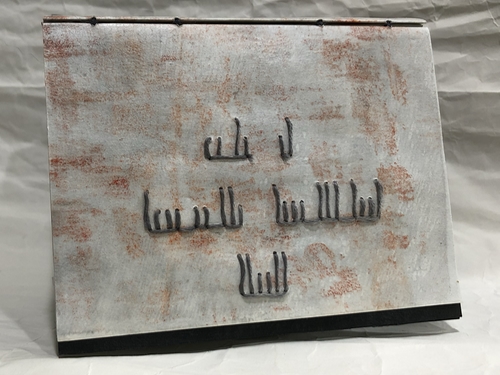
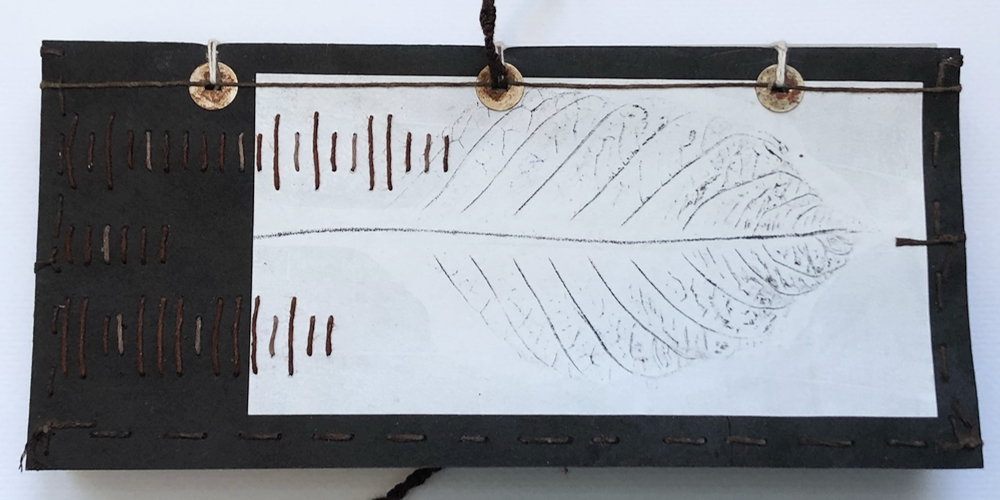
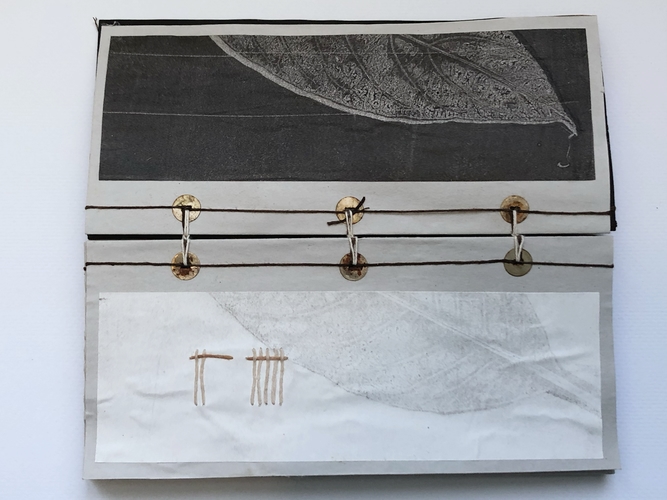
Code–A (left page), Surprise (right page)
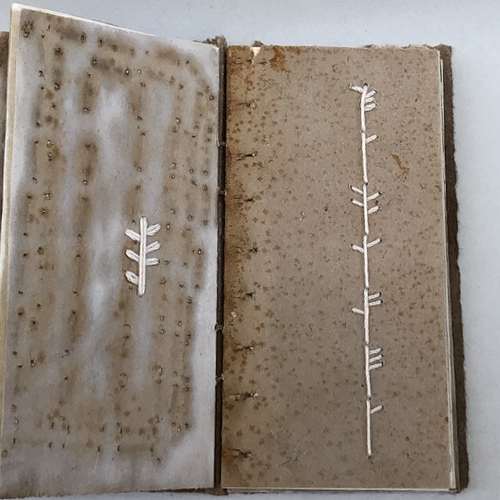
Code–Symbol for a period (left side), Because (right side)
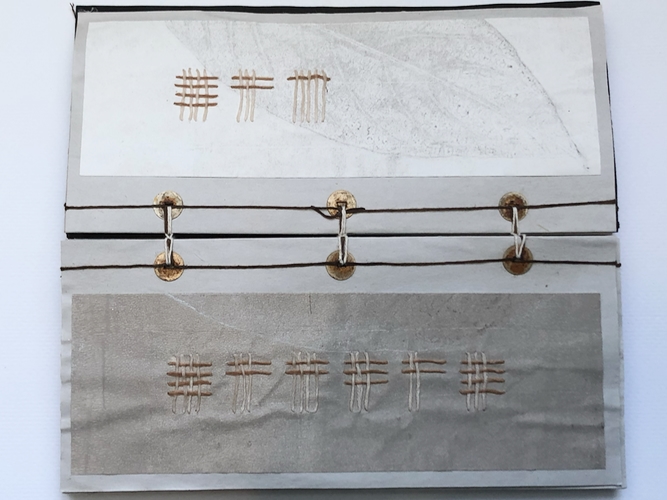
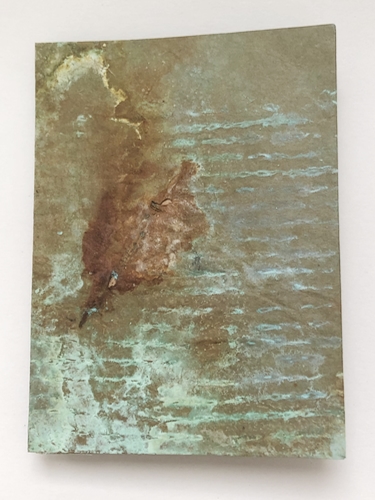
The crystalline speckled paper surface on the right page is from a salt solution.
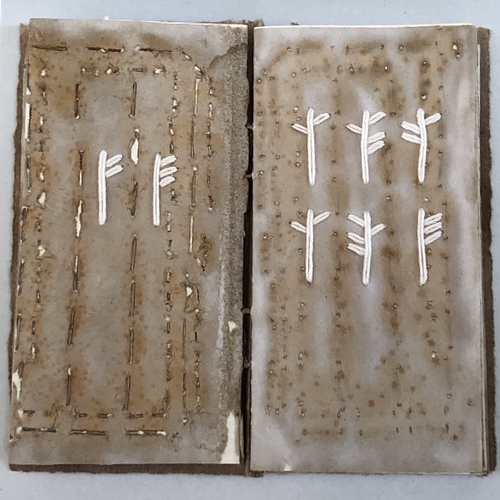
Code–Is (left side), Always (right side)
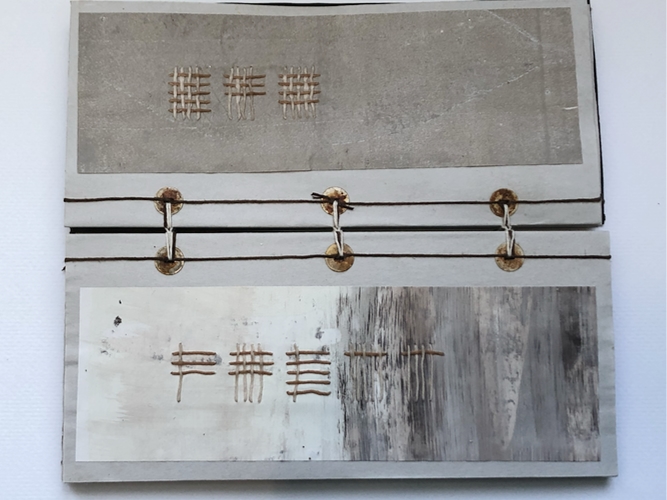
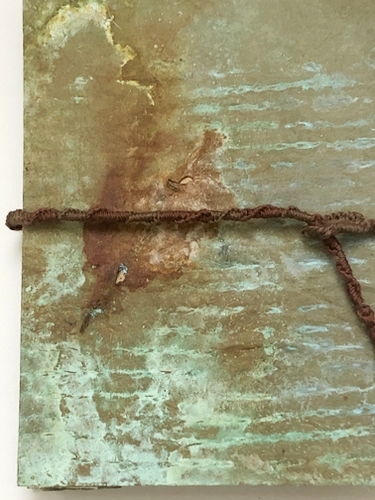
Materials–paper, cotton and bamboo fiber, rust
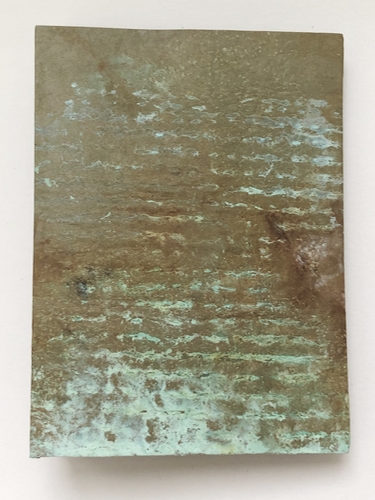
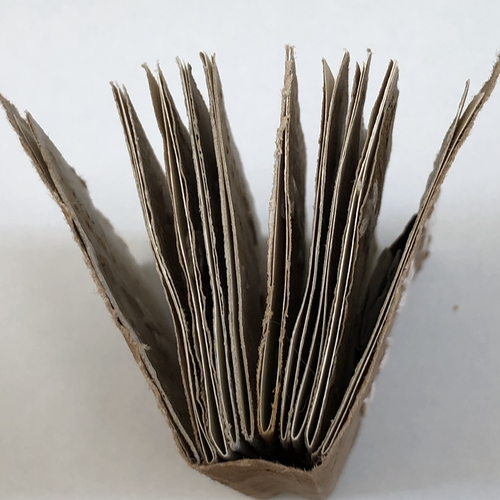
Made most of the rusty paper by cutting a long strip of cream packing paper and binding with 3/4″ safety pins. Applied a solution of white vinegar, peroxide and salt. The paper does become fragile and a challenge to embroider.
The quote is from Mirrored Time (A Time Archivist Novel Book ) by J.D. Faulkner.
I realized how true the quote was as I sat next to my mother’s bed after an ischemic stroke and my sister’s hospital bed post surgery. I knew neither would survive, but a bit of me hoped everyone was wrong. That my family would be whole again.
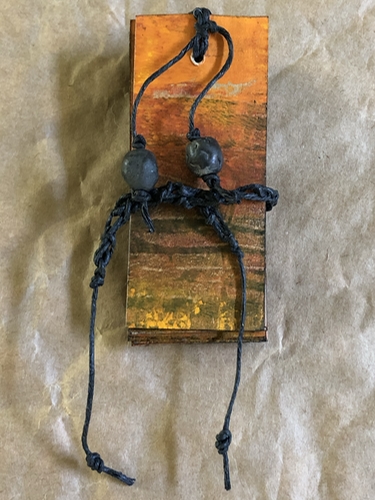
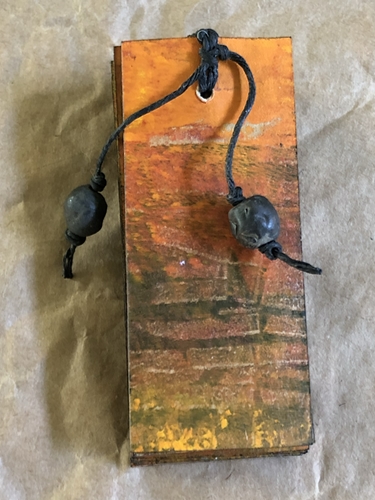
This morning I applied liquid starch to the vessel. It is not yet dry.
Today is the anniversary of my mother’s death. The plant that she gave me is still doing well. It is a joy when a plant gift thrives.
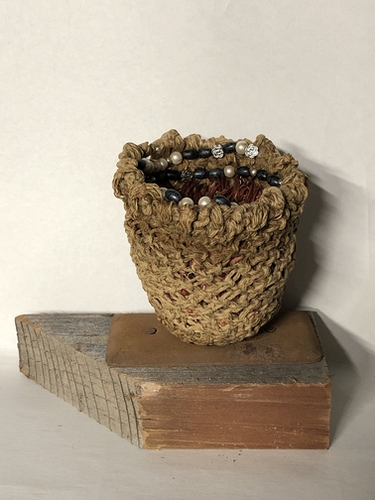
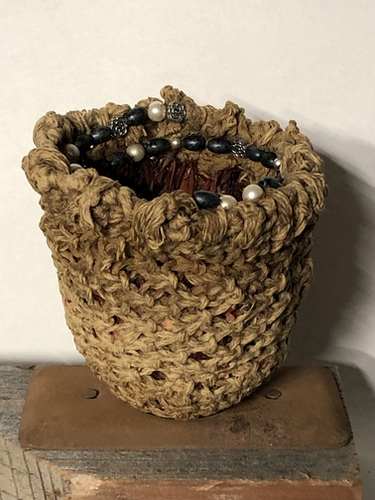
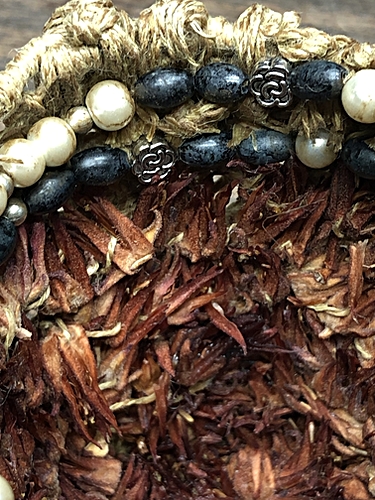
Code-a gift from my mother
Materials–knitted linen, dried succulent flowers, wood, metal, beads, starch.
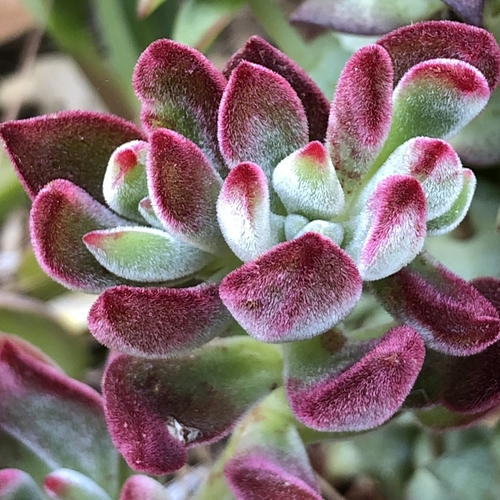
The succulent was a gift from my mother. The metal plate was amongst my father’s things in his workshop.
Dimensions–13.5cm x 16.5cm x 8cm
The plant is the Red Velvet Echeveria.
2020 July

2022 May

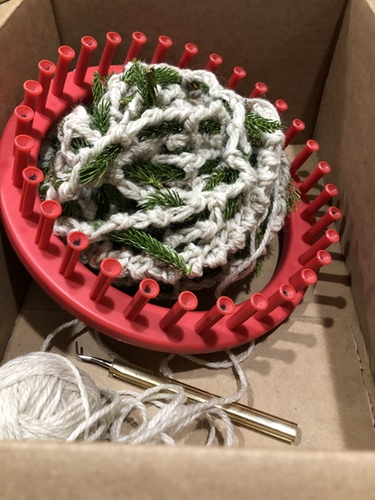
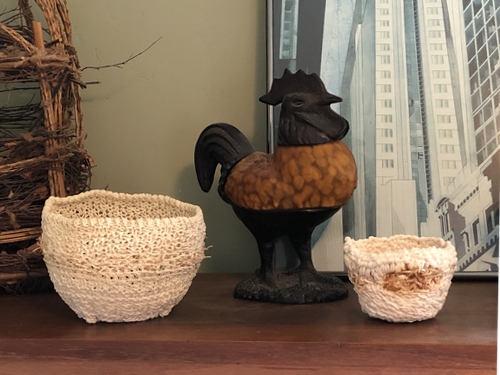
Gone back to working on my knitted Memory Bowls. Ran into a problem with the bowls not being sturdy enough. Put them on hold.
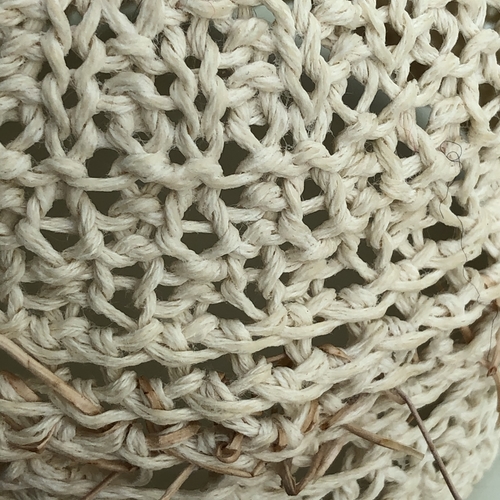
The bowls are fiber with some negative spaces within the patterns, a stiffener is in order. In the past I used sugar, shellac, corn starch, liquid starch, floor wax, microcrystalline wax, salt, and miscellaneous other stuff in the past. Wanted to spend some time thinking about how to finish the bowls.
Serendipity?
I have been following Maria Amélia Mendes’ YouTube channel. Her concrete tutorials are easy to follow, with loads of good tips. I really want to make some concrete pieces. Recently she posted a video–How to make baskets with wood sawdust. Thought I would test out her glue formula on a couple of knitted pieces.
The glue was combined with wood shavings and pressed into a form. After the pieces dried and hardened she added an application of her Finishing Glue. It is the same formula as her glue, with the addition of 100 ml of PVA.
Maria Amélia Mendes’ Homemade glue recipe:
1 liter of water
1 cup of cornstarch
50 ml of white vinegar
I made the Finishing Glue for my test pieces. I had forgotten that heated corn starch and water solution can suddenly become thick. Applied the glue to the test pieces. The thickness made it a tad challenging. If the pieces had been fragile, wouldn’t have been able to apply the glue. I refrigerated the left over glue. May try diluting it a bit if/when I use it in the future.
The first bowl is linen with a little plant fiber.
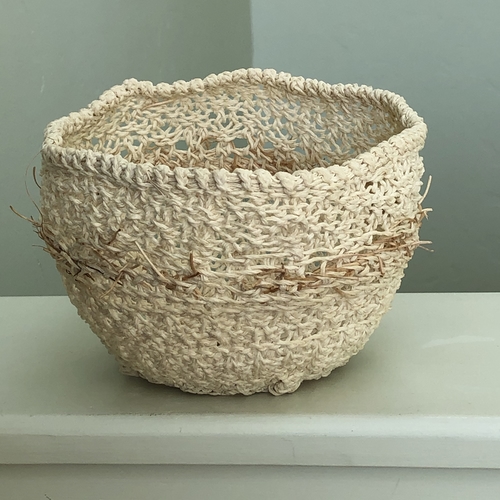
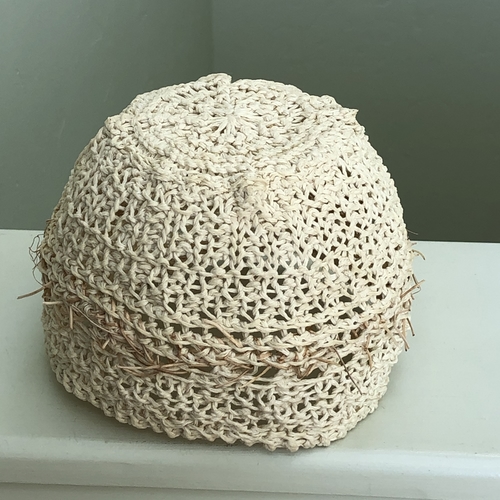
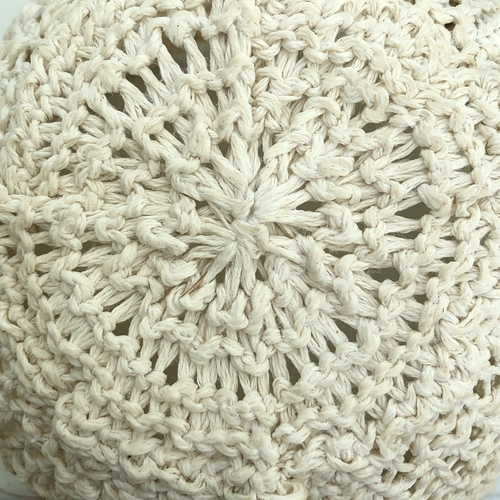
Because the glue was a bit thick, after I applied the glue I gave it a rinse with the kitchen faucet spray function. The bowl was placed over a form to dry.
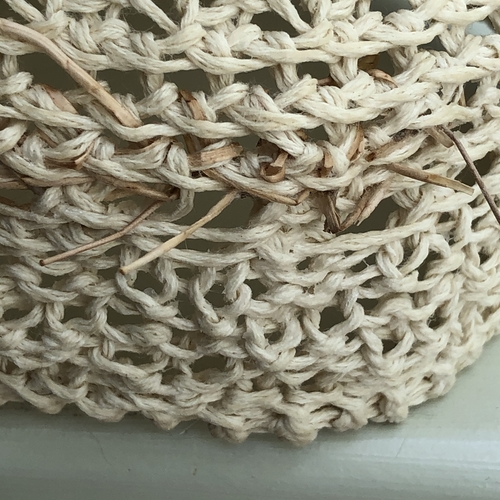
The second bowl is cotton with plant fiber.
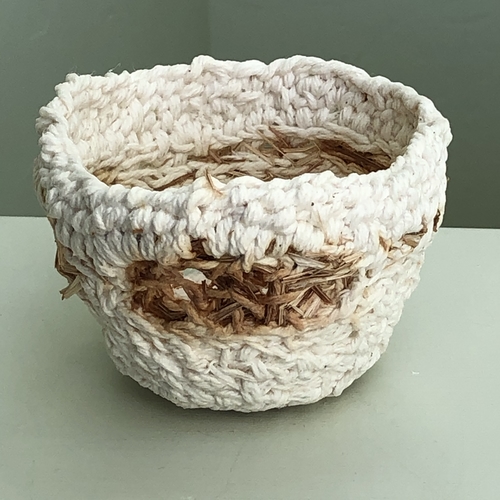
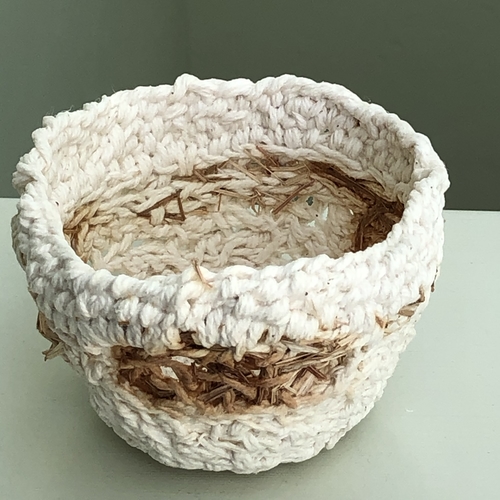
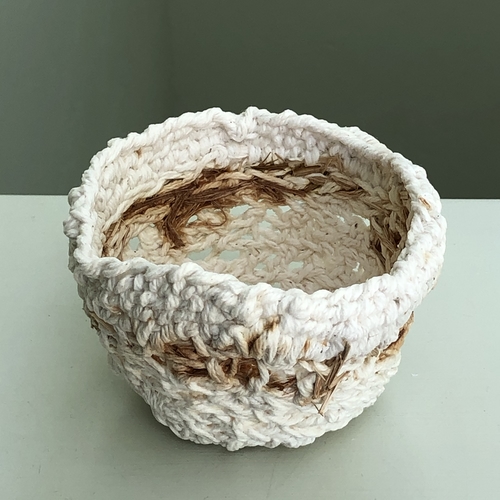

The bowls were placed over forms and left in the sun to dry.
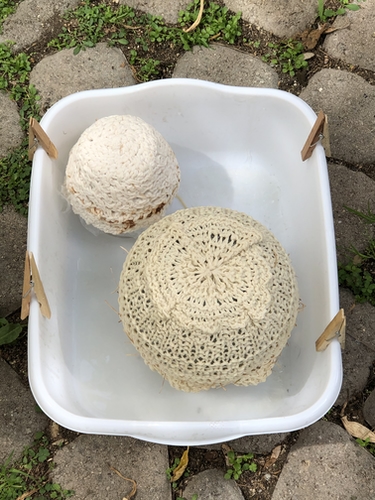
Both bowls are firm and the appearance of fiber hasn’t been altered too much.
My next test will be with wool. Wool can be tricky. My first test using molten wax on wool changed its appearance to a plastic-like surface. Definitely ugly.
Check out Maria Amélia Mendes’ Youtube channel and her excellent concrete videos.
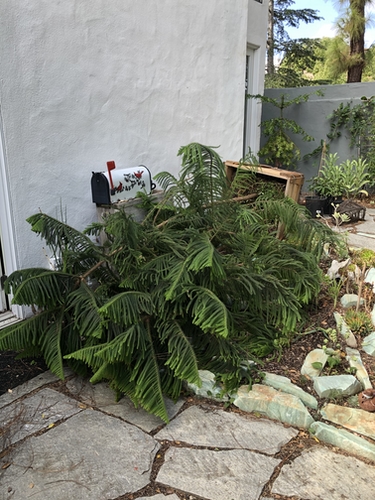
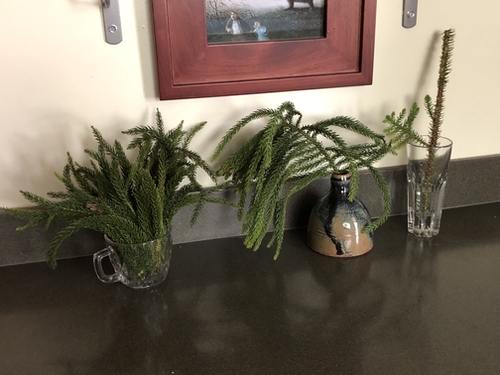
When I walked into the kitchen I noticed both potted pine trees had toppled over.
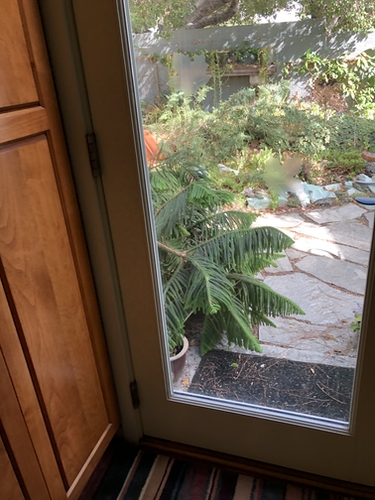
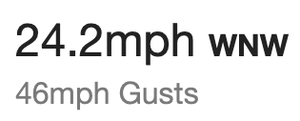
Apparently even though we put a ton of weight in the bottom of the pot, the Norfolk Pine is still top heavy enough to be toppled over by the wind.
Moved it closer to the corner of the house, hoping to prevent another fall.
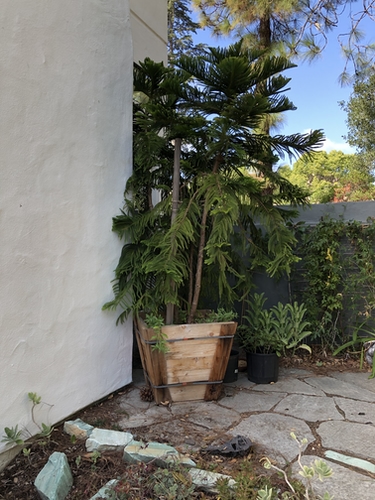
This is the tree we brought in for Christmas the past several years.
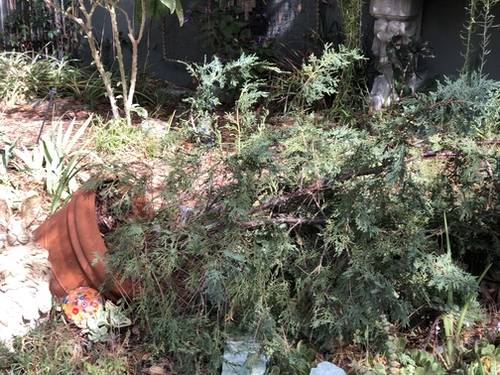
Moved it closer to the house to protect it from the wind.
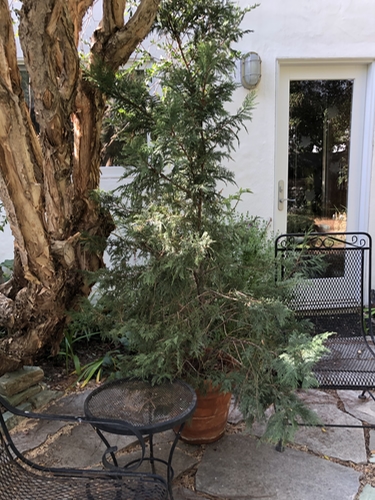
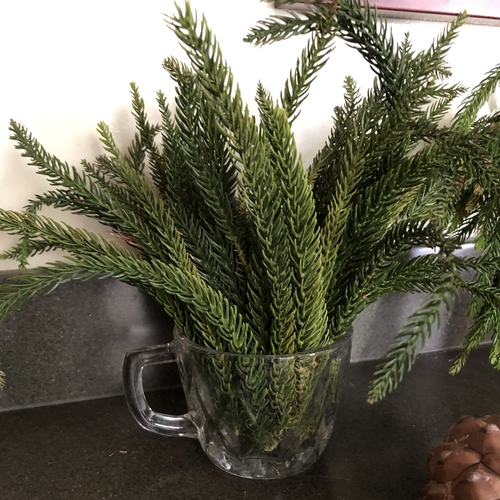
Unfortunately, the Norfolk Pine isn’t fragrant, but nice greenery.
Thought the container of bits might be fun to knit into a small bowl.
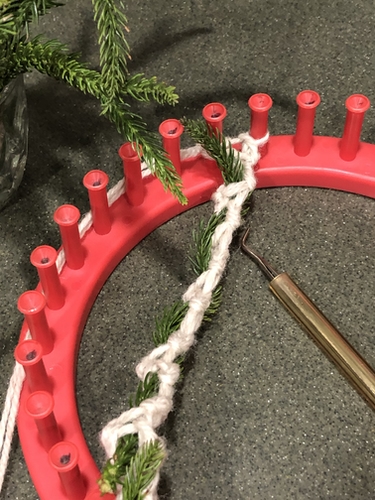
Norfolk Pine Bits and Wool I-Cord Completed