BWHeader

Concrete as an Art Medium

I attempted to use concrete several times over the past 20 years. While some results were promising, I wasn’t ready to commit time to figure out why problems occurred.

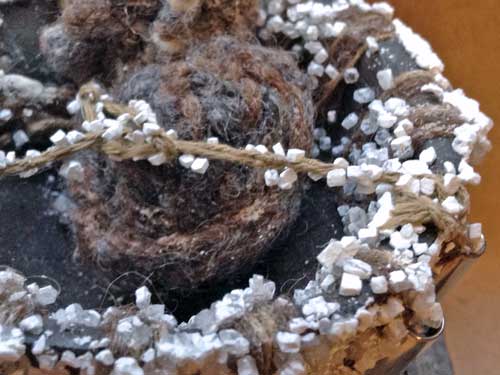
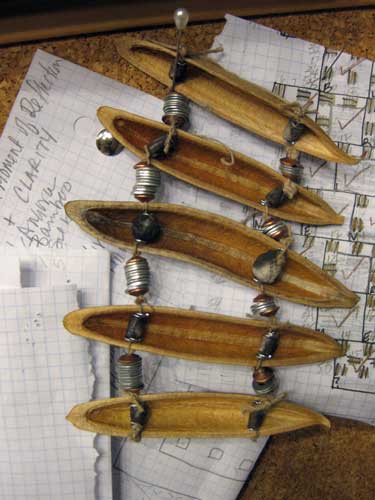
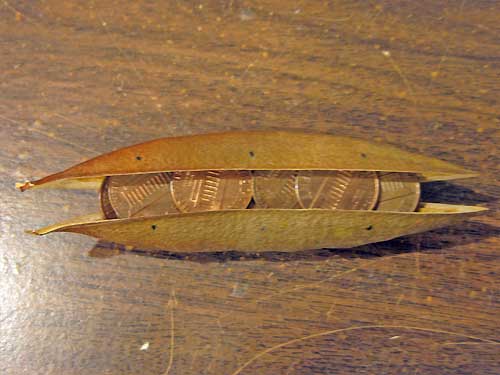
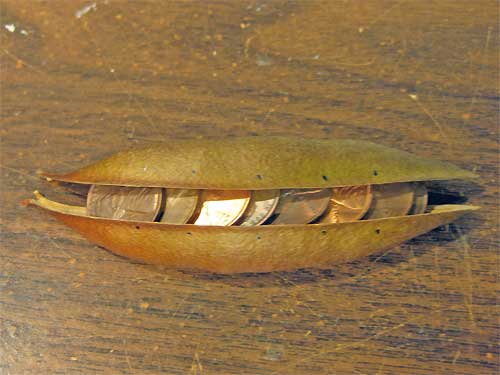
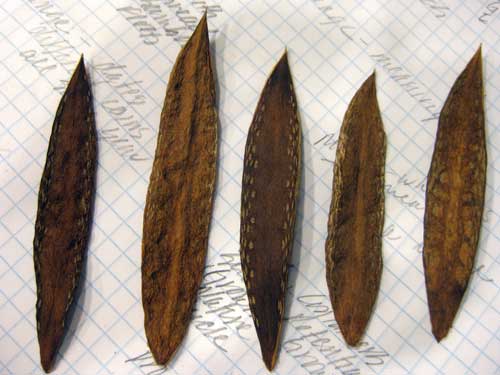
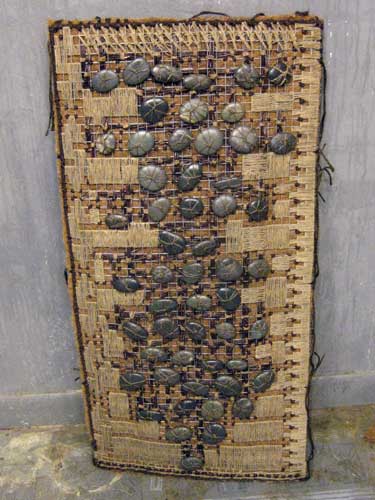
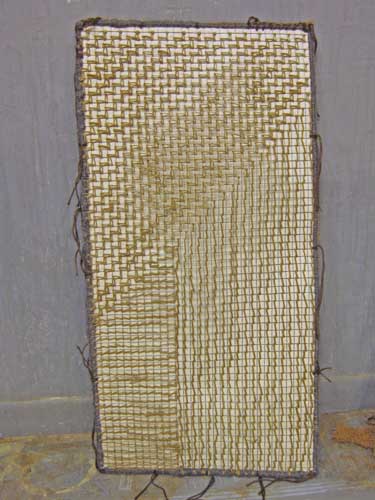
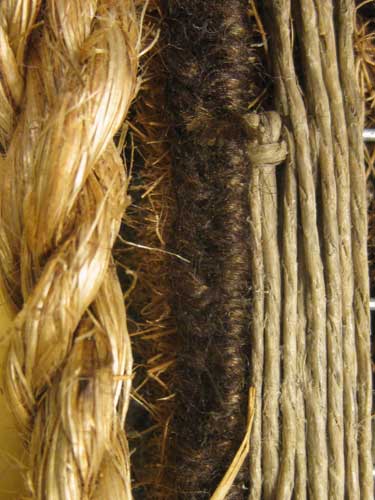
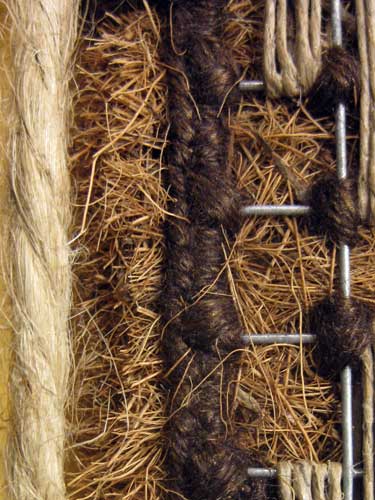
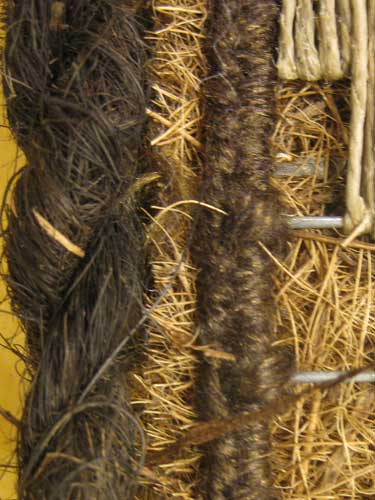
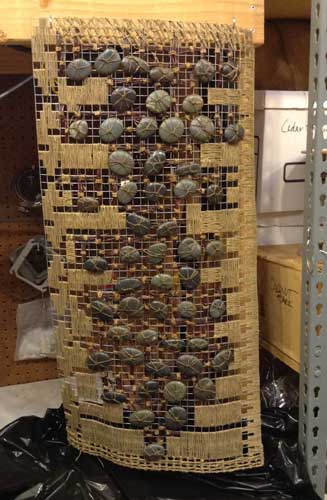
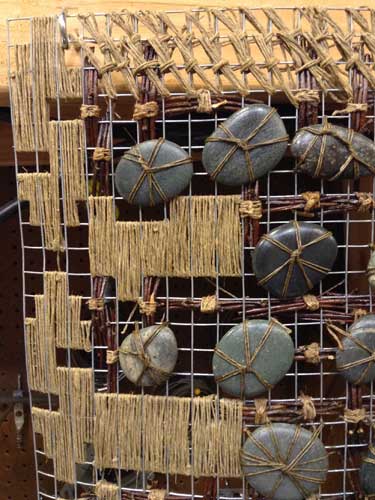
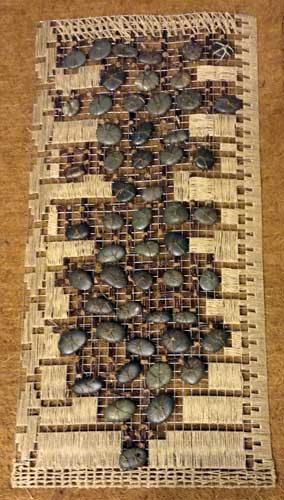
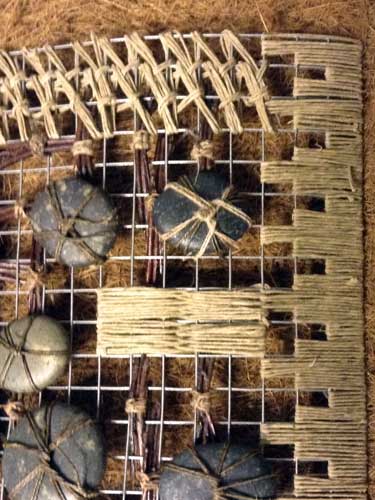
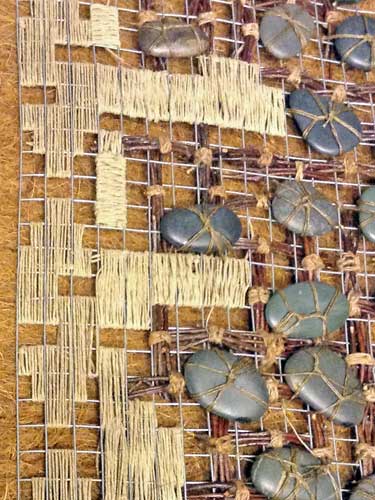
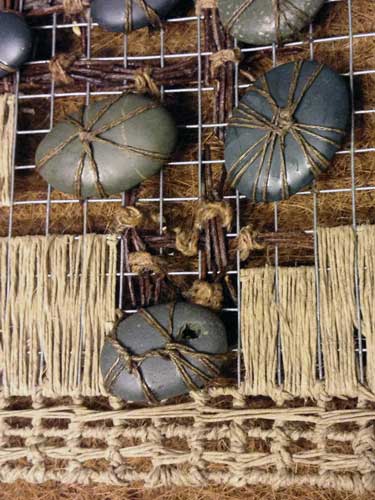
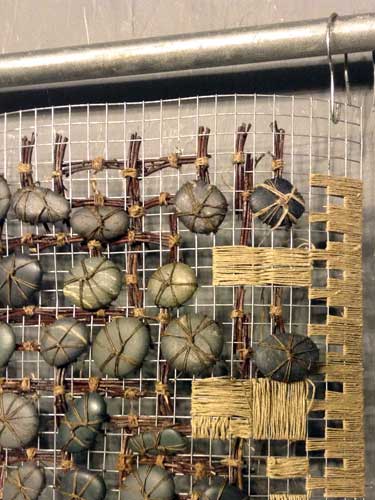
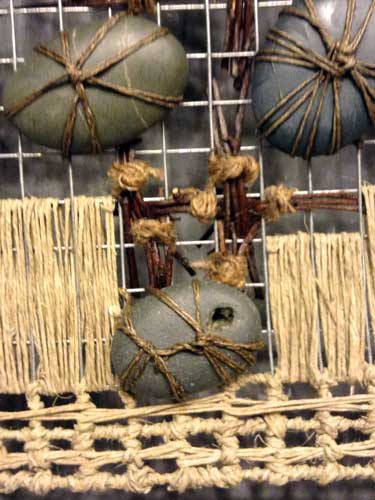
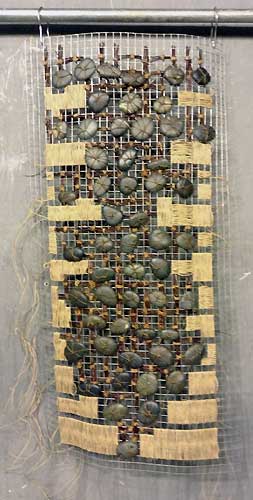
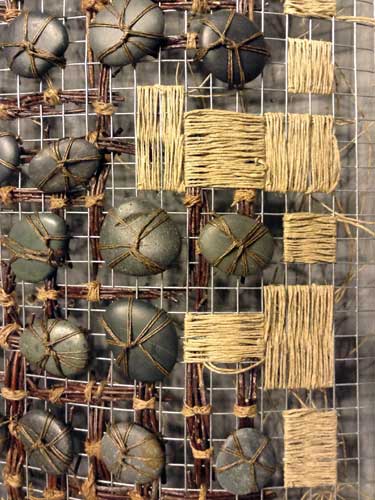
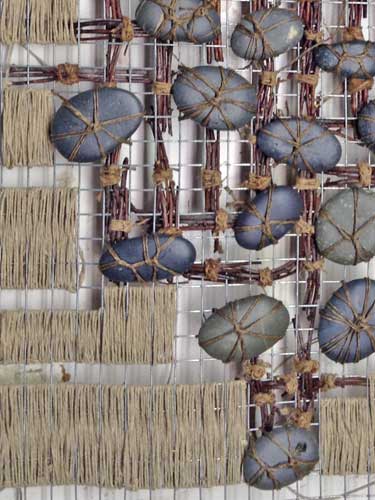
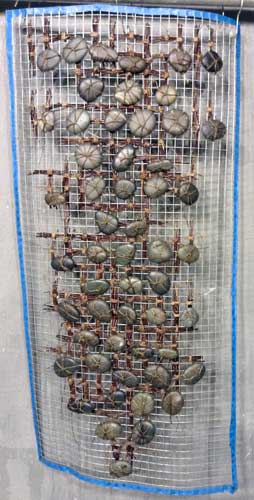
I am currently working on a series of pod pieces. The pieces are constructed of actual woody pods. The contents removed and replaced with coins or metal bits woven into fulled wool, with hinges and bindings added.

Pods in Progress

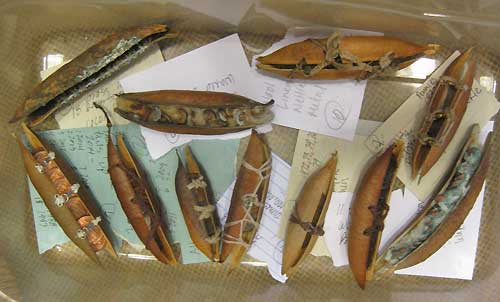
Yep, they are in a plastic box. Ever since casemaking moths came to live in my studio, everything they might like to eat is stored in plastic or glass.

The plan was to make cedar boxes for the pods. And then a fun thing happened. I was rearranging some things in my studio and found some concrete cups and tiles from my last concrete casting attempt.

Concrete Cup and Prototype

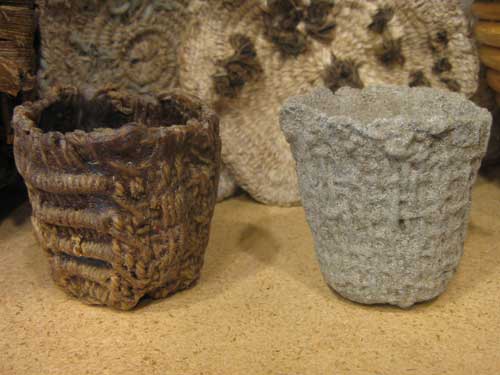
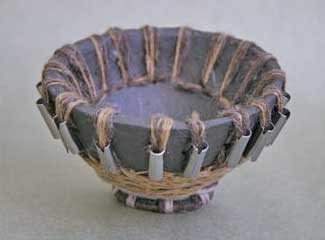
The concrete cup on the right was cast in a silicone mold.
The mold was made of a waxed woven cup similar to the on the left.

Immediately I started thinking about making concrete boxes for my pods. But how? Concrete box with wood lids? Concrete with bamboo support? Concrete with inlaid copper? Concrete with metal mesh and code?

I googled concrete and found loads of stuff on using ready mixed concrete to make functional objects and tons of stuff on hypertufa.

Then I found Andrew Goss. He has a website with lots of great information for using concrete to make art pieces.

After reading the information on his site, I realized that I had attempted to cast thin walls without compensating for the removal of aggregate. Adding latex wasn’t enough especially when I was not caring properly for the pieces. I did not know the importance of wrapping the pieces in plastic. Why, I don’t know. My background is in clay and I definitely know how to care for clay during forming and drying.

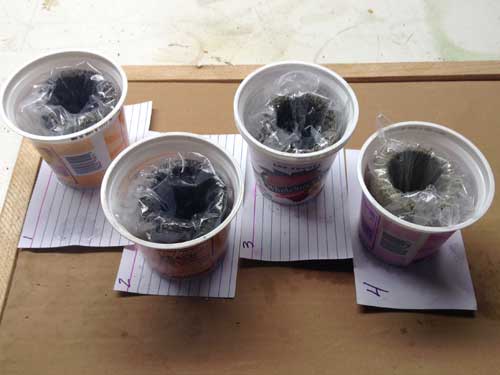
I selected four concrete and hypertufa mixes for my first test–

 Materials Mix 1  Mix 2  Mix 3  Mix 4 
 Concrete
 Vermiculite 1.5    
 Peat Moss    1.5    
 Sand      

I added very little water so that I could press the concrete into silicone cup molds. I wrapped the concrete-filled molds in plastic. After two days I removed the pieces from the molds, leveled the bottoms of the cups, then wrapped them in plastic. Every day I have given the concrete cups a dip in water, then rewrapped them in plastic, and popped them in yogurt cups. I do think that a thinner plastic would be better.

Wrapped Concrete Cups

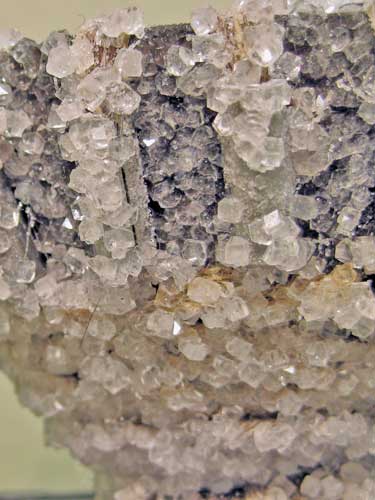
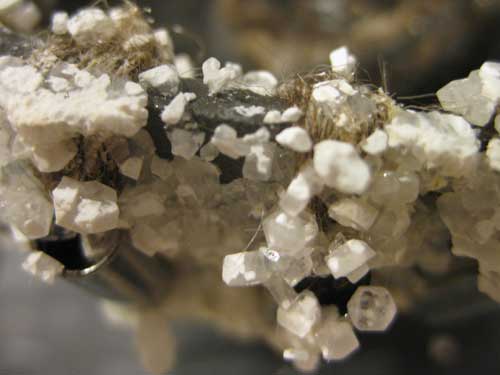
The main objective is to find a concrete mix that when cured will live nicely with my pod pieces. I like the texture that results from using peat in a hypertufa mix, but I do not like the bits flitting about in the air when it is sifted. Wearing a respirator does not keep the peat dust from collecting all over the studio. Also, I really dislike the way it smells in the wet mix and every time I unwrap the test pieces.

Since I want to make a success of concrete this time, I thought it would be a good idea to use good and tested information. I purchased Andrew’s book, Concrete Handbook for Artists, Technical Notes for Small-Scale Objects. I wish that I had found the book the first time I attempted concrete.


Andrew Goss’ blog, Art Concrete.

Elder Jones’ blog, Sandpudding Studio. Wet Carved Concrete

John Annesley’s blog, Sustainable Buildings as Art. Burlap-crete

The Hypertufa Gardener

The Cement Tile Blog


Crystals and Lack of Control

I recently read a post on Christine Mauerberger blog regarding growing crystals on leaves. Got me to thinking about several pieces that I made a few years back. One of the pieces was really beautiful, but became annoyingly ugly.

This is the original piece before salting. The piece is composed of fired stoneware, metal, and fiber.

Original Piece


Detail of the piece after being submerged in a solution of hot water and borax.

Crystals


And two details of the crystals on the piece today.

Crystal Changes Detail 1


Crystal Changes Detail 2


Curious why the change so I googled it. Found Andrew Dominic Fortes’ Crystal Growing page. It has some great information.


Change–Bound Pods

Been thinking about binding pods together to make a vessel. Gave it a go yesterday, but didn’t feel connected to the piece.

Bound Pods


When I took the piece apart I started thinking about what pods mean. They are containers. The contents can become new plants. What about the pods? New containers for something else?

Change Front

Change Front with 18 Pennies.

Change Front

Change Back, Dots to be Drilled. Then to be Bound.


Some Ideas–

Pods, Containers, Protection, Secrete, Hide
Seeds, Source, Potential
Grow, Growth
Nature
Cycle, Pattern, Rhythm
Origin, Propagate

Change
Alter, Replace, Transform, Evolve, Mimic, Echo
Coins, Pennies, Nickels, Dimes

Change Code
Morse and Tap
c -.-. 1,3
h …. 2,3
a .- 1,1
n -. 3,3
g –. 2,2
e . 1,5

And then there are these beautiful bits. The seeds were on either side.

Interior Bits


Sticks and Stones In Progress–Hit a Snag

Stitched together the front, fiber blanket, and the back.

Front


Back


Originally planned to use the edge of the blanket as the border, but thought that the piece needed more. Took a look at my rope supply and now thinking about it. Thought of the possibility of using birch branches as a frame.

Also what is the best method for hanging the piece?

Sisal Rope

Detail of piece with sisal rope.

Jute Rope

Detail of piece with jute rope.

Coconut Rope

Detail of piece with coconut fiber rope.


Sticks and Stones In Progress—Application of Stiffener

Applied a stiffener to the hemp sections–right, left, top, bottom. Then applied another application of the sittener to the entire piece.

The stiffener helps to keep everything in place. It also can change the color, texture, and visual feel of the piece.

Need to find a rust colored yarn to bind the three pieces together. If I can’t find what I want, I will use the last bit of rust colored wool that I have. If it is not enough, I am will use gray wool to finish the piece.

Stiffener Applied

Stiffener Applied Detail


Sticks and Stones Hemp Filler Background

Hemp BG5

HempBg Detail

The lighter colored hemp for the background is a nice contrast to the grey color of the stones.

Next comes the border. Something geometrical I should think. Most of the lose ends will be bound into the border.

Then comes binding together the sticks and stones component, the coco fiber, and the additional piece of metal mesh.

The sticks and stones component still has a bit of a bow. Might be a good idea to construct a wood frame and insert it between the coco fiber and the second piece of metal mesh.