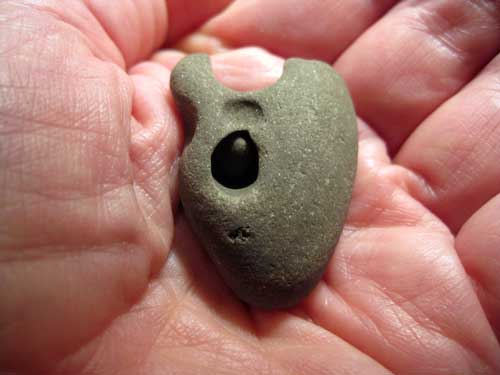
Sticks and Stones In Progress Content

The work started with my continued interest in words and language.

Most kids are taught the Sticks and Stones nursery rhyme.

Sticks and stones may break my bones but words will never hurt me?

I added a question mark. Words are used every day to hurt people.

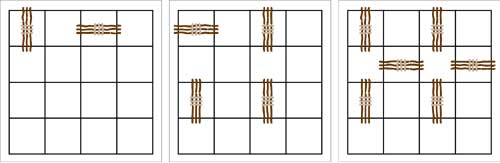
The nursery rhyme is in Morse Code with the substitution of a bundle of sticks for each dot and dash. Each bundle has three sticks and is bound with nettle. A vertical orientation is a dot, horizontal is a dash.
Code in Flash

Code for A, B, and the Question Mark.
Each letter spans 4 squares by 4 squares. I often use Flash for layout. Make a symbol for each code component, with easy peasy replace. It is a quick way to see potential problems before making a paper and pencil sketch.


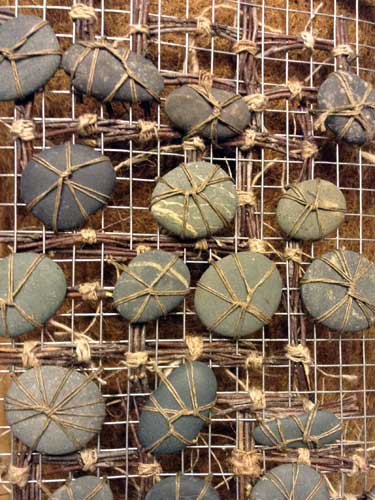
In addition to the bundles for the code in each 4×4 section, there will also be a stone bound with hemp. This is a detail of some of the completed work. I wait until I am finished with all of the binding before addressing any long strings on the back.
Stones Detail

The size of the stone will be dictated by the code. Letters can have 1, 2, 3, or 4 dots/dashes. Fewer code bundles allow for larger stones. The question mark has 6 bundles for the code.

Sketch in Use

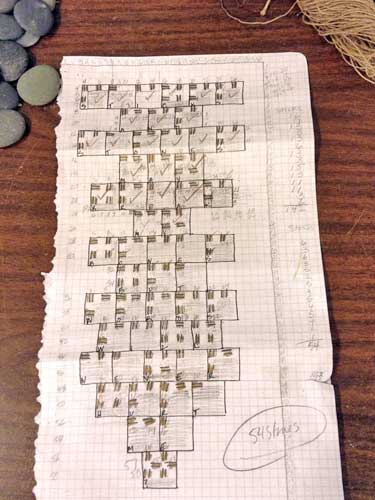
Sketch in Use. I always use paper and pencil for my working sketch. I can write on it. Mark off bits when completed.


The sketch has each square numbered. I taped and numbered the edge of the metal mesh. It makes work easier with fewer mistakes. Depending on the binding, tearing out a mistake can take longer than the actual binding time. The tape is also good for preventing possible cuts. The metal mesh can be quite sharp.
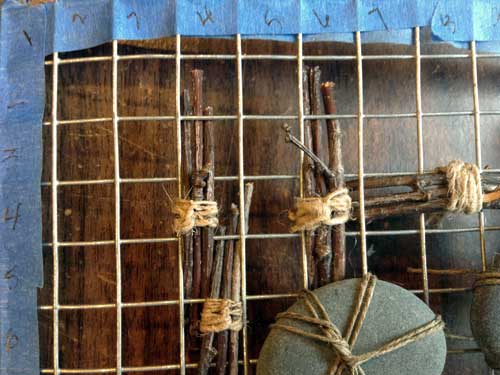

Numbered Tape


The piece will be fairly heavy. The plan is to sandwich a piece of coco fiber blanket between the code piece and an additional piece of metal mesh. Rather like the three layers of a typical quilt. If I stitched through all three layers or hand tied them together, it would be even closer to quilt making. I always wanted to make a quilt, but not keen on cutting little bits of flat fabric and then stitching them together.
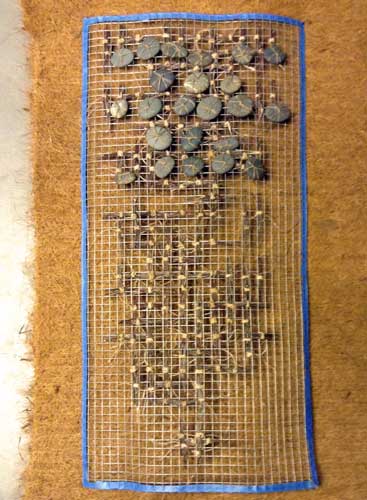
Piece on Coco Fiber


Things to do–Thinking about filling some of the open space of the mesh, weaving in nettle or hemp. It probably would feel more like a piece of fabric. Still want to see the coco fiber, especially the raw edges.

There are 3 squares allotted for the border. Haven’t planned what type of binding or embroidery to use. Need to see the sticks and stones bound in before making that decision.
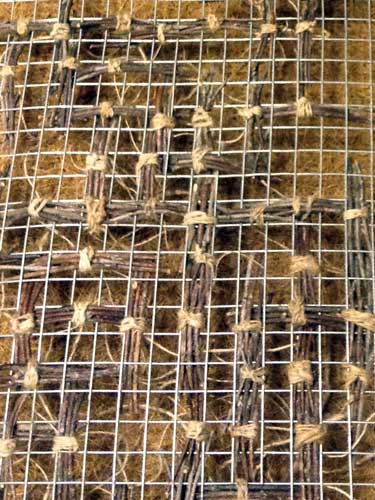
Sticks and Stones Work in Progress

Sketch

Layout for Sticks and Stones.

Sticks and Stones Detail 2

Before addition of stones.

Sticks and Stones Detail 1

Sticks bound with nettle, stones bound with hemp.
Placed on layer of coco fiber.
An additional layer of metal mesh will be attached to the back to support the weight of the stones.

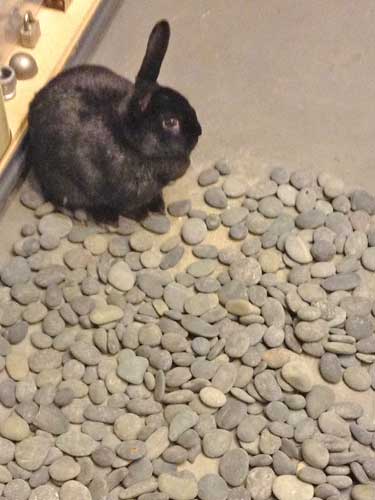
Elliot selecting stones.

Elliot, my studio assistant selecting stones.

Coco fiber roll purchased from the Kinsman Company.


2014 Anniversary Piece

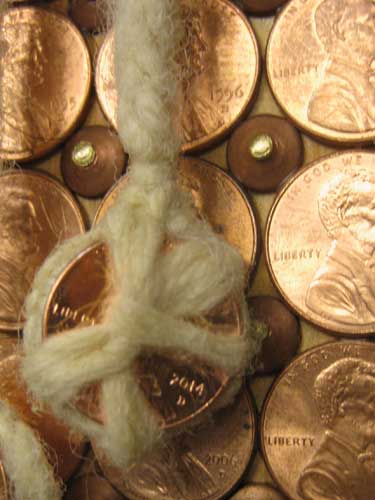
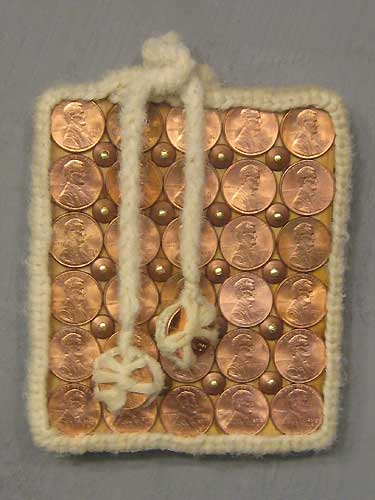
The past several years I made a piece for our wedding anniversary. This year I went simple, a board with pennies attached.

Even in a simple piece I choose materials that I really like to use. Cedar for fragrance and the reference to a cedar chest or wedding chest. I like brass/copper. They are easy to age/add patina. I chose not to patina this piece because I wanted the dates on the pennies to be visible.

I love pennies. I like them for the superstition of good/bad luck. And I like them for their history. And I like them because they have become insignificant. I often use pennies in my work. Sometimes I attach a single penny to date the piece.

2014 Anniversary Piece

Materials:
Cedar, pennies, copper roves (the dome pieces between the pennies), brass nails, wool, hardware cloth, brass eye hook, stainless steel washers, Dorland’s Wax.

Pennies–A penny for each year. They are dated 1983 to 2014. The 1983 and 2014 pennies are attached to the ends of an Icord.

2014 Anniversary Piece Detail

Hardware Cloth Border—stitched with cream wool. Attached to the cedar board with brass nails. Planned for an overlay of the two ends. Inserted the brass eye hook through the overlap.

Icord of cream wool–washed by hand and then tossed in dryer for 20 minutes.

Coverd two stainless steel washers with cream wool. Attached a 1983 and 2014 penny. Stiched them to the Icord. Then attached the Icord to the eye hook.

Applied Dorland’s to entire piece. Used a heat gun to smooth out wax.

Drilled a single hole in the back of the piece for hanging.

Roves are very cool. I found them at Lee Valley Tools.

Time to let the piece rest until gift time.


Not a Hummingbird

Last night my family called for me to come and see the really small hummingbird in the courtyard.

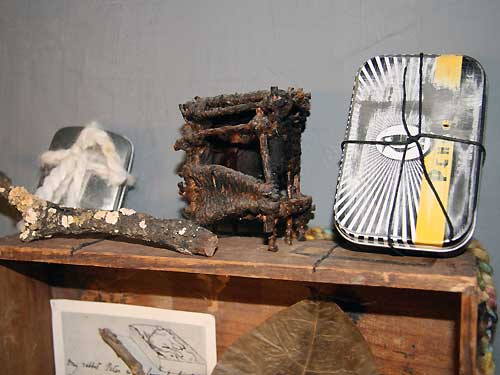
Yeah, not a hummingbird. It was a Sphinx Moth. How did I know this? A few years back my neighbor gave me a dead moth he found on one of his potted plants. It was a Sphinx Moth. And then I found one in my garden. Again not alive. I placed them in tins and they are resting here–

Sphinx Moths in Tins


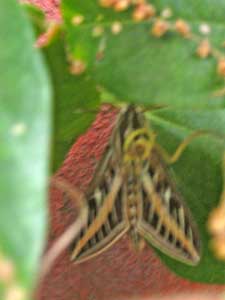
I tried to get a photo of the one in the garden. Unfortunately, the photos were all very blurry. This is the best one.

Sphinx Moth


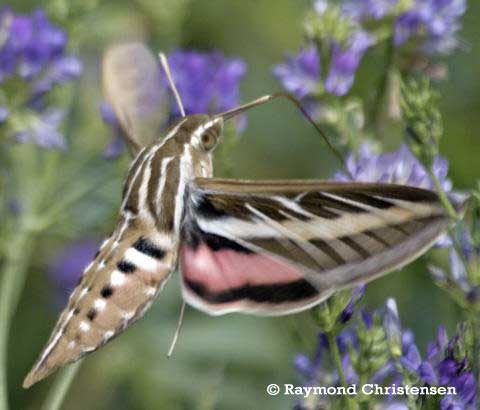
I found this great image taken by Raymond Christensen and posted on Butterflies and Moths of North America.

Christensen Sphinx Moth Photo

Some Information on Sphinx Moths
United States Department of Agriculture Forest Service

Colorado State University Extension

North American Moth Photographers Group (Gorgeous Photographs)


Wire Twist Pliers

My husband is a private pilot and does some of the mechanical work on his plane. He recently bought a tool for twisting wire. I thought the tool would be great for a future project.

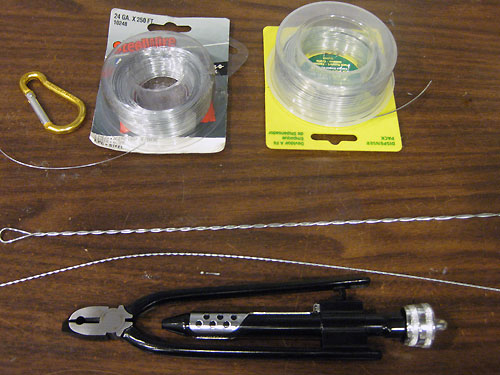
Wire and Wire Twist Tool

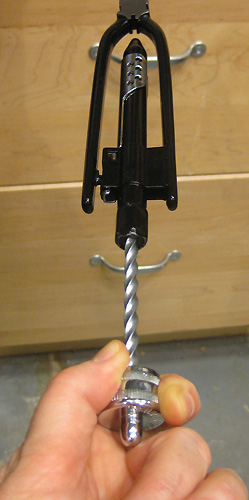
I selected steel wire–24 and 18 gauge. A length of wire was cut with the twist pliers’ handy cutter. The wire was bent in half. A clamp was inserted through the loop created and to a stationary object (handle of a drawer). Then it was time to twist the wire.

Twisting the 24 gauge wire was easy peasy. But, the 18 gauge wire was really a bit too thick.

Wire Twist Tool

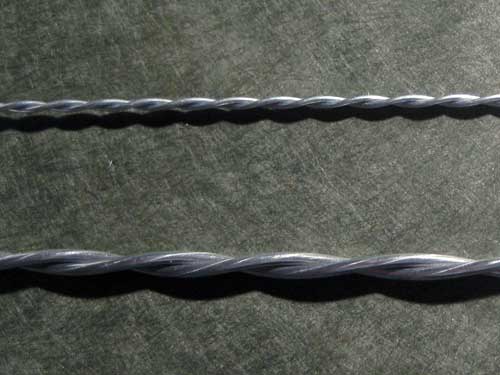
Twisted Wire

The top twisted wire is 24 gauge, the bottom is 18 gauge.

The tool was purchased from Aircraft Spruce.