Dolorous Time Piece

My mother’s name was Dolores, not exactly pronounced the same as Dolorous, but I like that the definition is great sorrow.

April 8th is 3 years since we found my mother after the first of her strokes. She died on May 15th. I have been having a difficult time with grief this year. Decided to try to work it out in the studio. I recently worked on a software project, needed images of watch/clock faces for time. When I went through my mother’s things I found two identical watches and one similar. She must have really liked that style of watch.

Dolorous Time Piece

The first watch has code for my brother and his birthdate, the center for me, and the right one for my sister. The watch used for my brother and sister have a date function, they are set at 15. The sections of the band were bound with black waxed linen for birthdates. The knotted fobs have code for names.

The black code above the watches–Great Loss Stops Time. Doesn’t really, but it should.

The woven section has the code–Vertical strands are my mother’s date of birth, the horizontal her date of death.

Dolorous Time Piece

Dolorous Time Piece

The knotted piece on the right has the code for–grandson, husband, daughter. The great losses during her life.

Dolorous Time Piece

I was relieved to complete the piece, forgot to document it. I have it hung in her room. Unfortunately not much light. I used museum wax to make sure it doesn’t move about making it difficult to remove from the wall to take photos.

It was challenging to make the piece. When Michaels was moving to a new location, I bought a bunch of birch panels and frames for cheap. I used stain, paint, vinegar steel wool/salt, oil sticks baking soda attempting to age the wood. I was very close to burying the frame in the garden. After sanding it the umpteenth time, I applied a matte black spray paint. Seems okay with the black linen cord and the silver of the watches.

The tacks should have been easy peasy to attach the parts. Loads of resistance. What was really cheap delayed completing the piece at least a week. The challenge was welcome and was distracting.
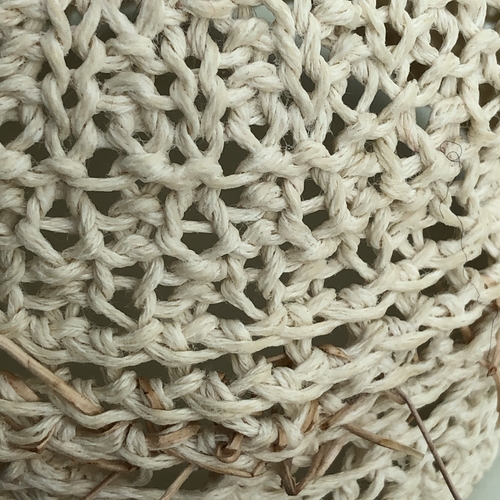
Memory Bowl Tests

Gone back to working on my knitted Memory Bowls. Ran into a problem with the bowls not being sturdy enough. Put them on hold.

The bowls are fiber with some negative spaces within the patterns, a stiffener is in order. In the past I used sugar, shellac, corn starch, liquid starch, floor wax, microcrystalline wax, salt, and miscellaneous other stuff in the past. Wanted to spend some time thinking about how to finish the bowls.

Serendipity?

I have been following Maria Amélia Mendes’ YouTube channel. Her concrete tutorials are easy to follow, with loads of good tips. I really want to make some concrete pieces. Recently she posted a video–How to make baskets with wood sawdust. Thought I would test out her glue formula on a couple of knitted pieces.

The glue was combined with wood shavings and pressed into a form. After the pieces dried and hardened she added an application of her Finishing Glue. It is the same formula as her glue, with the addition of 100 ml of PVA.

Maria Amélia Mendes’ Homemade glue recipe:
1 liter of water
1 cup of cornstarch
50 ml of white vinegar

I made the Finishing Glue for my test pieces. I had forgotten that heated corn starch and water solution can suddenly become thick. Applied the glue to the test pieces. The thickness made it a tad challenging. If the pieces had been fragile, wouldn’t have been able to apply the glue. I refrigerated the left over glue. May try diluting it a bit if/when I use it in the future.

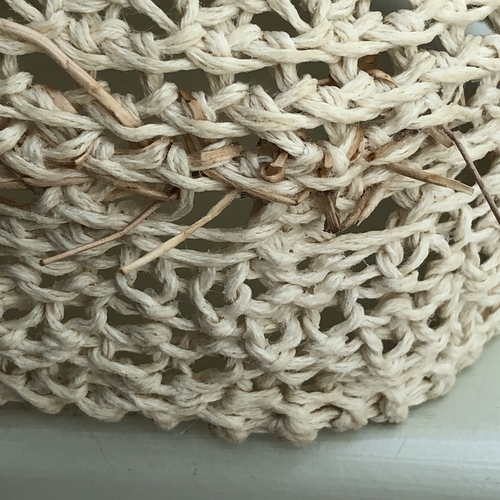
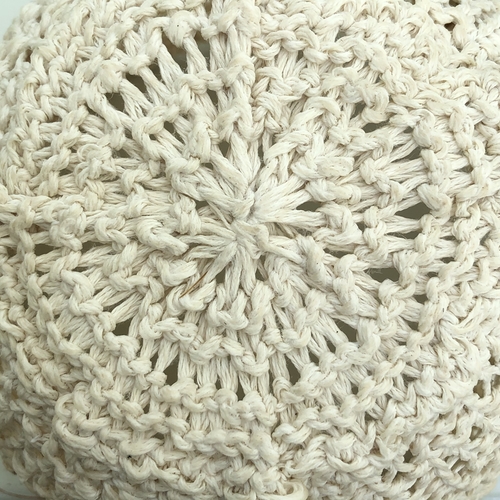
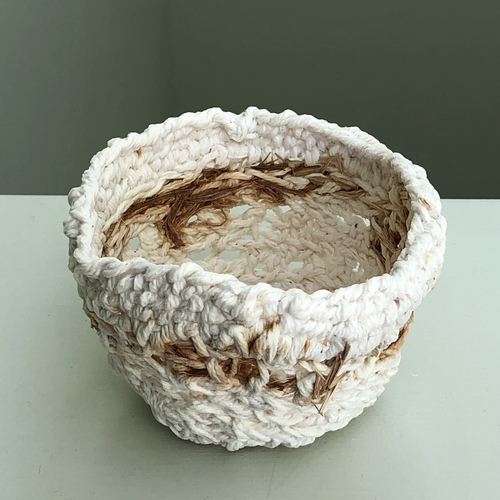
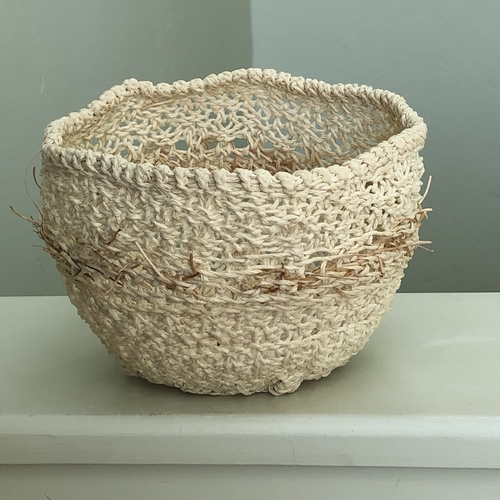
The first bowl is linen with a little plant fiber.

Test Bowl 1

Test Bowl 1

Test Bowl 1

Test Bowl 1

Test Bowl 1

Because the glue was a bit thick, after I applied the glue I gave it a rinse with the kitchen faucet spray function. The bowl was placed over a form to dry.

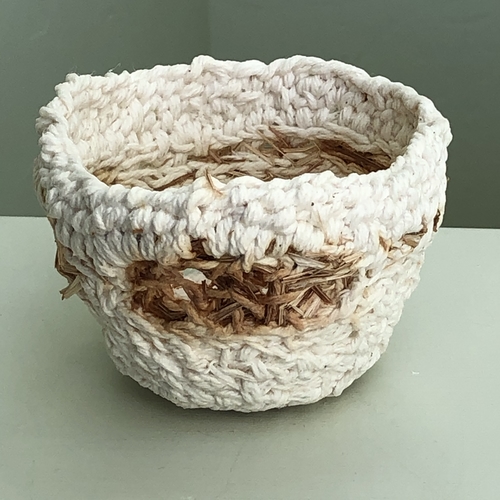
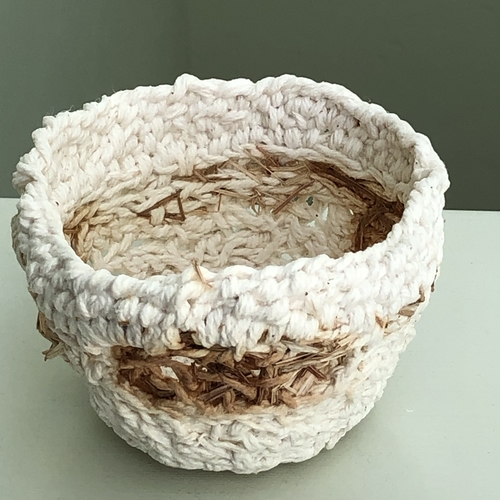
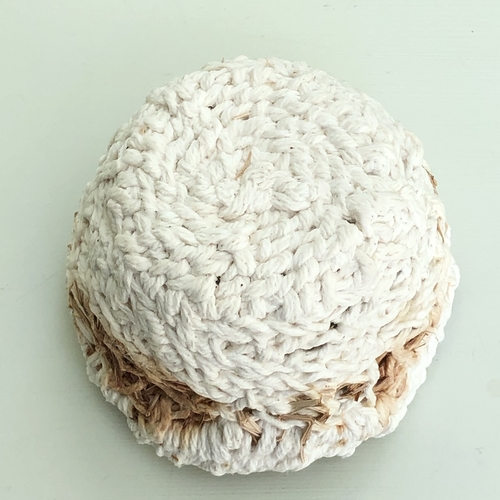
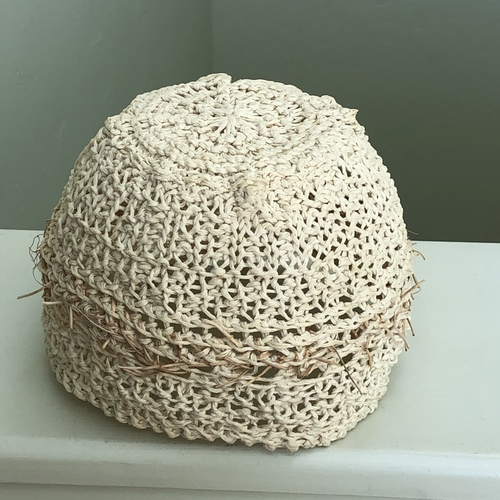
The second bowl is cotton with plant fiber.

Test Bowl 2

Test Bowl 2

Test Bowl 2

Test Bowl 2

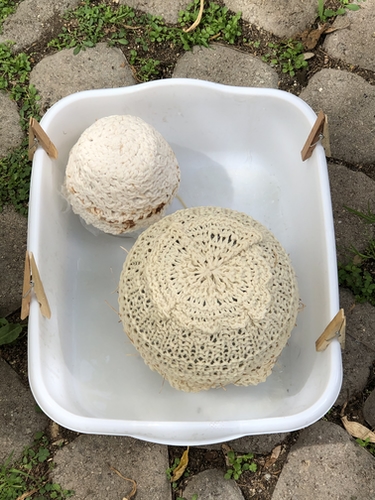
The bowls were placed over forms and left in the sun to dry.

Test Bowls Drying

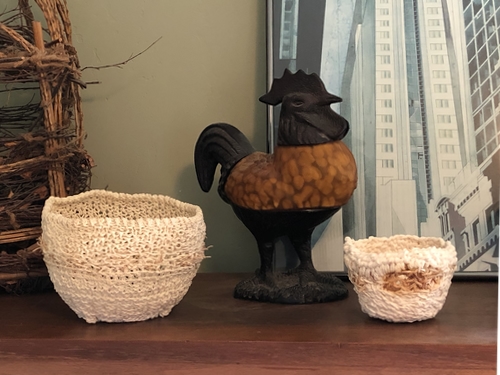
Both bowls are firm and the appearance of fiber hasn’t been altered too much.

Bowls China Cabinet

My next test will be with wool. Wool can be tricky. My first test using molten wax on wool changed its appearance to a plastic-like surface. Definitely ugly.

Check out Maria Amélia Mendes’ Youtube channel and her excellent concrete videos.


Senecio articulatus, Botanical Illustration, Photos, Books

My Senecio articulatus looks elongated. During the day it sits on a window ledge. Why elongated? Could this be normal growth?

Senecio articulatus

This morning I googled Senecio articulatus. Most of the images did not look like my plant, but an interesting and very cool thing happened. I found a link to a botanical illustration site. One Senecio articulatus illustration was dated 1781. Gives me pause to think my plant could be connected to the plant in the illustration.

I spent some time looking at several illustrations. The images are so beautiful.

Senecio articulatus at PlantIllustrations.org

Links and Photos Plantgenera.org

The Online Books Page–Botany

Great day for finding loads to view and read!


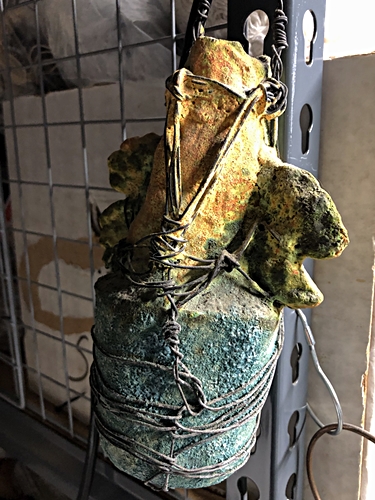
Casemaking Moth on Ceramic Vessel

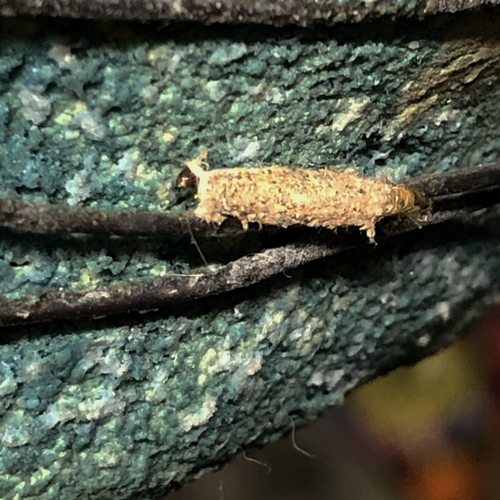
Last night I turned on the light over my work bench and found on oddity.

This little vessel has been hanging in my studio for decades. I fired the piece multiple times. Before the last firing, I bound it with wire and applied low fire lead glazes.

Casemaking moth on ceramic vessel

The oddity is a casemaking moth. What is it eating? Clearly not the glaze because typically the case that the casemaking moth construction will be the color of whatever it has eaten.

Casemaking moth on ceramic vessel

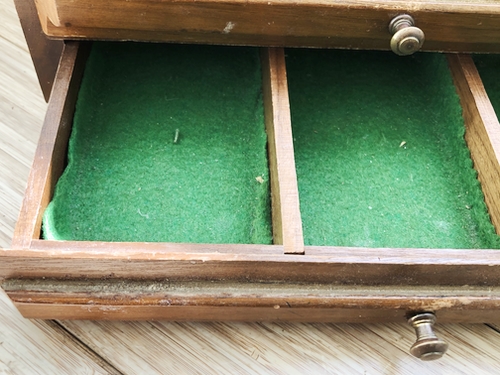
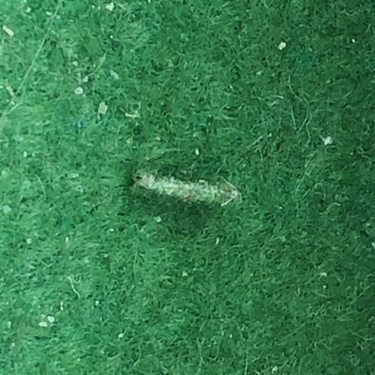
Recently looked through my stash of wood objects to use as an addition to a piece. The boxes were wrapped in plastic and stored in a wood bench. When I opened the drawer I found a green casemaking moth.

Green casemaking moth inside drawer

How did it even get inside? No clue.

Green casemaking moth inside drawer

I have cleaned my studio numerous times to remove the niches the moths like–undisturbed dark areas with fiber and plant material.

I have been forced to keep my stored completed work, work in progress and fiber materials in plastic. But, I can still find casemaking moths. It is frustrating, especially when I find that they have damaged something of value.

I use two methods for treating pieces and materials–place them in the freezer or someplace that becomes quite hot, like the trunk of a car.

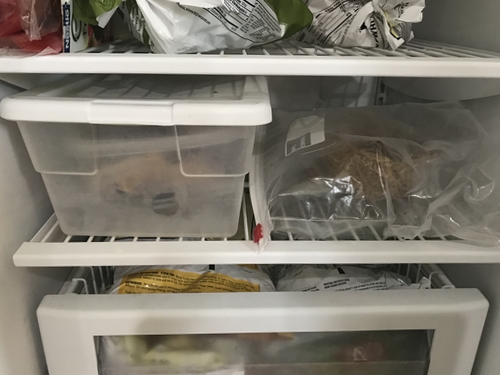
The freezer shelf that is set aside for materials and work.
Freezer shelf for work and materials

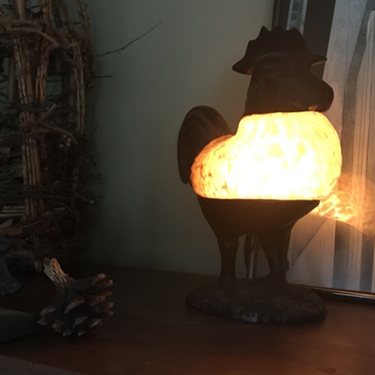
Recently found a casemaking moth on a wool I-cord that had been an embellishment for a rooster lamp that has been sitting on the china cabinet for nearly 15 years.

Rooster lamp

He looks lost without it.

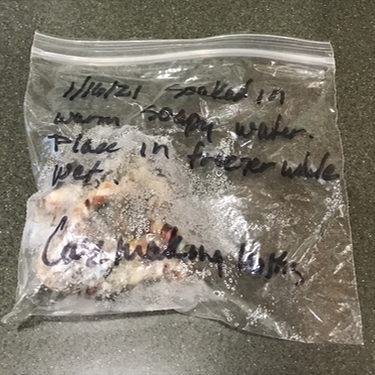
I washed the I-cord in warm soapy water. Gave it a rinse, popped it in a plastic bag, and placed it in the freezer.

Wet frozen I-cord


Completed–Be Yourself

Quote Used–Be Yourself; everyone else is already taken.
On a bazillion sites the quote is attributed to Oscar Wilde. According to Wilde folks, he did not write it or say it.

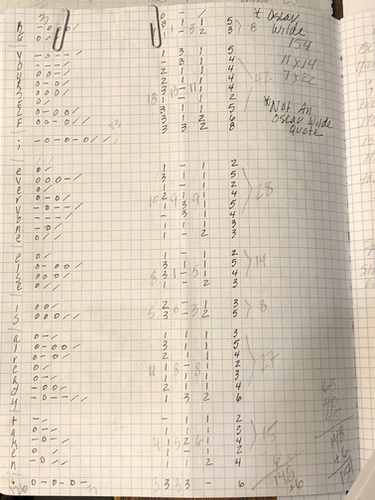
Code

Top Portion–Be Yourself;>
I layout out the code multiple ways to make sure that I really want to use it. I often use an old version of Flash to layout my projects. I like Flash because I make symbols and it is easy peasy to replace them.

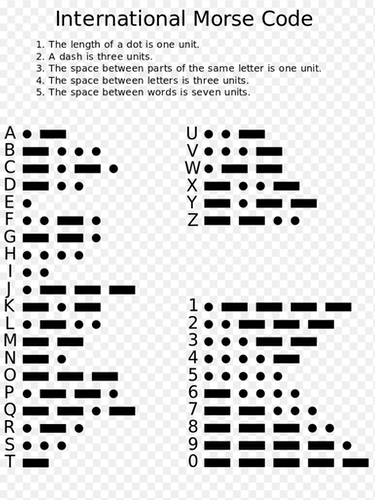
The code is based on Morse Code.
Morse Code

Morse Code

Left to Right–Dot, Spacer, Dash

Wikipedia–MorseCode

Top

Center Section is Bargello Embroidery
Center

Bottom Portion–Everyone else is already taken.
Bottom

Completed Piece
Be Yourself

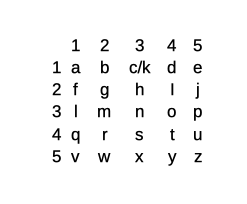
Border in rust yarn is based on tap code. The code is–Not an Oscar Wilde Quote

Tap code is a 5 x 5 code with k and c the same code.

Tap Code

Be Yourself Border and Hanger

The hanger is not a rod it is a piece of tubing that showed up after my husband did an annual on his Cessna. I believe is used for the brake lines.

Be Yourself Border and Hanger
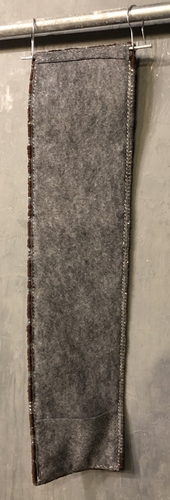
I stitched on a layer of grey felt to the back of the piece to prevent seeing the wall through, but also to add a sleeve for the hanger (based on quilt hangers), and to add a pocket. The pocket is for notes on the piece. It is common for me to forget the quote used in a piece. Find myself needing to read the code to figure out the quote. The plan is to pop the information on the code and decisions made into the pocket.


Work In Progress–Regret

Quote from Return to Montauk

“There are only two things that matter…There’s the thing you did that you regret; the thing that cannot be undone. And then there is the thing that you did not do, that you should have done that you regret too. But it is too late now.”

I condensed it to–The thing you did that cannot be undone. The thing you did not do, that you should have done. And the word, Regret.

Layout

Layout

Body Blocks

Body Blocks

Body Dash Block

Body Dash Block

Materials
Tree wrap (1.25″ x 1.75″), bamboo (1″ x 1.25″), fiber, and safety pin.

Regret Blocks

Regret is an act of perseveration. If left unchecked, it can alter and erode a life. It can become a darkness.

Regret Blocks

Regret Dash Block

Regret Dash Block

Materials
Tree wrap (1.25″ x 1.75″), roofing felt (1″ x 1.25″), fiber, and safety pin.


Bowiea

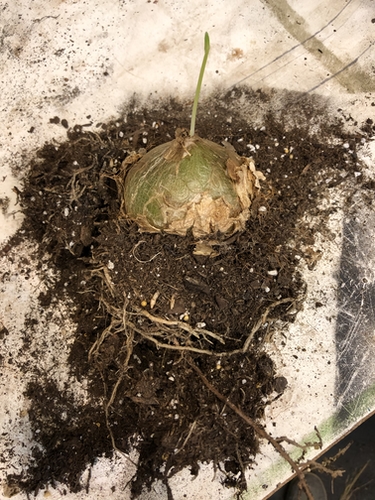
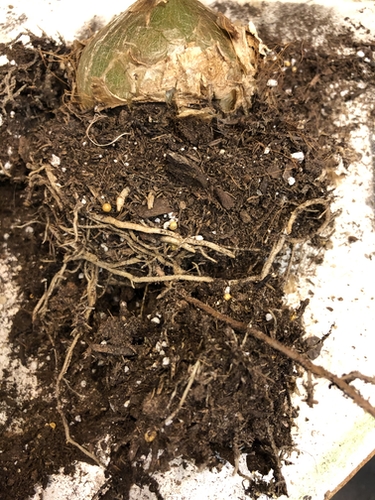
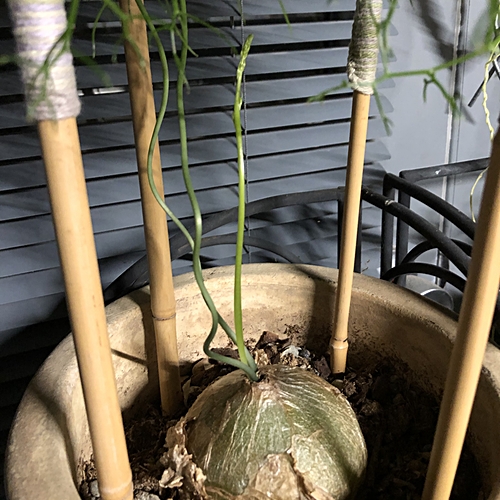
For nearly two months my Bowiea was just a bulb. No growth. In the past before one section died back another was sprouting.
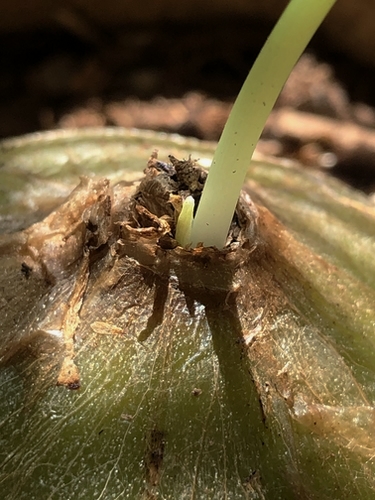
This morning the bulb looked like this–

Bowiea New Growth

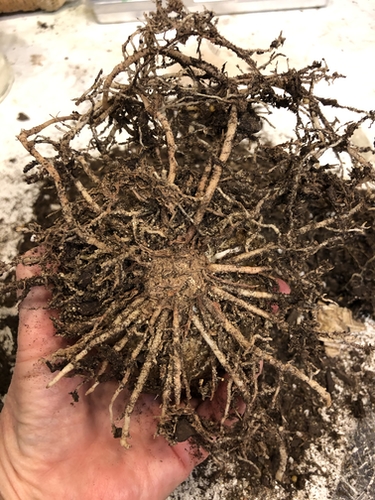
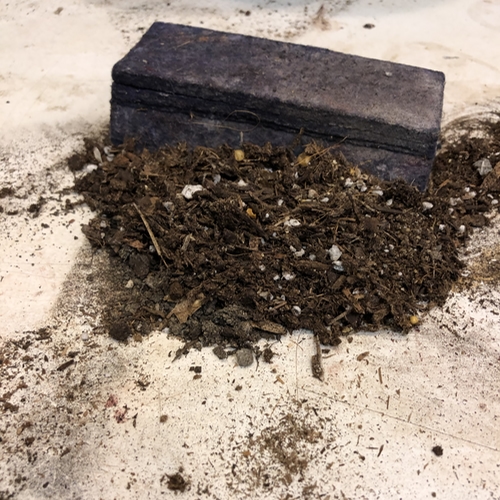
Removed Plant from Medium 2020 July 27

Bowiea Removed From Pot

Bowiea Removed From Pot

Bowiea Roots

Bowiea Repotted

Eraser Used to Clean Up

Eraser for Clean Up

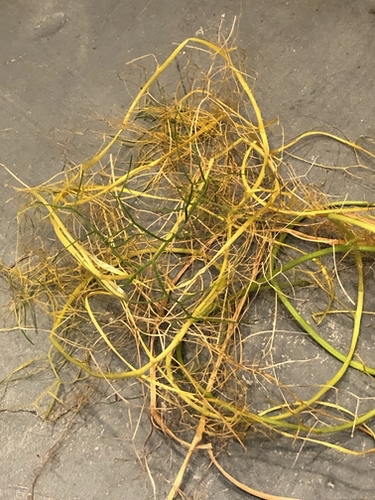
Spent Stems
Bowiea Stems

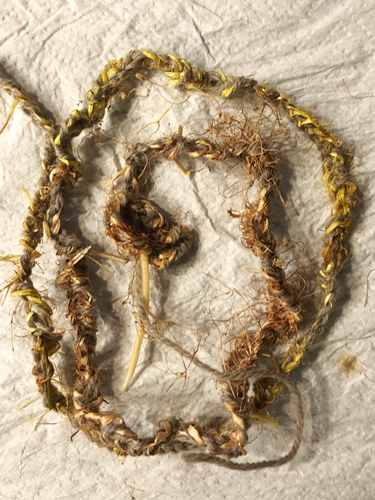
Used the Spent Stems With Tan Wool Yarn to Make an Icord
Bowiea Icord

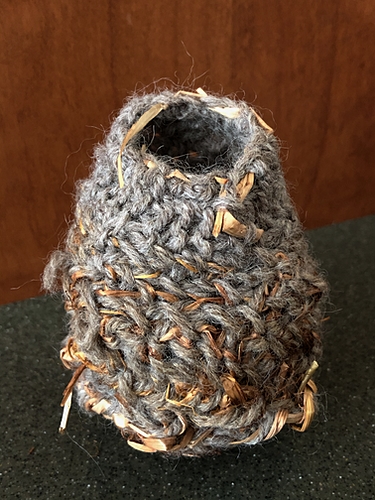
Stitched the Icord Together to Make a Small Vessel

Bowiea Icord Vessel

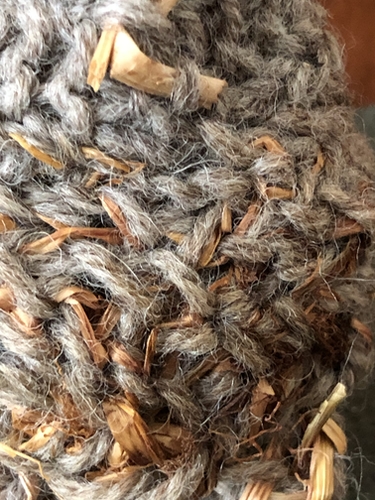
Bowiea Icord Vessel Detail

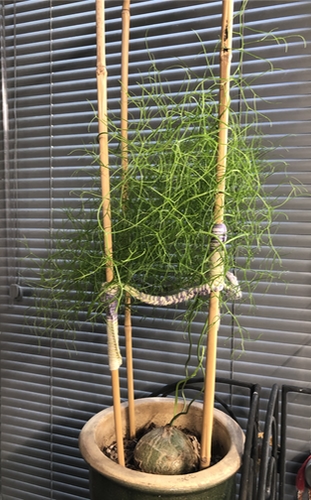
The plant is vining so I rotate it a couple of times a day.
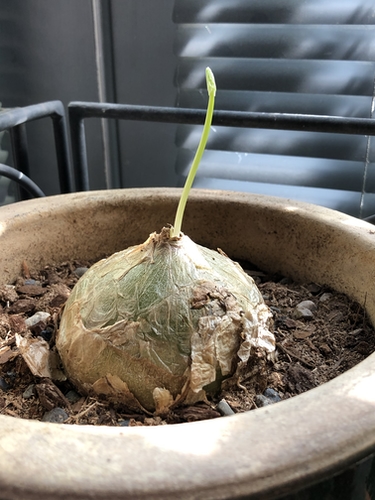
Bowiea

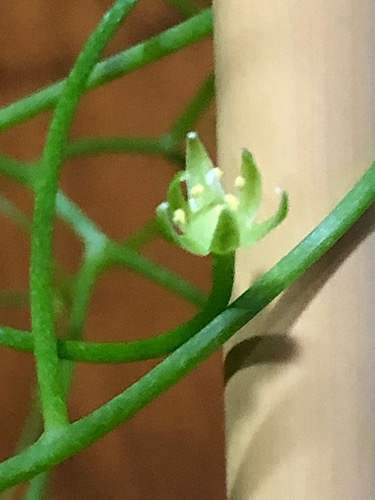
The Bowiea flowers are quite small, but lovely.
Bowiea Flower

New Growth 2020 October 26

Bowiea New Growth

Pacific Bulb Society–Boweia

Wikipedia–Boweia

South African National Biodiversity Institute–PlantZAfrica


Work in Progress–False Memory

False Memory

Used three colors of wool to embroider 1 square by 6 square pieces of 1/4″ hardware cloth. Dark brown for dots, tan for dashes, and cream for spacers.

I used oil sticks fix up the 5″ x 7″ panel.

Morse Code Chart

Morse Code Chart

Each letter has four rectangular blocks. To make the rows tidy, I added spacers if a letter had fewer than four dots, dashes, or combinations.

False Memory

Each letter is a group of four rectangular blocks that are fastened at top and bottom with a safety pin. There are fourteen blocks–thirteen letters and one spacer.

Used thin dark grey sock fiber to bind through the head and loop of the safety pins.

False Memory

The silver dots are the edges of the hardware cloth.

My hope is to oxidized the safety pins to add the feel of age.