Change–Bound Pods

Been thinking about binding pods together to make a vessel. Gave it a go yesterday, but didn’t feel connected to the piece.

Bound Pods


When I took the piece apart I started thinking about what pods mean. They are containers. The contents can become new plants. What about the pods? New containers for something else?

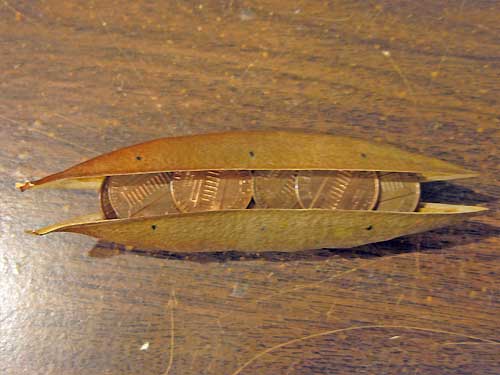
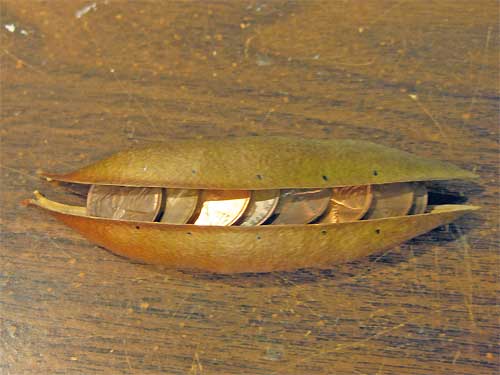
Change Front

Change Front with 18 Pennies.

Change Front

Change Back, Dots to be Drilled. Then to be Bound.


Some Ideas–

Pods, Containers, Protection, Secrete, Hide
Seeds, Source, Potential
Grow, Growth
Nature
Cycle, Pattern, Rhythm
Origin, Propagate

Change
Alter, Replace, Transform, Evolve, Mimic, Echo
Coins, Pennies, Nickels, Dimes

Change Code
Morse and Tap
c -.-. 1,3
h …. 2,3
a .- 1,1
n -. 3,3
g –. 2,2
e . 1,5

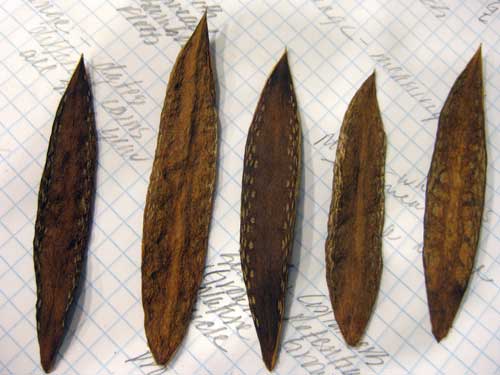
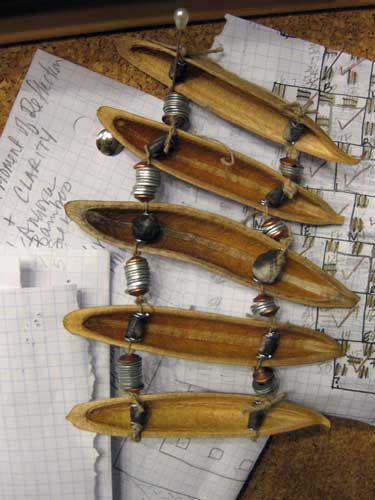
And then there are these beautiful bits. The seeds were on either side.

Interior Bits


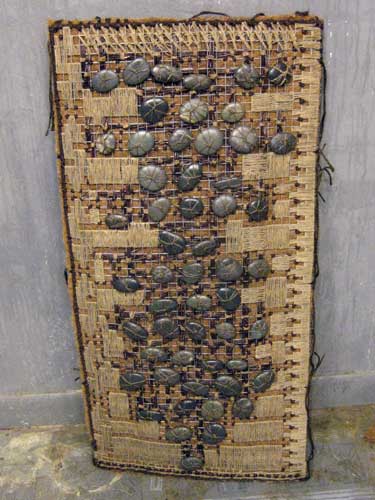
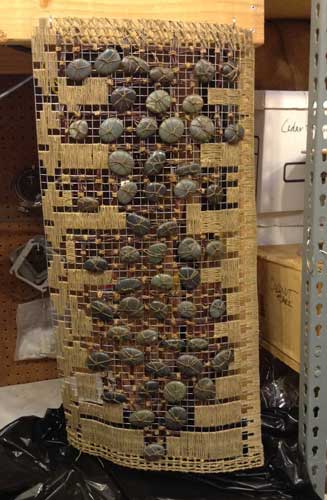
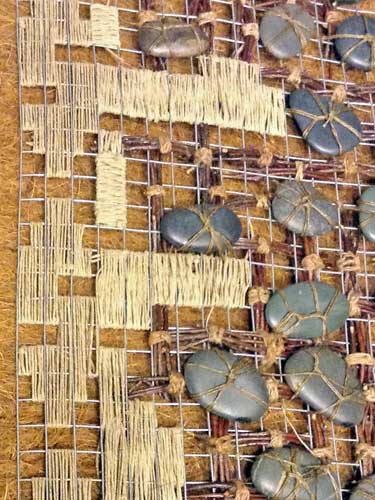
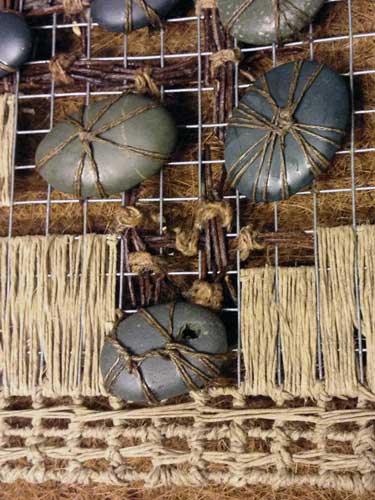
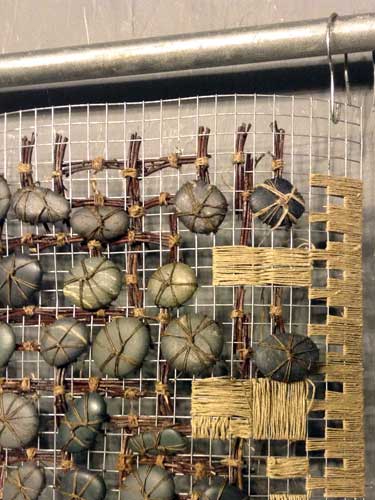
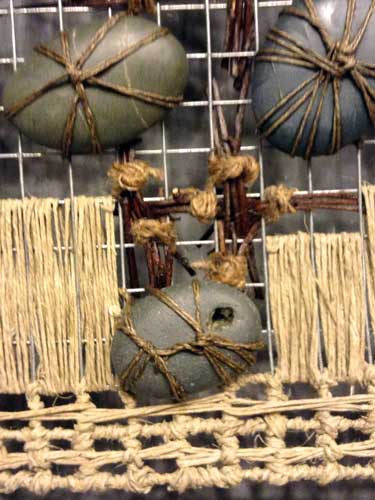
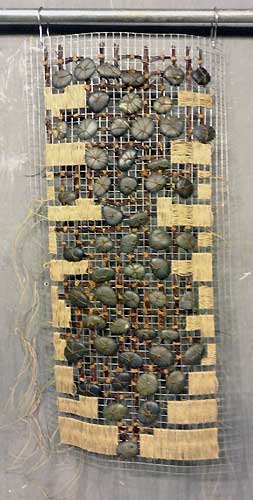
Sticks and Stones In Progress–Hit a Snag

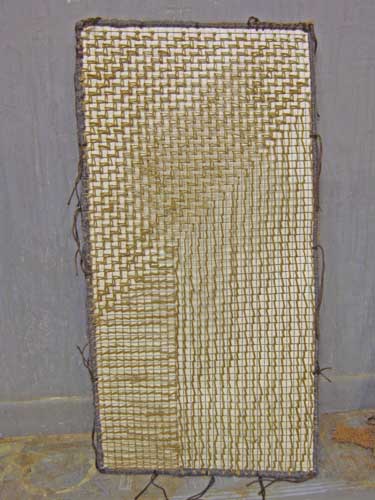
Stitched together the front, fiber blanket, and the back.

Front


Back


Originally planned to use the edge of the blanket as the border, but thought that the piece needed more. Took a look at my rope supply and now thinking about it. Thought of the possibility of using birch branches as a frame.

Also what is the best method for hanging the piece?

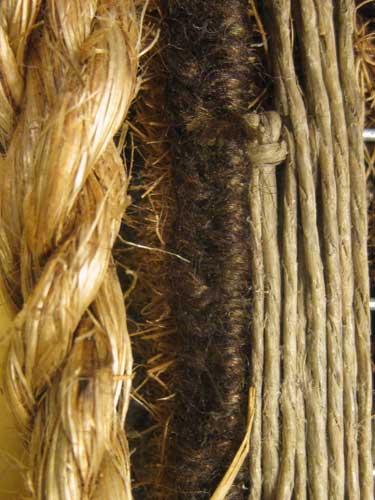
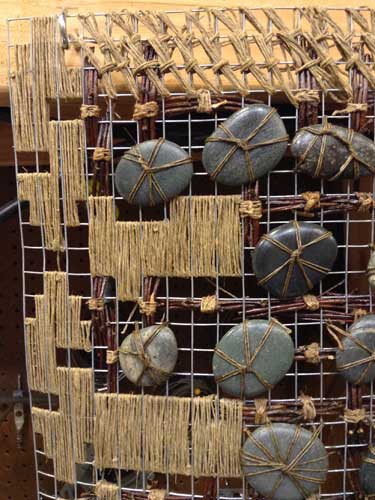
Sisal Rope

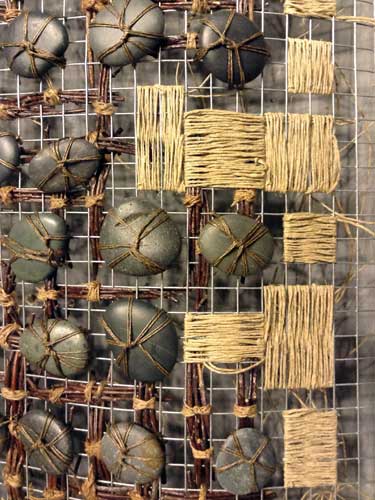
Detail of piece with sisal rope.

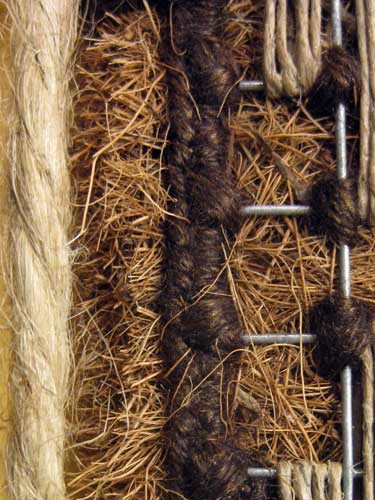
Jute Rope

Detail of piece with jute rope.

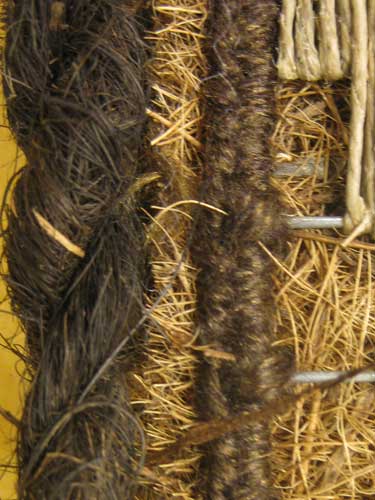
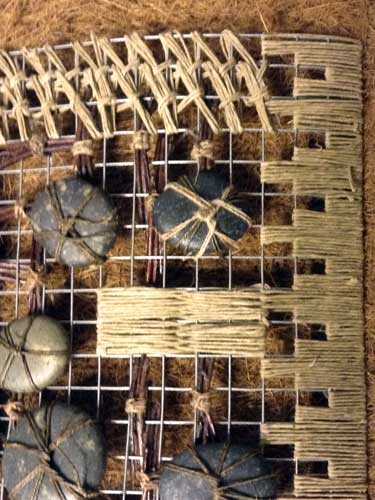
Coconut Rope

Detail of piece with coconut fiber rope.


Sticks and Stones In Progress—Application of Stiffener

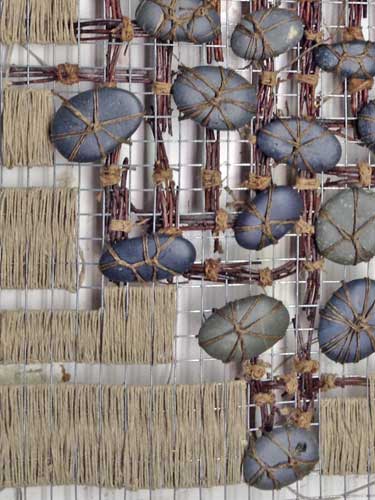
Applied a stiffener to the hemp sections–right, left, top, bottom. Then applied another application of the sittener to the entire piece.

The stiffener helps to keep everything in place. It also can change the color, texture, and visual feel of the piece.

Need to find a rust colored yarn to bind the three pieces together. If I can’t find what I want, I will use the last bit of rust colored wool that I have. If it is not enough, I am will use gray wool to finish the piece.

Stiffener Applied

Stiffener Applied Detail


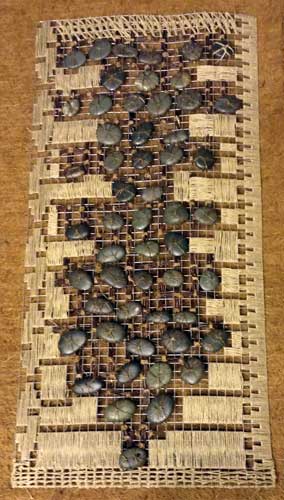
Sticks and Stones Hemp Filler Background

Hemp BG5

HempBg Detail

The lighter colored hemp for the background is a nice contrast to the grey color of the stones.

Next comes the border. Something geometrical I should think. Most of the lose ends will be bound into the border.

Then comes binding together the sticks and stones component, the coco fiber, and the additional piece of metal mesh.

The sticks and stones component still has a bit of a bow. Might be a good idea to construct a wood frame and insert it between the coco fiber and the second piece of metal mesh.


2014 Anniversary Piece

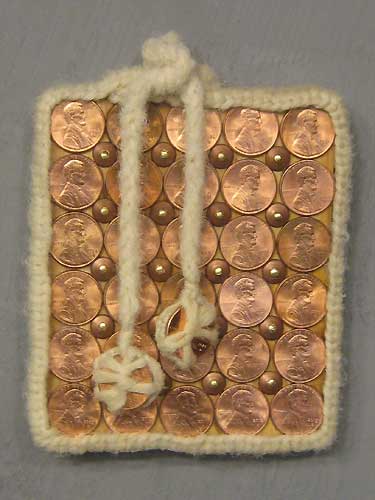
The past several years I made a piece for our wedding anniversary. This year I went simple, a board with pennies attached.

Even in a simple piece I choose materials that I really like to use. Cedar for fragrance and the reference to a cedar chest or wedding chest. I like brass/copper. They are easy to age/add patina. I chose not to patina this piece because I wanted the dates on the pennies to be visible.

I love pennies. I like them for the superstition of good/bad luck. And I like them for their history. And I like them because they have become insignificant. I often use pennies in my work. Sometimes I attach a single penny to date the piece.
2014 Anniversary Piece

Materials:
Cedar, pennies, copper roves (the dome pieces between the pennies), brass nails, wool, hardware cloth, brass eye hook, stainless steel washers, Dorland’s Wax.

Pennies–A penny for each year. They are dated 1983 to 2014. The 1983 and 2014 pennies are attached to the ends of an Icord.
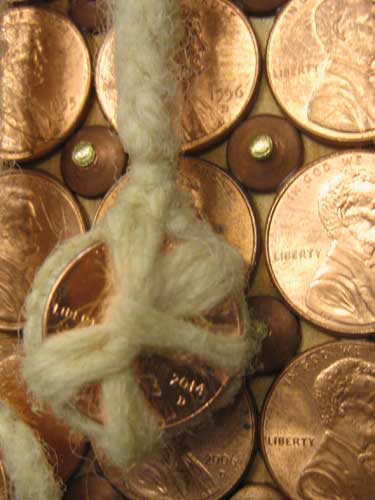
2014 Anniversary Piece Detail

Hardware Cloth Border—stitched with cream wool. Attached to the cedar board with brass nails. Planned for an overlay of the two ends. Inserted the brass eye hook through the overlap.

Icord of cream wool–washed by hand and then tossed in dryer for 20 minutes.

Coverd two stainless steel washers with cream wool. Attached a 1983 and 2014 penny. Stiched them to the Icord. Then attached the Icord to the eye hook.

Applied Dorland’s to entire piece. Used a heat gun to smooth out wax.

Drilled a single hole in the back of the piece for hanging.

Roves are very cool. I found them at Lee Valley Tools.

Time to let the piece rest until gift time.

New Tool–Numbered Tape

When I use hardware cloth for embroidery, I make my designs based on the spaces not the threads (wire). I am currently working on a piece consisting of three panels. Two of the panels will mirror each other. I needed to make sure that I followed my design without mistakes.

I number my grid paper designs, so it occurred to me that numbering the hardware cloth spaces would make for an easier go.

Numbered Tape 1

It worked great and saved loads of time. No more counting before making a stitch.

Why the double numbers? So the numbers can be easily read however I am holding the hardware cloth.

Numbered Tape 2