Eroded Contours

Some 20 plus years back I made a series titled, Eroded Contours. It was a process oriented series. The pieces were meant to be hung on the wall, but one of the pieces found a home in my garden.
Eroded Contours

The Process–

1. Made a plaster mold of a large philodendron leaf. Used it dry as a press mold for a mid-range stoneware body. Pulled several pieces. Fired them in a high bisque, cone 5. Broke them into pieces.

2. Used the same plaster mold wet to pull waxes.

3. Inserted some of the broken ceramic pieces into the waxes keeping in mind that the ceramic pieces could shift when the wax burns out.

4. Gated, then invested the lot.

5. Sent the investments through the burnout.

Potential problems–
1. Would there be a shift in the position of the ceramic pieces as the wax burned out?
2. What would happen to the ceramic pieces when hit with molten bronze?
3. What would happen when the bronze and ceramic pieces cool?
4. What would happen to the ceramic pieces embedded in bronze during the breakout?

Everything went quite well. Better than anticipated. Some of the fired ceramic pieces did fracture. A few bits were lost in the process.

When the fracture was more than I wanted, I mixed up a batch of Egyptian Paste to use as a filer. The plan was to glaze and fire the lot, so the addition of a cone 016 paste was compatible with the glaze temperature.

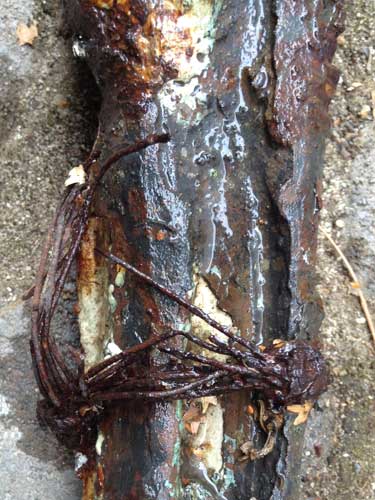
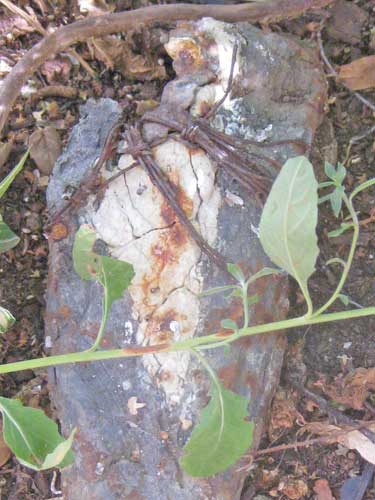
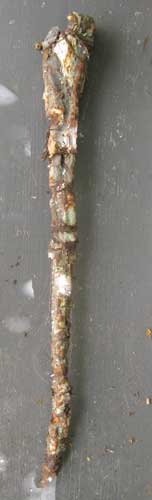
This is how the piece looked when removed from the garden. The pieces are long and quite narrow so a bit difficult to get a decent image.
Eroded Contours

The majority of the piece is bronze. The whitish areas stained with rust from the oxidized wire. I had forgotten that some of the pieces also had wire. The wire was bound on prior to the glaze fire. Firing the wire made it a bit fragile and after years in the garden, some of the wire was broken and missing.

I was curious if the rust stain was permanent, so I washed the piece with a solution of water and epsom salt.
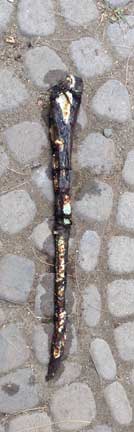
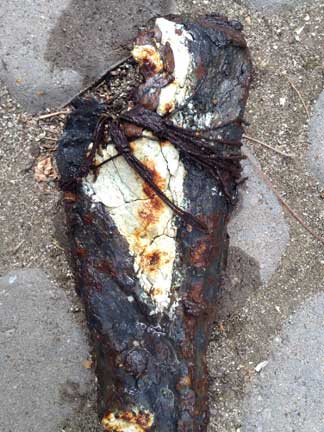
Washed Piece

Washed Detail 1

Washed Detail 2

Some of the wire has vanished, but left its mark.
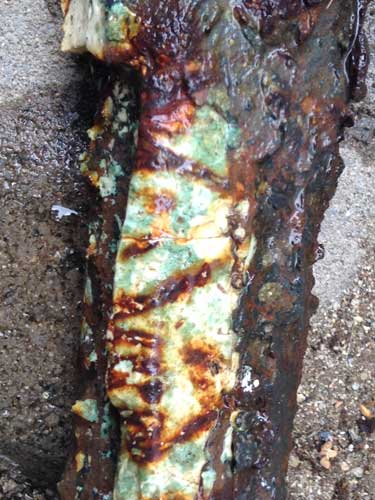
Washed Detail 3

This is how the piece looks after it dried overnight.
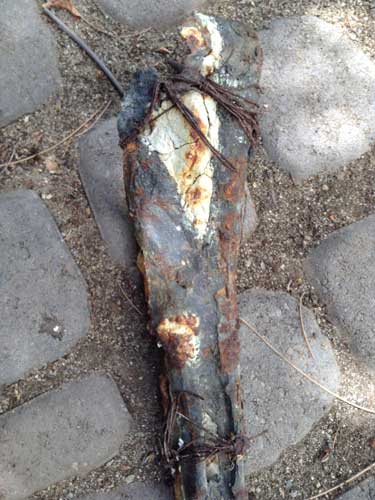
Dried

This is the detail of another piece in the series–
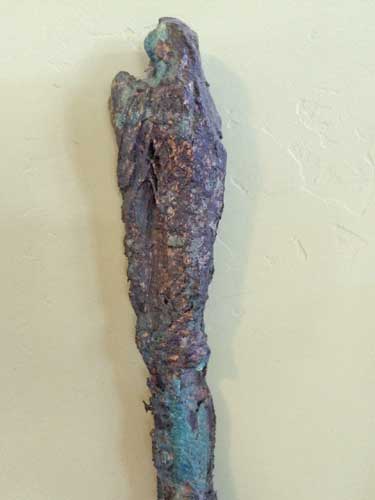
Blue Piece Detail


This bronze vessel has been moved around in my garden several times. Can’t quite figure out where to put it. It was constructed of palm cuttings and jute twine. Waxed the twine, then gated and invested the piece.
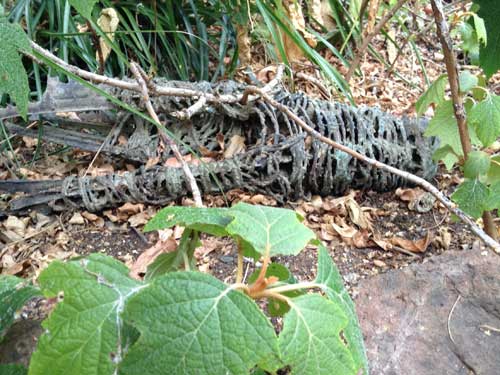
Bronze Vessel

There is always the possibility when doing a direct burn-out that some of the material will not burn-out completely or some ash will remain and prevent a good pour.

After the pour and break-out, a low-fire glaze was applied. Then the piece was fired to cone 015.


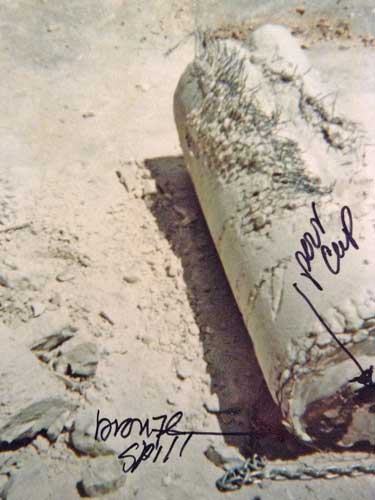
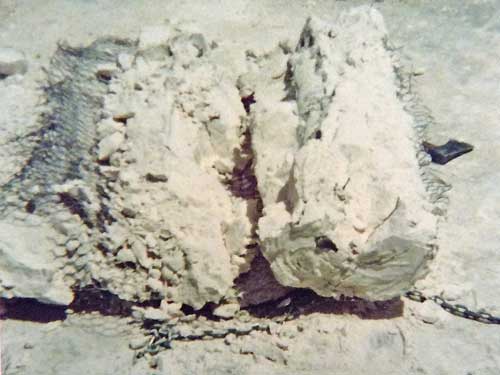
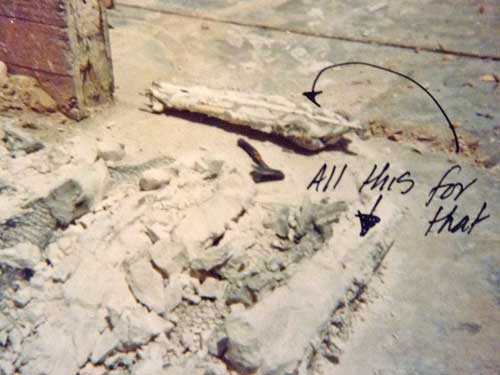
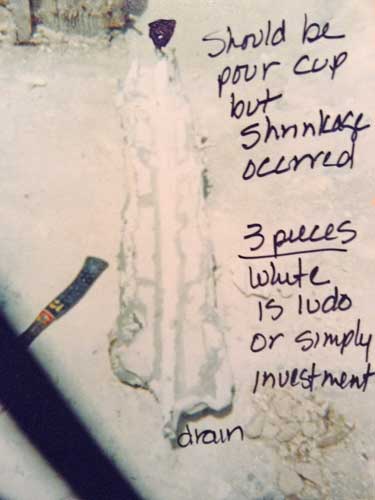
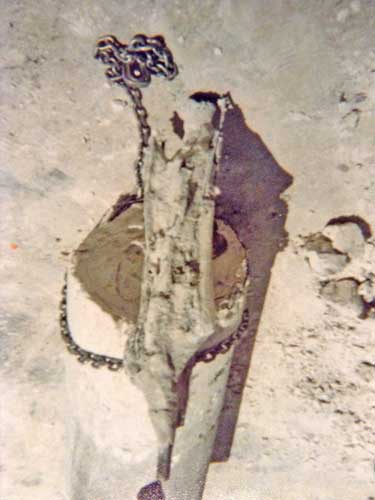
These are a few of the photos that I took the day of the Eroded Contours pour and break-out. A chain was used to pull the investments from the pit. And a fork lift was used to remove them from the foundry.

The length of the largest piece was 4.5′.
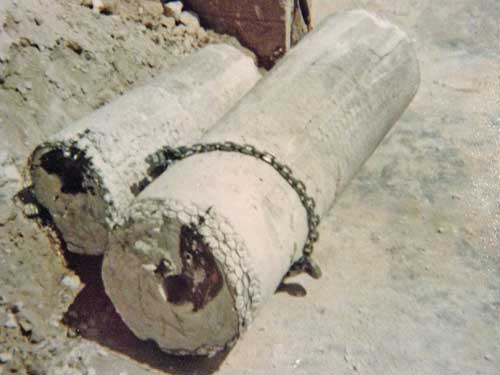
Investments

Investments

Break-out

Break-out

Break-out

Break-out


Plant Mystery–What Is It?

A few nights ago my nephew sent images of a plant that he saw on a walk in Hawaii.
Foliage and Flowers

Foliage and Flowers

Pods

Pods

Seeds and Silk

Seeds and Silk

I thought that it might be in the milkweed family, but most of the Asclepias pods that I have seen have a nubby texture.

I sent my nephew an email with my thoughts. Later I received an email from his mother and she thought it was similar to the silk cotton tree, Kapok. I checked out her guess, and noticed there were several differences.

So, I sent an email to my friend who works at the University of California Botanical Garden at Berkeley. And this is what he wrote–

Calotropis procera (formerly Asclepias…good call). The Kapok tree (either Ceiba pentandra or Ceiba speciosa or [Chorisa speciosa]) is quite a robust tree which has prominent black spines on the trunk, even when young.

I googled Calotropis and found this great picture to confirm the mystery plant’s identity.

Calotropis

Mystery solved!

Thanks, Bryan.


Solandra maxima variegata

This morning I found a Solandra maxima leaf on the kitchen counter. It looked wrong. There was a lot of yellow. What was happening to my plants?

Then I looked closer and saw the purple stem. This was not from one of my plants. My husband told me that he found a Solandra maxima plant on his morning walk. The leaf was from a variegated variety.

Solandra Variegated Leaf Detail

Leaf Comparison

Solandra Leaf Comparison

I first became aware of the Solandra early one morning at the local Farmers’ Market. There was a slight breeze and a fragrance that was familiar, yet unknown. When I located the source, I immediately bought the plant.

Solandra First Plant

Since that day I have taken cuttings and have plants in 6 locations in my gardens. I have given cuttings to neighbors as well.

When I researched the plant, I found reference to the flowers emitting a pheromone that can induce amorous feelings. Parts of the plant have been used for medicinal treatment and in rituals. If used inappropriately, respiratory and circulatory failure can occur. Yet another potentially dangerous plant in my garden.

I like the plant because the older growth is substantial and bark covered, the leaves are waxy, the buds and flowers are beautiful, and the fragrance is like candy on the wind. I am allowing two plants to grow naturally. The others are cut to fill spaces, so more shrub than vine.

Solandra Bloom


Fire Starters Then and Now

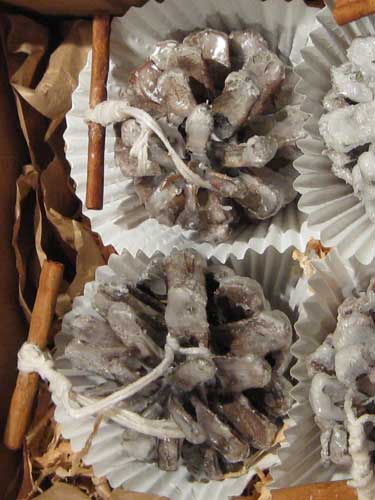
Two years ago I made fire starters for folks who have woodburning fireplaces. I used pinecones from my garden, cedar shavings (result of running cedar planks through a planer), wax, twine, and cinnamon sticks.

Firestarters 2012

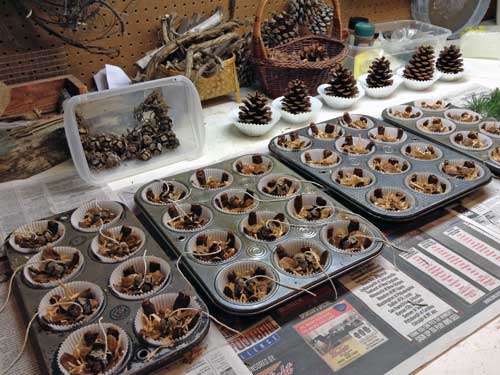
This year I thought I would try something a bit different. I have boxes of dried plant materials from my garden. I collected and dried them to use in my work. I haven’t found a need for them. I had thought about tossing them in the recycle bin, but decided to use them for fire starters.

Firestarters In Progress

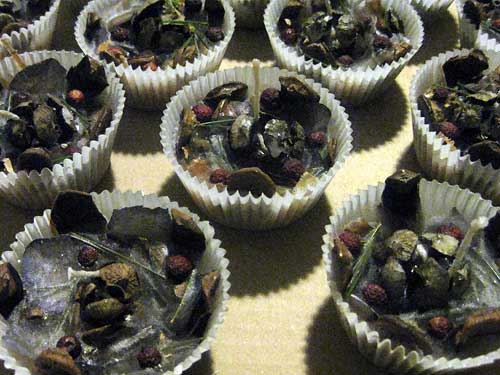
I lined some old muffin tins with cupcake papers and filled them with dried materials and cedar shavings. Then used cotton twine for wicks. The wicks are bound around cypress pods. Then the lot was topped with paraffin.

Firestarters Detail

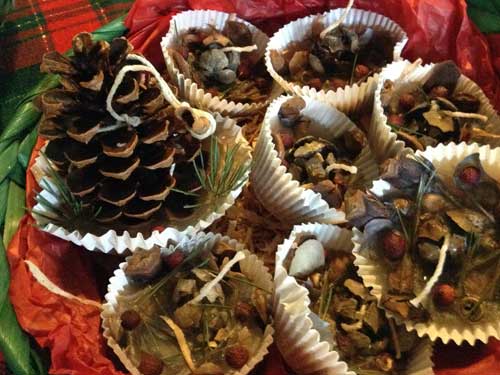
I also made a few pinecone fire starters.

Firestarters In Basket

Placed the fire starters in baskets lined with tissue and filled with cedar shavings. Everything can be used for starting fires, including the baskets.


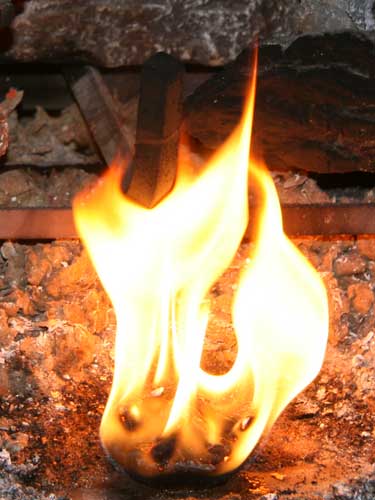
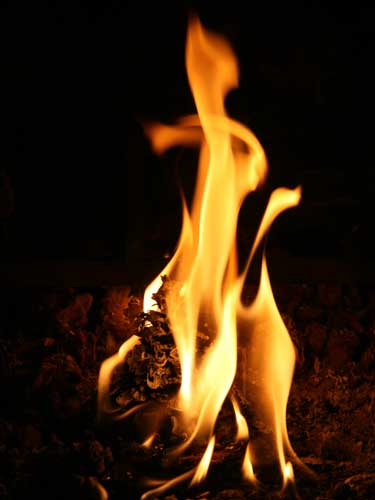
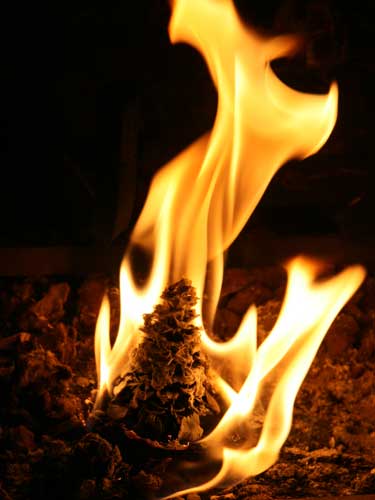
I was curious how the fire starters would work, so, I set some alight.

First a cupcake fire starters–

Firestarters Cupcake 1

Firestarters Cupcake 2

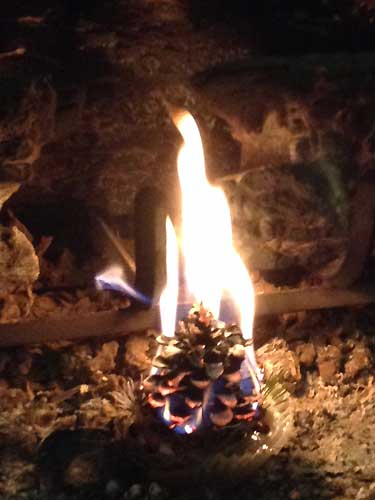
Then a pinecone–

Firestarters Pinecone 1

Firestarters Pinecone 2

Firestarters Pinecone 3

I had more fun watching them burn than making them!