Rust Dyeing and Stained by the Past

Last night I was reading through a few blogs that I subscribe to, and ran across reference to rust dyeing. I snagged loads of oxidized bits from my Dad’s shop that might work nicely.
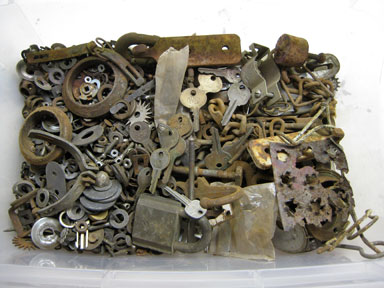
metal bits

Of course I would want to place the items so the images left behind make coded messages.

It is interesting that the techniques mentioned are not all that different from some techniques used to apply patina to metal. One site suggested placing the wet fabric wrapped around metal in a plastic bag. Sounds a bit like fuming to me.

I wonder why I hadn’t thought of using patination techniques as a transfer method. I have rusted metal bits that remained in pieces. They were either rusted first or after they were bound into the piece.
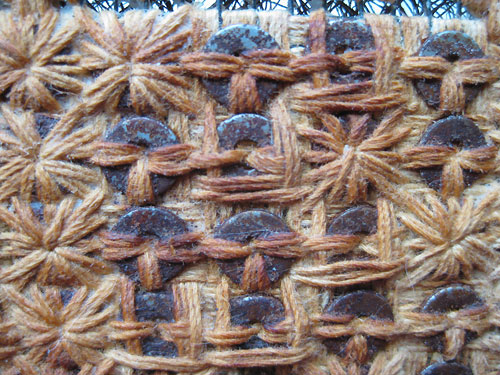
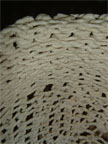
Stained Detail

Detail of a work in progress–Stained by the Past


A few highlights of what I found–

Vinegar is used straight or as a 50/50 with water, bath or in a mist bottle

Contact time can be a day to 5 days. Variables would include the color and type of the fabric used, and the type of rust applied, amount of saturation of fabric. Misted fabric would dry quicker than fabric that has been saturated and placed in a plastic bag or container to keep fabric damp.

Neutralizing the rust process requires saturating the rusted on fabric with a saline solution, and a washing. The saline solution can be as weak as 1 tablespoon to a gallon of water.

On The Natural Dye Notebook I found a technique for making a rust solution that can be applied with a brush to fabric.

Mix a small amount natural rust with water, I generally use one teaspoon rust to one cup liquid, or with soy milk…
Green Willow Studio

Artstitches

Hobbyfarms.com


Coins

I enjoy interesting art on coins, stamps, vegetable stickers…

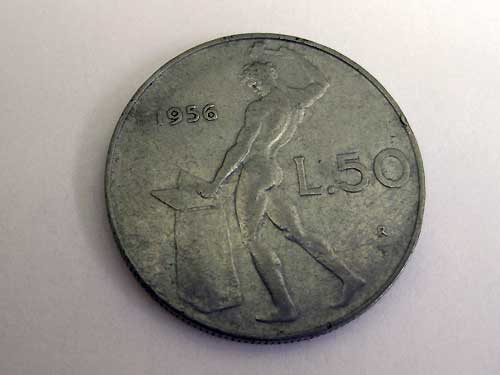
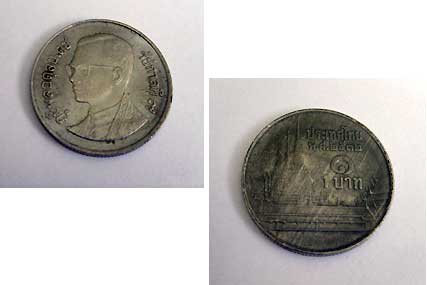
Today I ran across this coin amongst my stuff, but have no recollection where it came from.

Unknown Coin

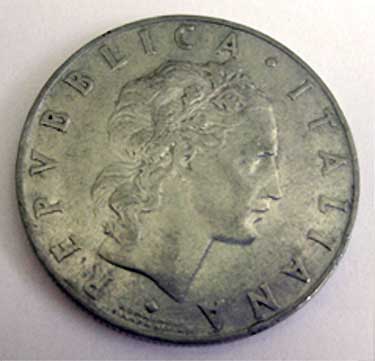
I found this coin when I was in grad school.

1956 Italian Coin Front
I like that the guy is a metal worker of sorts, but safety should require protective gear.

Very cool that it was minted in 1956.
1956 Italian Coin Back

Also minted in 1956.
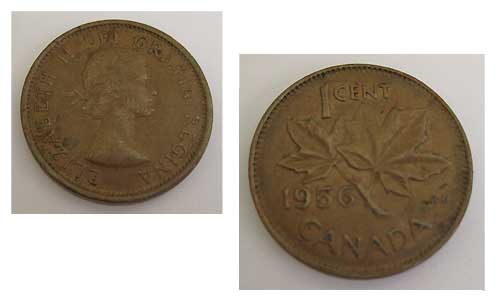
1956 Penny


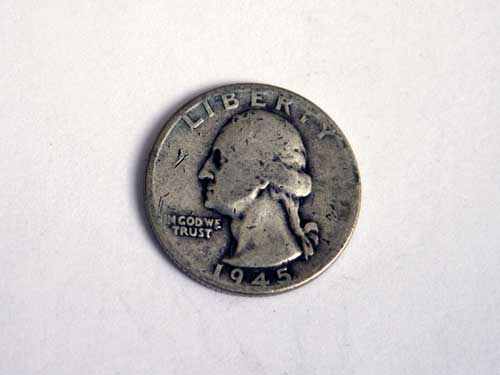
How cool would it be if one of the members of the NY School used this quarter to pay for coffee?
1945 Quarter

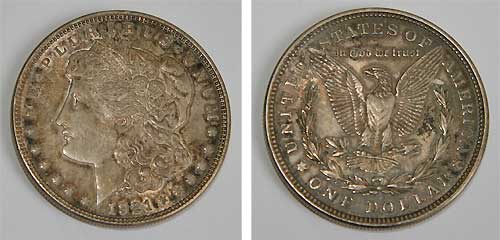
There are a variety of eagles on coins. This one seems about to take flight.
1921 Dollar

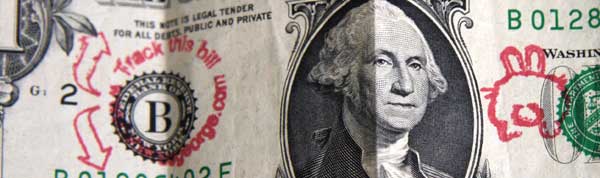
I received the dollar during a purchase in Marion, Ohio. The idea is to post it on the website and then send it back out into the world. I liked the little bunny and have kept it in my wallet for several years.

Bunny on Dollar


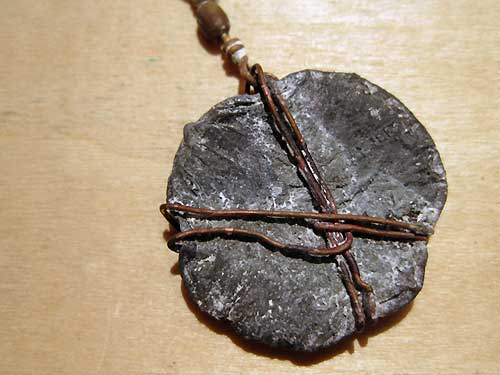
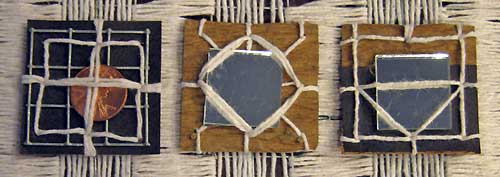
I bound a penny and fired it to 1250ºF thinking that it was copper. I was hoping for a bit of slumping. When I researched the composition of pennies I found that they are primarily zinc. So, not surprising that the coin melted at a lower temperature.
Fired Penny

From the United States Mint site–

The alloy remained 95 percent copper and 5 percent zinc until 1982, when the composition was changed to 97.5 percent zinc and 2.5 percent copper (copper-plated zinc).


Penny, Penny…

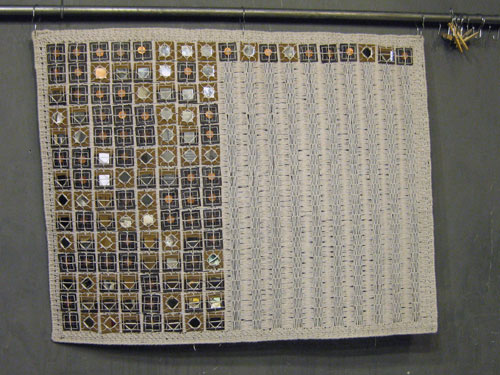
There is progress, but it is taking so long to complete the project. I haven’t had loads of time for studio work. I was away because of family stuff and I have been working on several app projects. Can only manage a couple of studio hours in the evening.

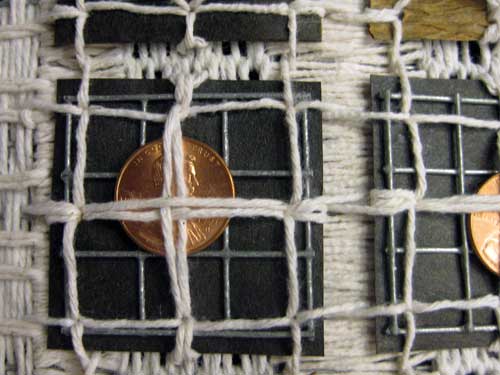
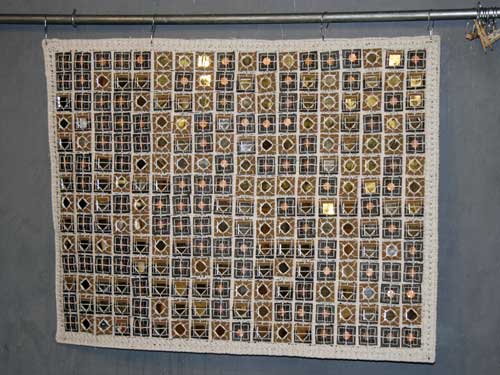
The blocks are tacked in place and now I am stitching them onto the background. Pretty sure that I will not be happy with the stitching until it is more substantial. Perhaps a knot at every hole–3 on each side, would mean 12 knots for each of the 252 blocks or 3,024 knots.

Binding

I haven’t yet decided how I will “age” the piece. Currently leaning toward wax with heat or flame. I do love to torch things. I will need to make some test pieces to see how the materials behave.

There is also the possibility of using asphaltum, which is somewhat consistent with roofing felt and tree wrap. In the past when I used asphaltum I willy-nilly mixed it with shellac and applied it with a brush.

Or sugar. Sugar has been used as a stiffener for crochet work. I gave it a go several years back. Made a cotton open weave vessel.

Sugar Stiffener

6″ x 5.5″ x 6″
1 part water with 2 parts Sugar (I used a raw sugar so it did change the color of the cord)
Heated to dissolve, but didn’t boil. This takes a little time.

Sugar Stiffener Detail

I left the hot sugar in the pot and tossed in the piece to saturate the cord.
Blocked it over a jar covered with foil and placed a piece of plastic under. This is pretty drippy stuff.

The vessel has maintained its form, and has not attracted ants.


See a Penny Blocks Attached…

The blocks have been tacked on. Need to let the piece rest. Then a check to make sure the code is correct
Blocks Attached

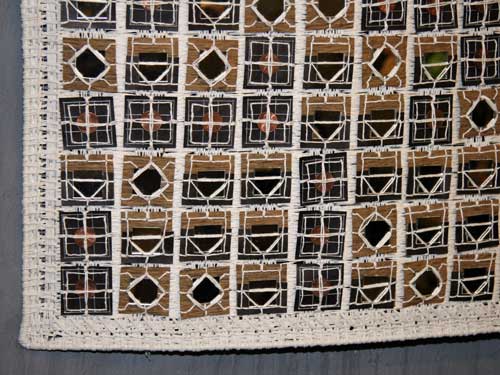
I noticed that a couple of the blocks representing dots have the binding vertical rather than horizontal.
Detail
Will need to correct that. It is important that the texture of the tree wrap and binding be horizontal for proper alignment with the blocks representing dashes and spacers.


See A Penny Continued Again…

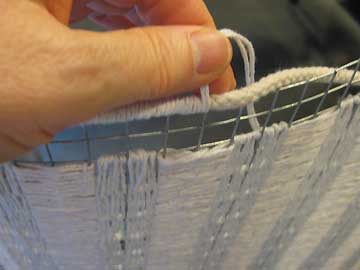
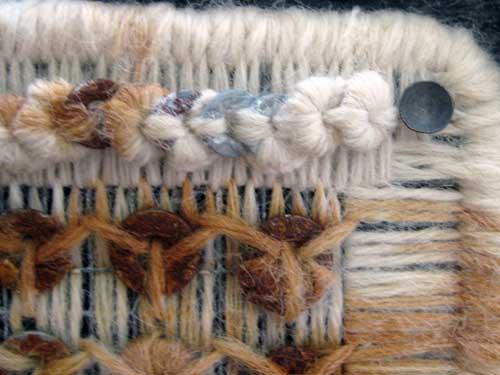
The edge of hardware cloth can be sharp enough to wound. Bound on a rope to act as an edging.

See Penny Edge.jpg

Then filled in the border with a couple of stitches.

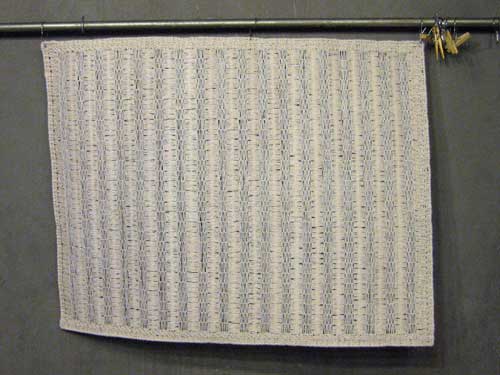
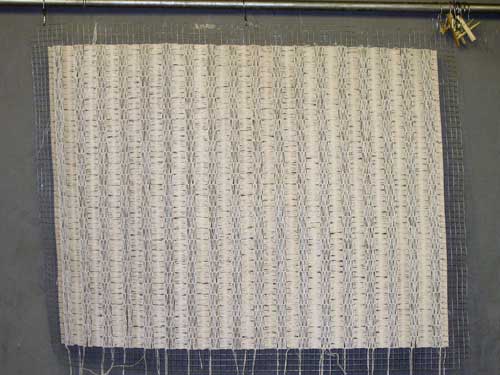
Completed_Background

Completed Background

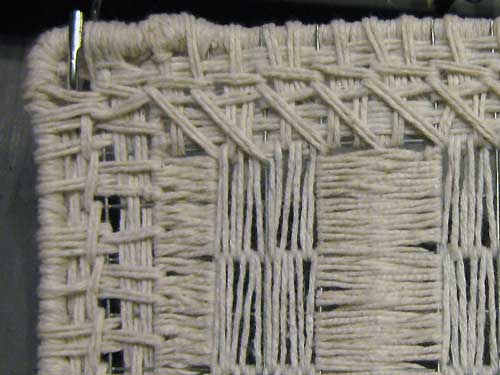
Completed_Background_Detail

Detail of Completed Background

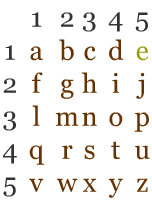
I am considering binding pennies onto the border with a message in Tap code. In Tap code the letters of the alphabet are laid out in a 5×5 grid.

Tap Code Grid

The code for E is 1,5. The code for the letter K is the same as the letter C.

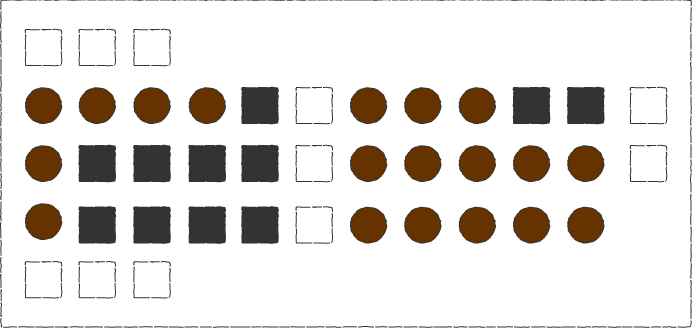
Often when I refer to Tap code I actually use a grid of 11, 5 spaces for the row and 5 spaces for the column with a space between. I fill in the empty spaces with a filler component; and add three spacers at the start of words, in between words, and at the end of words. This is a quick example of how I start laying out text in code–

See in Tap Code

The word see in my altered version of Tap code.

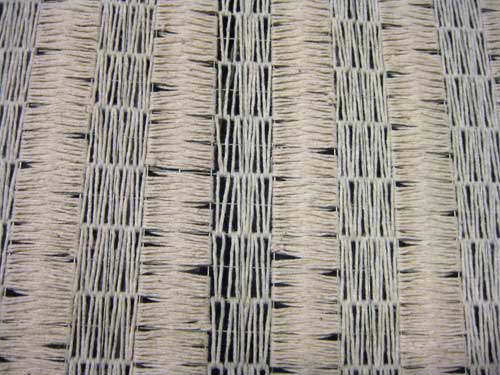
I am pretty sure that I am going to give the background an application of liquid starch before binding the blocks to it. The starch will prevent fraying and any knots from coming undone. Usually the “fabric” will feel quite like canvas.

Or I might decide to age the hardware cloth which will alter the appearance of the fiber. The appearance of weeping stain might occur.

Stained

An example of oxidized metal that stained the fiber.


See A Penny Continued Sunday Morning…

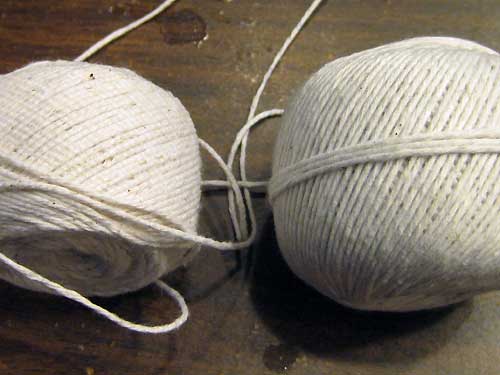
Pea Twine

This is why it is important to purchase more than enough twine for a project.
When you return to the store to buy more it may not be the same color.

Pea Twine Stitches

Since I am filling the background with two stitches, it made for an easy decision to make
the horizontal stitches one color and the vertical stitches the other color.

Background Sunday Morning

Background Sunday Morning

Blocks on Background

Blocks on Background
The blocks will be bound to the background and then stitched together to give the appearance that the stitching is holding them together. The tree wrap and roofing felt are not materials strong enough to support the weight of the piece. I’m pretty sure that I will use liquid starch on the background before attaching the blocks. Liquid starch is great for stiffening, to keep knots in place, and to prevent fraying. Haven’t yet decided how I will age the piece. Since I am using cotton I can use wax and fire.


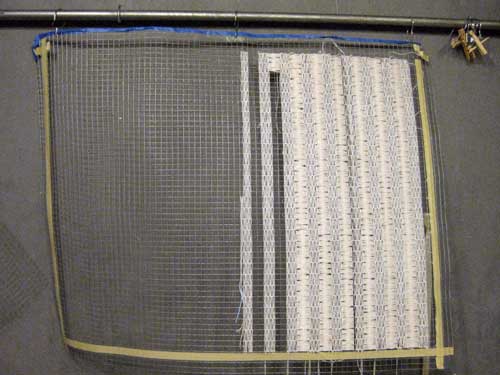
Cutting Hardware Cloth

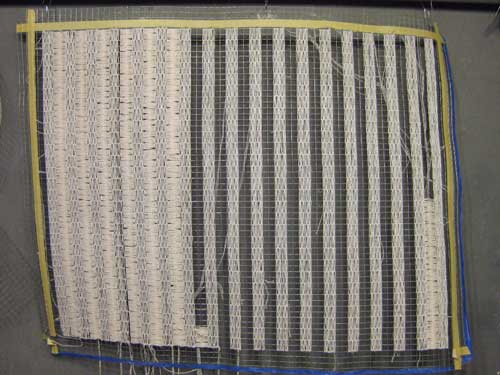
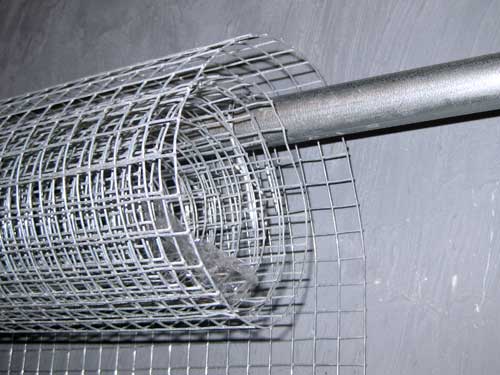
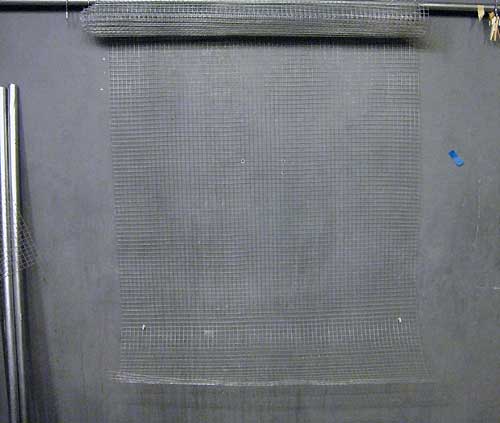
Today I opened a fresh roll of hardware cloth. It is springy and the edges sharp. Rather than standing on it and rolling it out on the floor, I slung it over the rod in my studio. Then I ran the hardware cloth behind the rod and fed it through.

Hardware Cloth

Hardware Cloth

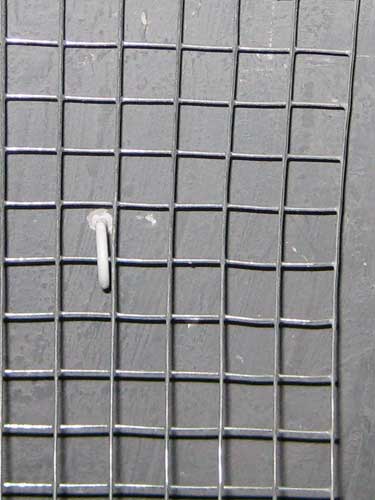
I was able to unroll and straighten at the same time. The piece of blue tape was for marking my place to cut. To prevent the hardware cloth from springing about while I was cutting it, I inserted a couple of cup hooks in the wall.

Hardware Cloth Cup Holders


Sometimes something simple and unexpected happens to make work a bit easier.


The Two John von Bergens

Today I was reading a Booooooom post and saw this image. I like the quiet elegance.

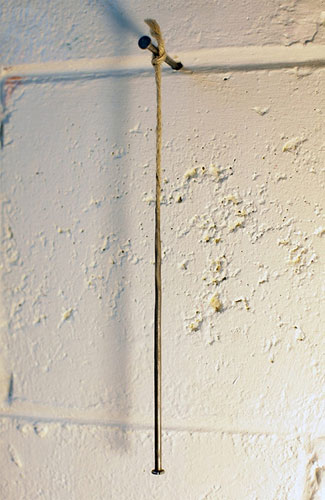
Hang Nail

Hang Nail (part 1), 2011, Steel nails, jute, epoxy, graphite, 1.5×25.5×4 cm (0.5” x 10” x 0.5”), Mikesell Collection, Miami. Photo by Denis Darzacq.

According to the post the work is by John von Bergen. Since I liked the work so much I googled him. In doing so I found that there are two people with the same name who make sculpture.

This is the site of John von Bergen who made the piece–

http://www.jvonb.com/

Check out the pdf for more images and information about his work.


So the very cool thing is that the other John von Bergen is a sculptor who has a description of the sand casting process with a short video of a pour on his site. I do miss casting.

This is his site–

http://www.johnvonbergen.com/artist.html

And this is the url for the sand casting information and the video of a pour is near the bottom of the page–

http://www.johnvonbergen.com/methods.html

I picked this image because I like that it looks a bit sharp and pointy and yet protective.

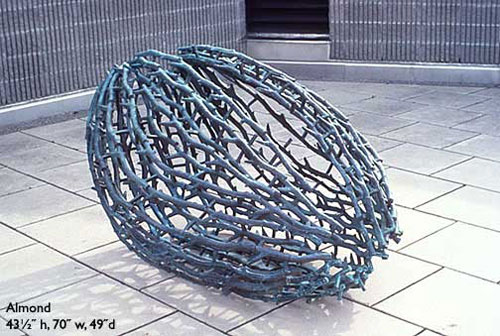
Almond