I am in the process of cutting, punching, and assembling components for a piece that will be a continuation of my Make Your Own Luck series.
Often I work directly on hardware cloth, but for this piece I decided to make separate components to be assembled rather like quilt blocks.
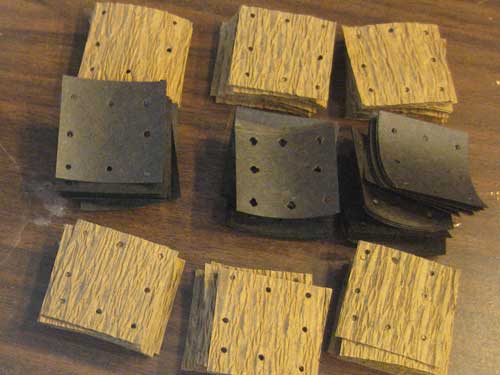
I cut 180 pieces of 1/2″ hardware cloth. Each piece is 3 squares by 3 squares, and will be bound between a layer of tree wrap and roofing felt.
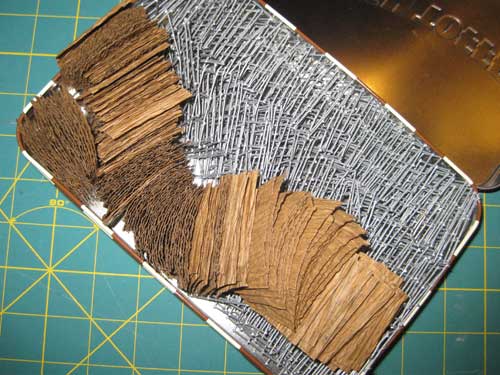
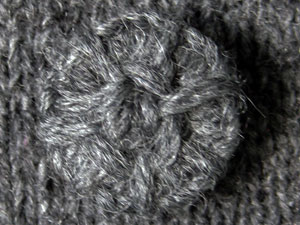
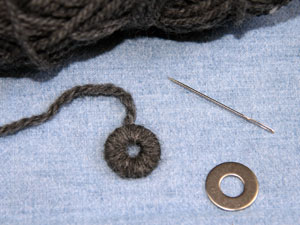
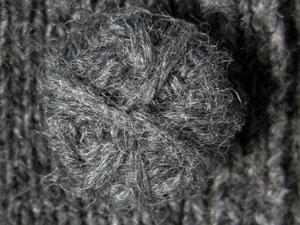
There will be three components to represent dots, dashes, or spacers in the coded message–See a penny, pick it up, all the day have good luck. Each dot and dash component will have a piece of mirror, and each spacer will have a penny bound to it. Haven’t decided on the needlework for the components.
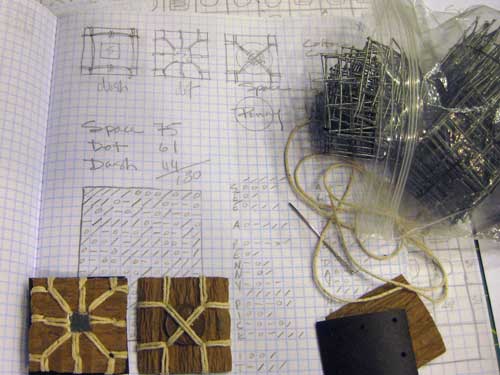
Since I will be making over 2,000 holes I tried different hole punches to find which works best for the job. I used the Martha Stewart Screw Punch, the hole punch my husband used when he was a paperboy, and the punch I used for palm bark.
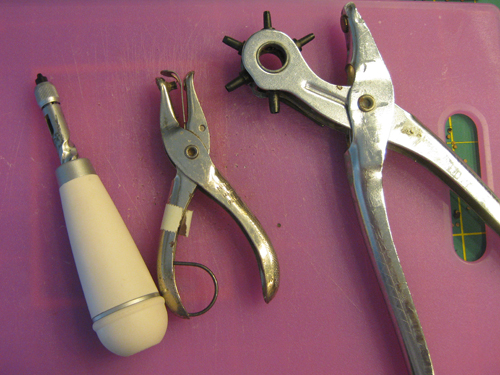
Each punch worked great considering the material. I found that the screw punch worked best when punching holes in more than one layer. I was able to use the screw punch with either hand, so when my dominant hand became weary I switched to my helper hand.
Since the materials are a tad sticky I frequently cleaned the punch bit with a needle tool.
Make sure when using any sharp tool that you keep clear of anything that might bleed.