Application No Wax Shield
Application No Wax Shield
Before I trim off the extra nettle and hemp I need to seal it to prevent the possibility of the knots coming undone. Not likely that could happen, but sometimes even when sticks should be dry they can still dry more. The drying can cause shrinkage and even if the knot is intact the binding might be too lose for the bundle. Using a sealant of sorts can help to keep things in place.
When I am using fiber without the addition of stones I often use liquid starch. I like that the starch does not seems to cause a problem if I add other materials–wax, stain, shellac…
I read about using the no wax floor shield several years back in Carol Huber Cypher’s book, Hand Felted Jewelry and Beads: 25 Artful Designs.
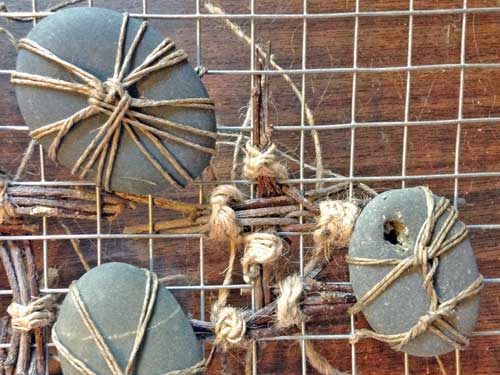
Detail of a portion of Sticks and Stones.
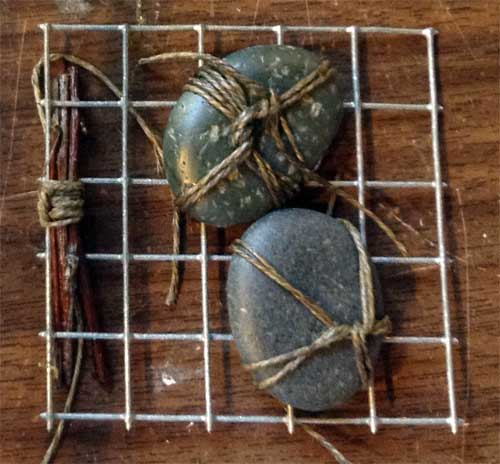
Sample piece with the application of no wax floor shield. It should not change the color of the nettle and hemp while adding a little shine to the sticks and stones. Now I wait.
All of the bunches of sticks and stones are bound.
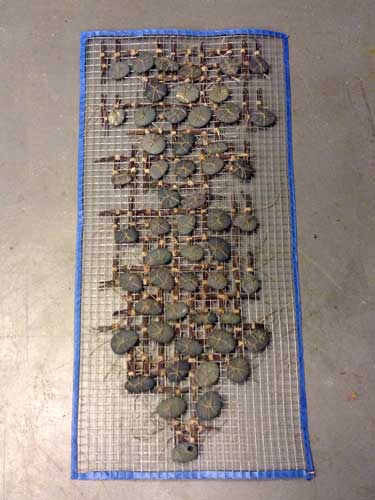
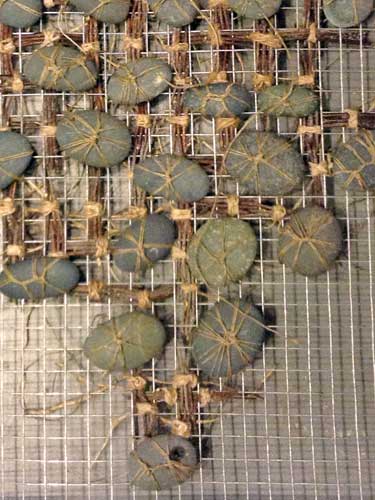
Next–Fill in some of the open spaces.
The work started with my continued interest in words and language.
Most kids are taught the Sticks and Stones nursery rhyme.
Sticks and stones may break my bones but words will never hurt me?
I added a question mark. Words are used every day to hurt people.
The nursery rhyme is in Morse Code with the substitution of a bundle of sticks for each dot and dash. Each bundle has three sticks and is bound with nettle. A vertical orientation is a dot, horizontal is a dash.
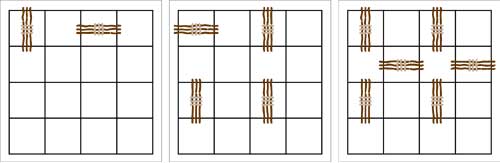
Code for A, B, and the Question Mark.
Each letter spans 4 squares by 4 squares. I often use Flash for layout. Make a symbol for each code component, with easy peasy replace. It is a quick way to see potential problems before making a paper and pencil sketch.
In addition to the bundles for the code in each 4×4 section, there will also be a stone bound with hemp. This is a detail of some of the completed work. I wait until I am finished with all of the binding before addressing any long strings on the back.
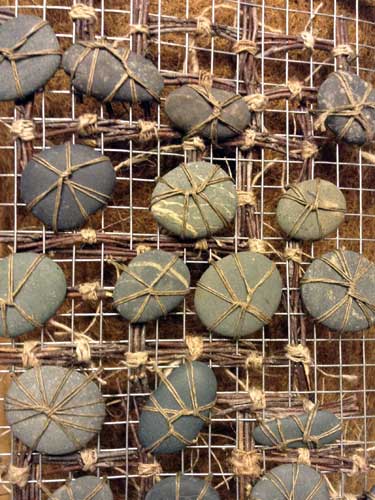
The size of the stone will be dictated by the code. Letters can have 1, 2, 3, or 4 dots/dashes. Fewer code bundles allow for larger stones. The question mark has 6 bundles for the code.
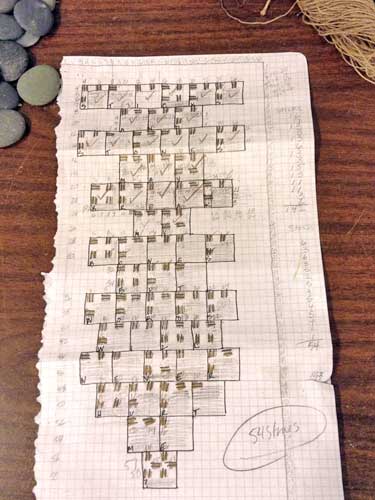
Sketch in Use. I always use paper and pencil for my working sketch. I can write on it. Mark off bits when completed.
The sketch has each square numbered. I taped and numbered the edge of the metal mesh. It makes work easier with fewer mistakes. Depending on the binding, tearing out a mistake can take longer than the actual binding time. The tape is also good for preventing possible cuts. The metal mesh can be quite sharp.
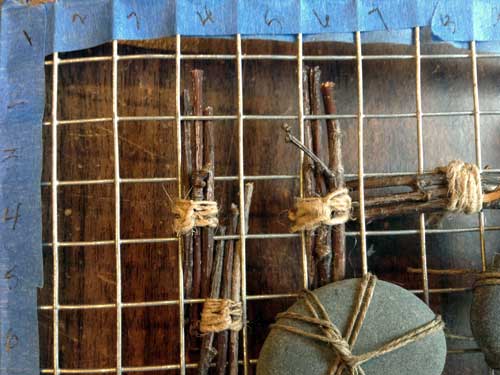
The piece will be fairly heavy. The plan is to sandwich a piece of coco fiber blanket between the code piece and an additional piece of metal mesh. Rather like the three layers of a typical quilt. If I stitched through all three layers or hand tied them together, it would be even closer to quilt making. I always wanted to make a quilt, but not keen on cutting little bits of flat fabric and then stitching them together.
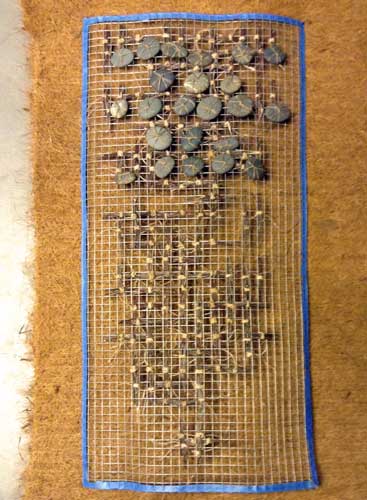
Things to do–Thinking about filling some of the open space of the mesh, weaving in nettle or hemp. It probably would feel more like a piece of fabric. Still want to see the coco fiber, especially the raw edges.
There are 3 squares allotted for the border. Haven’t planned what type of binding or embroidery to use. Need to see the sticks and stones bound in before making that decision.
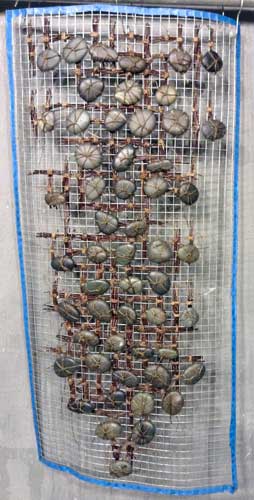
Layout for Sticks and Stones.
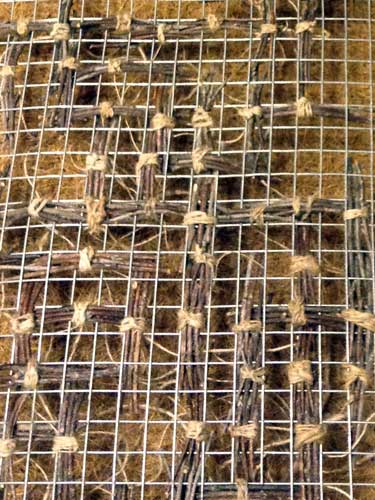
Before addition of stones.
Sticks bound with nettle, stones bound with hemp.
Placed on layer of coco fiber.
An additional layer of metal mesh will be attached to the back to support the weight of the stones.
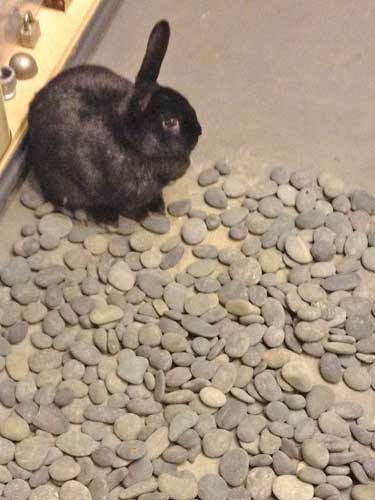
Elliot, my studio assistant selecting stones.
Coco fiber roll purchased from the Kinsman Company.
The past several years I made a piece for our wedding anniversary. This year I went simple, a board with pennies attached.
Even in a simple piece I choose materials that I really like to use. Cedar for fragrance and the reference to a cedar chest or wedding chest. I like brass/copper. They are easy to age/add patina. I chose not to patina this piece because I wanted the dates on the pennies to be visible.
I love pennies. I like them for the superstition of good/bad luck. And I like them for their history. And I like them because they have become insignificant. I often use pennies in my work. Sometimes I attach a single penny to date the piece.
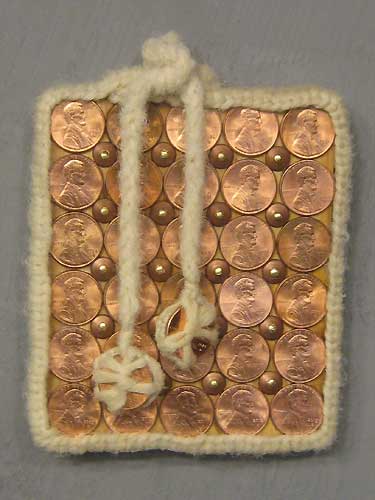
Materials:
Cedar, pennies, copper roves (the dome pieces between the pennies), brass nails, wool, hardware cloth, brass eye hook, stainless steel washers, Dorland’s Wax.
Pennies–A penny for each year. They are dated 1983 to 2014. The 1983 and 2014 pennies are attached to the ends of an Icord.
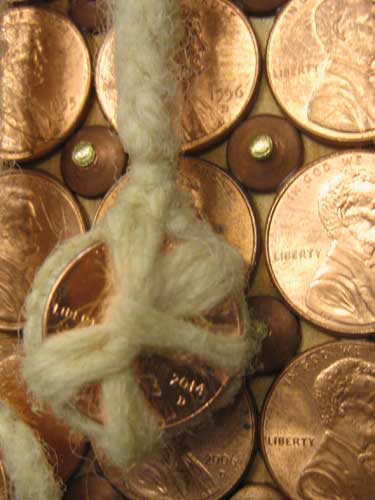
Hardware Cloth Border—stitched with cream wool. Attached to the cedar board with brass nails. Planned for an overlay of the two ends. Inserted the brass eye hook through the overlap.
Icord of cream wool–washed by hand and then tossed in dryer for 20 minutes.
Coverd two stainless steel washers with cream wool. Attached a 1983 and 2014 penny. Stiched them to the Icord. Then attached the Icord to the eye hook.
Applied Dorland’s to entire piece. Used a heat gun to smooth out wax.
Drilled a single hole in the back of the piece for hanging.
Roves are very cool. I found them at Lee Valley Tools.
Time to let the piece rest until gift time.
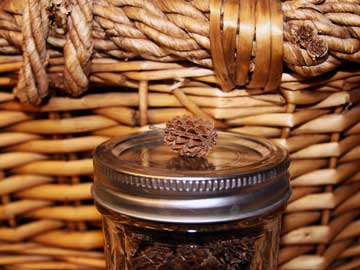
Pods, the Perfect Gift
A Friend Gave Me These Gorgeous Pods.
She Thought That I Could Use Them in My Work.
I was researching embroidery techniques and ran across reference to a Trolley Needle. Appeared quite useful, so I ordered one.
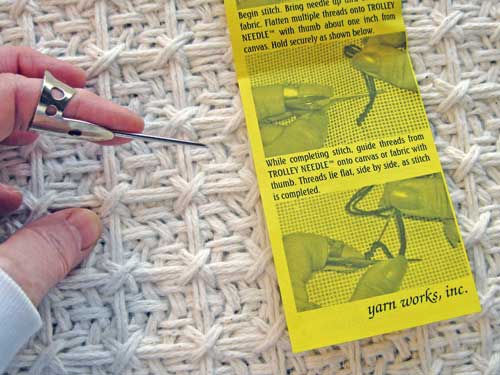
The tool is used for keeping thread flat and in order when doing needlework. I will not be able to use it for a few weeks because I sustained a repetitive stress injury of my hand and wrist.
Another item that I keep in my tool chest is gaffer tape. I wrap it around the edge of hardware cloth to prevent snags and frays of fiber and my hands. I like that it sticks nicely but does not leave a sticky residue.
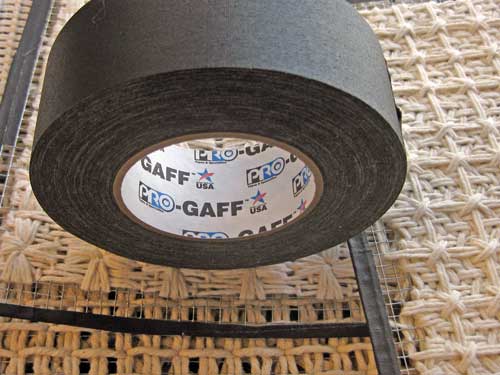
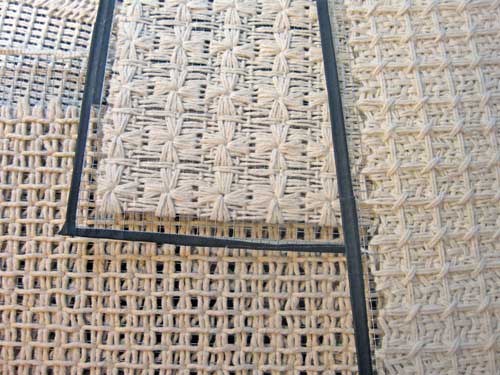
These are a few panels in progress that may be part of a triptych.
Mayo Clinic Repetitive Stress Injury
Baylor Health Repetitive Stress Injury
While cleaning and clearing out stuff in my studio I ran across a small bag of vintage wavers. They were a gift from my grandmother in the late 70s. I had always thought that she had naturally wavey hair.
I can’t remember the number of times that I packed and unpacked that little bag of wavers. Always saving them because they were a gift. Rather than taking a photo and discarding them, I decided to use them in my work.
Here’s what happened—had just read a blog post about making rope vessels on The Red Thread. Then I was looking through my stash of fiber and there was some beautiful nettle.
Wavers, Rope Vessels, Nettle.
Made loops on either end of the first batch of wavers and attached them loop into loop and a twist. Started binding and stitching the wavers together leaving the frayed ends exposed.
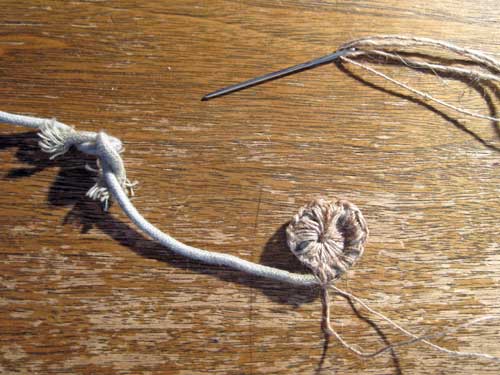
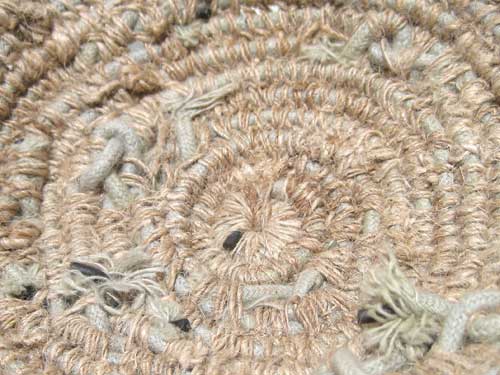
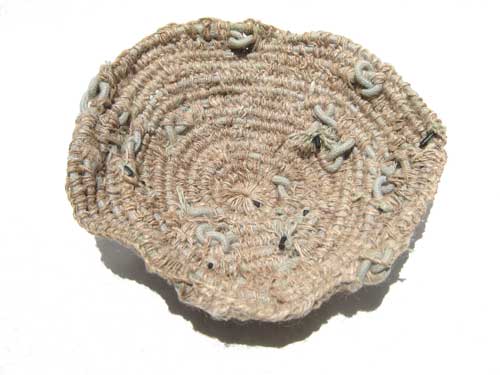
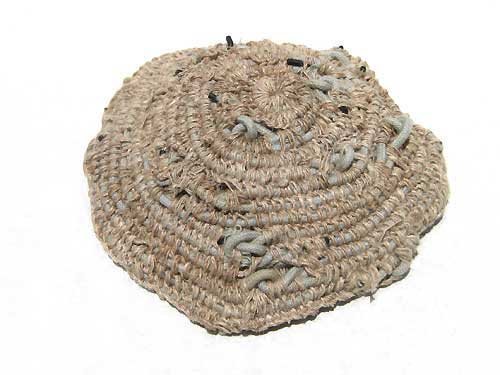
There were enough wavers to make three small pieces, one with gray wavers and two with brown.
The wavers were wrapped and bound with nettle fiber, while leaving the ends for interest. The technique is similar to looping.
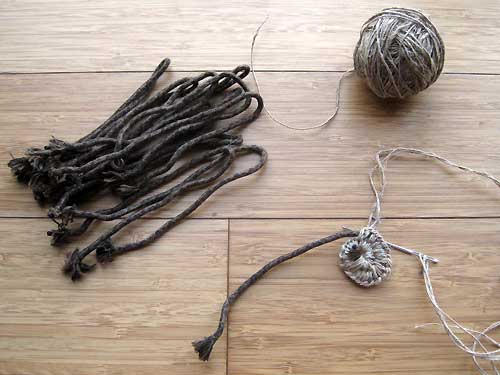
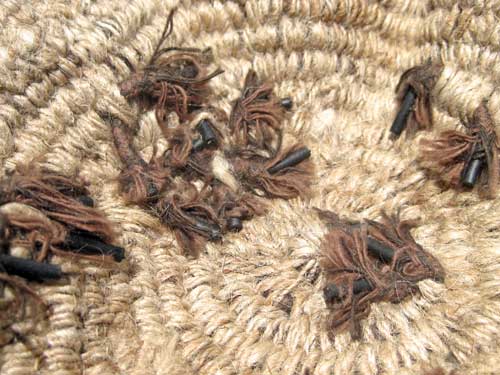
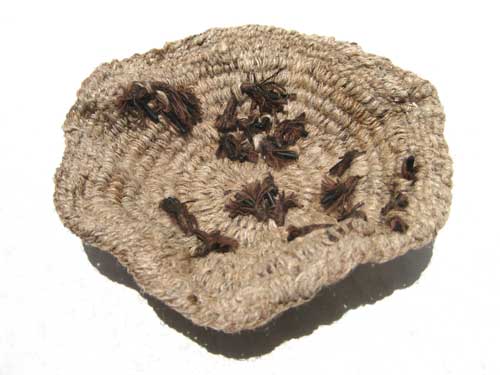
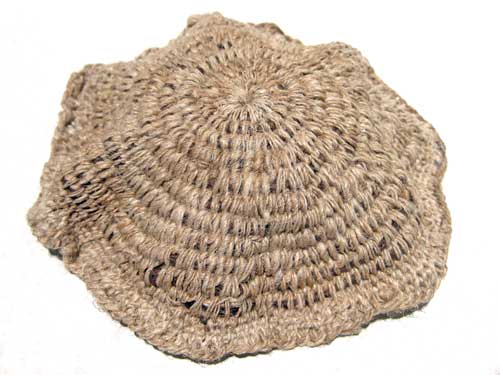
A box will be built for the two similar pieces and the third which is more cup-like will most likely be attached to a base to become a goblet.
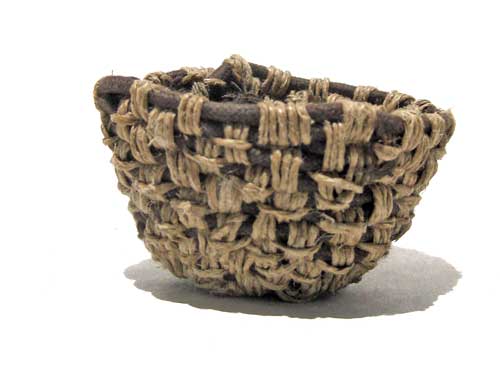
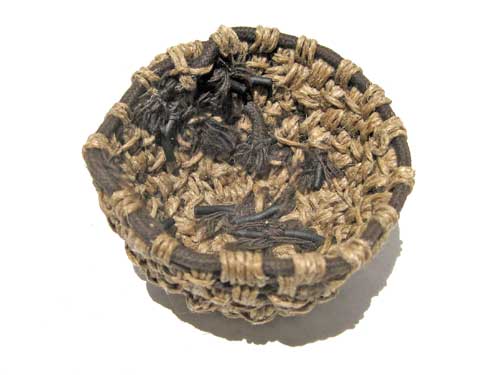
Hemp was substituted for nettle in the cup piece. The hemp has been unused in my stash for several years because it always seemed too stiff to use in previous pieces. It was softened a bit by running a length a couple of times over the edge of my work table.
This is a birthday celebration piece. The cream side contains the originally date of birth. The green side is the day with the current year. Morse Code is used with green cord substituted for dashes and rust cord for dots.
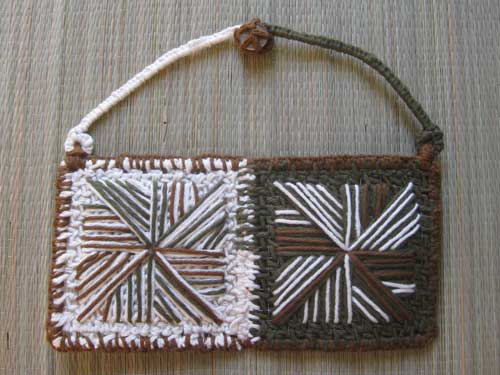
The date begins in the upper left and works around clockwise.
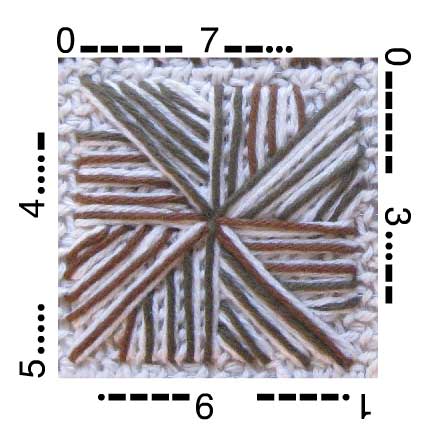
Pre-Wax
Planning to wax the entire piece to add some age and to keep everything in its proper place.
I have been dinking around with various ways to finish off the backs of pieces. The back is needed to complete the piece. Even if you cannot see the back it does exist. And I don’t want the wall showing through if there is open stitch work.
Recently I have been using starched burlap because I can stitch in title, date of piece, and my name in code.
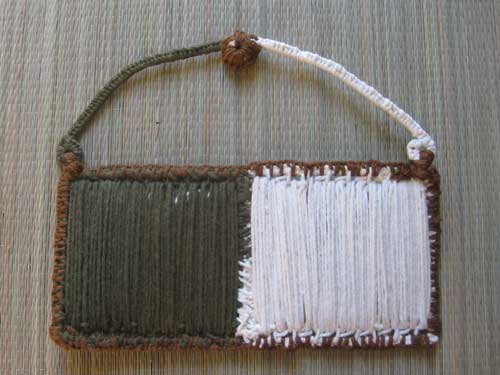
This is the first time adding strands of cord to the back with the intent of using the piece rather like a loom. Still deciding if I want to give that a try.
Since the waxing should only take a couple of hours I have plenty of time before my July 3rd deadline to make the decision.
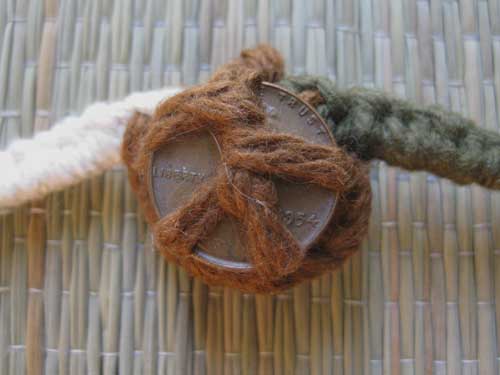
Materials
Hardware Cloth, Cotton Fiber, Metal, 1954 Penny, Rebar Ties
Scale
9.5″ x 8.5″ x .75″
Depth may change if I decide to build a frame/box as part of the piece.
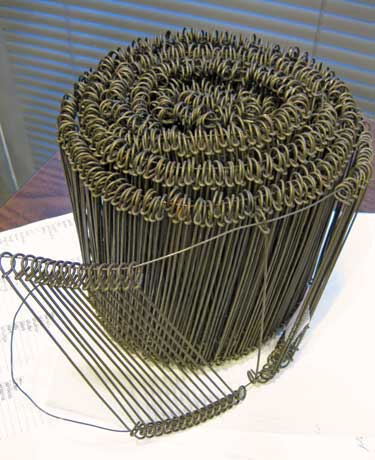
Rebar ties make for a nice hanger. I bought the bundle years ago thinking they would be a great art material. Tried using them several ways, but they haven’t revealed themselves to me as of yet. So, I have been using them for hangers for some small pieces.