Penn Artifact Lab

Last night I was thinking about how to age and hang a piece, so I did a google search for combinations of encaustic, wool, cotton, twine, rope, encased in plaster, and hit the Penn Artifact Lab. It is a working conservation space that can be viewed by visitors with a blog component. How cool is that?

While I was in Maryland, I spent part of a day at the Smithsonian Natural History Museum. The museum has the FossiLab where you can watch folks working. The access to part of the process of conservation adds another aspect to the exhibitions.

Back to my search. I found this description–

“After prying some of the loose plaster away, I found that luckily, the plaster seen around the outside of the painting is only a thin skim coat layer, and that paper was used as a barrier layer in places between the painting and the plaster.”

plaster


I looked around a bit and found so many interesting and amazing images of artifacts. Ran across this bit on a coffin and cedar–

“Cedar is a prized wood because the trees produce chemicals that make them resistant to insect damage and various forms of rot.

I documented the appearance of the board, noting its construction details, such as four wooden pegs and mitered edges. One curious feature was thin metal ribbons running in channels along the long axis of the board.”

coffin detail


Cedar is one of my favorite materials. It is soft, easy to carve, can be yellow or pink in color, stains nicely for my purposes, and it has a great fragrance. I originally started using it when I was making Tools for Rent a series of bronze daggers.

Tools for Rent-Anzen

I was in the hardware store looking for some wood to build boxes when I was hit with the memory of opening my mother’s cedar chest. Got to thinking about the arbitrary value of an individual based on the contents of a box and how that compares to the arbitrary value placed on art. And I really like the fragrance.


Back to my search. I found this image of a bone awl. It is so clean, lovely, and elegant.

bone awl


Folks listed on the Artifact Lab blog–
Project Conservator Molly Gleeson
Senior Conservator Lynn Grant
Conservators Julia Lawson and Nina Owczarek

Penn Museum’s Egyptian Section curators
Curator Dr. David Silverman
Associate Curators Dr. Josef Wegner and Dr. Jennifer Wegner

The Artifact Lab and the Penn Museum blogs have great detailed information. I just subscribed to both.
See A Penny Continuation

Been busy making apps, so little studio time in the past couple of weeks. Finally some studio time this weekend.

When you are not able to have consistent studio time, sometimes going back to a project means reacquainting yourself with it.

Current

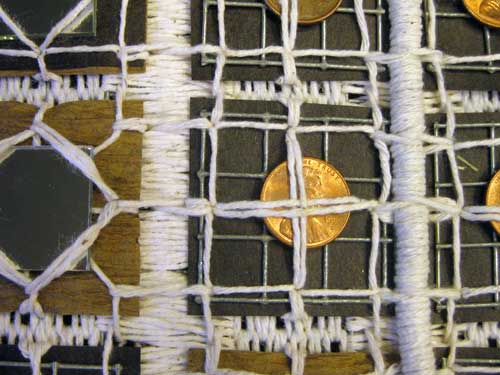
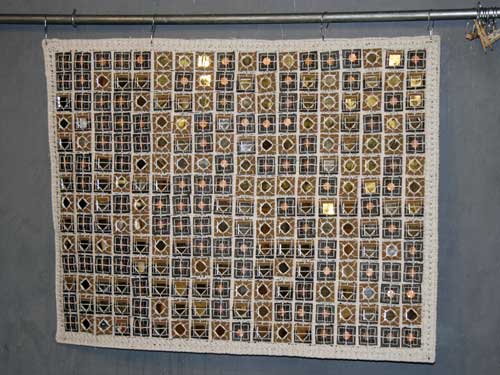
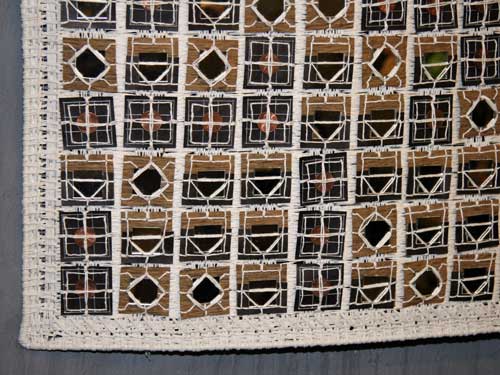
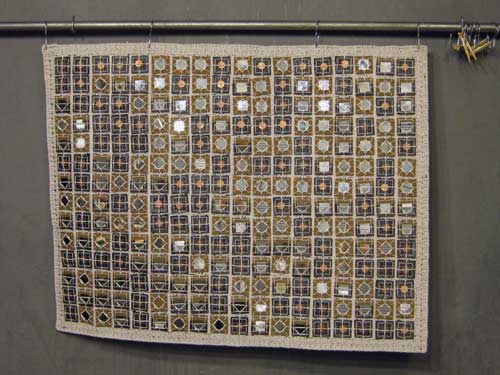
Decided to add wrapped rope to emphasize the grid, to cover the edges of the blocks, and to give more of a quilt-like feel.

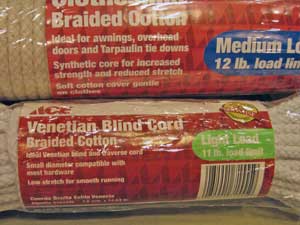
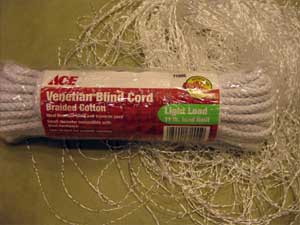
I have found that often cotton rope has a synthetic core. I didn’t know however, that cotton Venetian Blind cord is made with a synthetic core as well. And that synthetic isn’t listed on the label. The fellow working in the store said that if it wasn’t on the label it wasn’t in the rope or cord.

I purchased two types, the Venetian Blind cord for the grid and the thicker clothesline rope for the border.

Continuation 1

I cut lengths of sash cord to use for the verticals, then removed the core.

Continuation 2

The main reason that I do not want a synthetic core is because I am planning to use a hot process on the piece. Nylon melts. The removed nylon can be cut up and used in other processes.

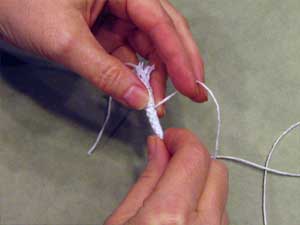
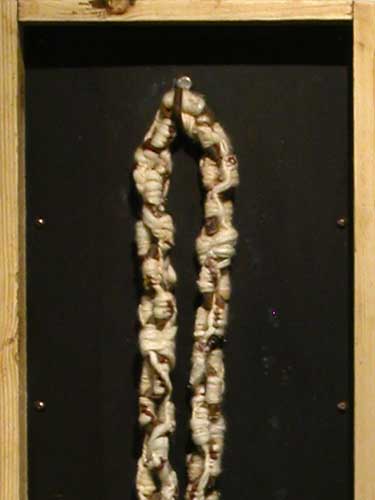
I wrapped the lengths of sash cord by first inserting one end of the cotton twine through the sash cord.

Continuation 3


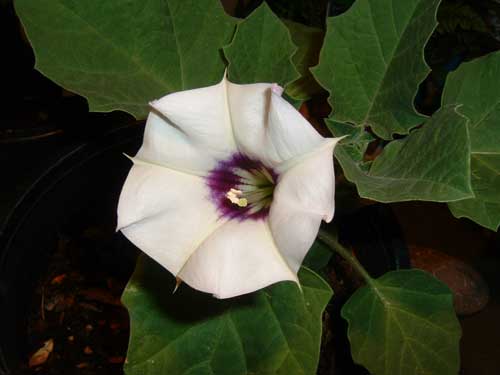
Yep, my fingernails are a bit green. I spent a couple of hours pruning my Brugs and Datura.

Datura


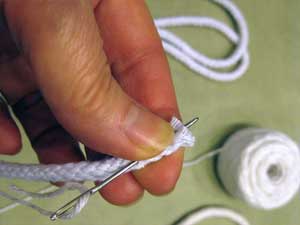
Wrapping was done by simply rotating the Venetian Blind cord. When nearly wrapped, I cut the cotton cord, slipped on a needle, and inserted the tail up through and out.

Continuation 4

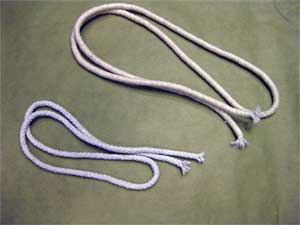
Before and After Wrapping

Continuation 6

I have a couple of verticals to finish before starting the horizontals, and then adding a border. The wrapped cord needs to be added to the left of the penny blocks.

Continuation 8


Clearing Out and Rust Dyeing

A couple of nights back, 31 August, I decided to give rust dyeing a go. I was clearing out my closets and found some tees that could not have been donated because they had seen studio time and/or bunny teeth.

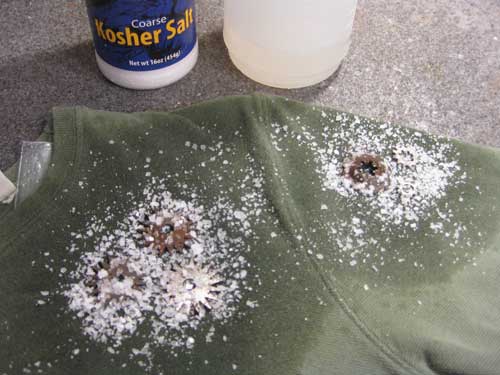
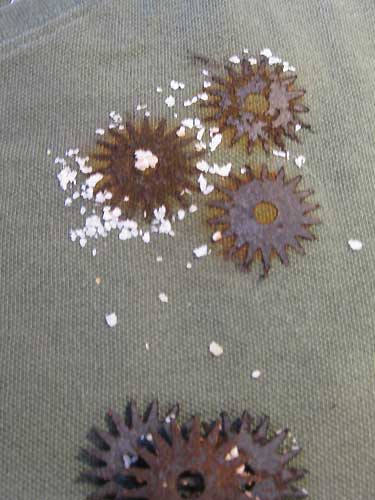
I placed metal items that I found interesting directly on the shirt, misted with full strength vinegar and sprinkled with kosher salt. I have liked using the larger salt crystals in the past.

There is a double layer of plastic inside the tee.

Rust Dye Process Image 1

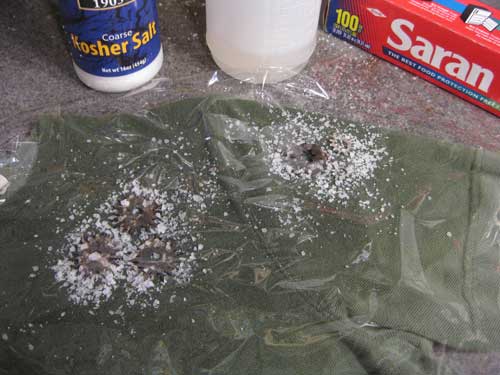
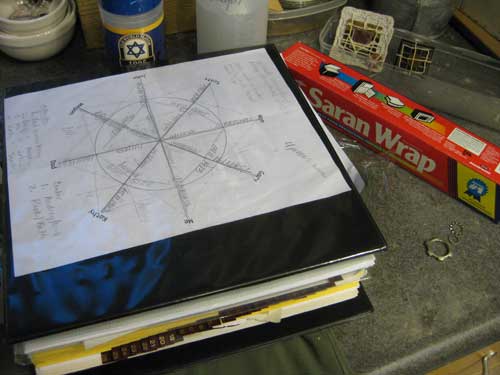
Since the shirt has a bit of a mesh texture, I placed a piece of cling wrap over the salted metal bits, then weighted it with a binder of past sketches.

Rust Dye Process Image 2

Rust Dye Process Image 3

Every evening I misted the metal bits then returned the cling wrap and binder.

Tonight when I removed the binder and the cling wrap I noticed there was some salt residue where the edge of the cling wrap had been.

The rust result excited the heck out of me. And not thinking I stacked up the rusty bits on the shirt. I was so excited to see the build of rust on the fabric I forgot that the metal bits were still rusty.

Rust Dye Results 1

The result is beautiful, but how much will remain after washing?

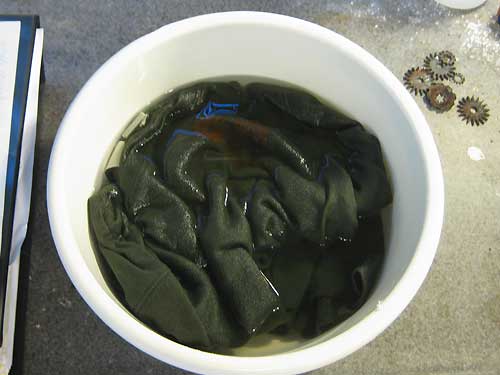
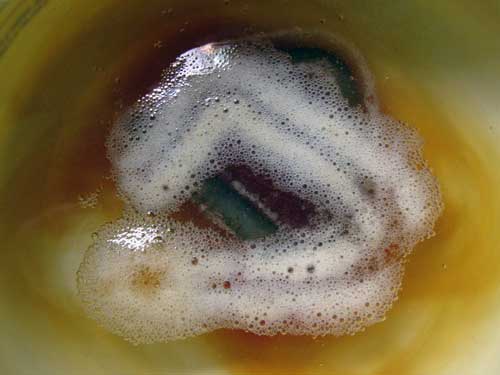
I followed the general comments about using 1 tablespoon of salt to 1 gallon of water to set the rust dye.

Rust Dye Results 2

Here is what I was thinking–

A couple of years back, I found reference to a peroxide patina to “age” metal. The formula is simple and the result is quick. What if you use this on the metal bits and then place them on fabric?

16 ounces of Hydrogen Peroxide
2 ounces of White Vinegar
1/2 teaspoon of salt

I needed an oxidized metal hook for a piece and since I didn’t have one I gave the peroxide/vinegar/salt a go.

First Attempt Peroxide

Result Peroxide Patina

Honestly I do not remember a source for the formula. I saw reference to it several places. When I went looking for the formula this evening to give credit, I found instructions on Instructables.com.


Rust Dyeing and Stained by the Past

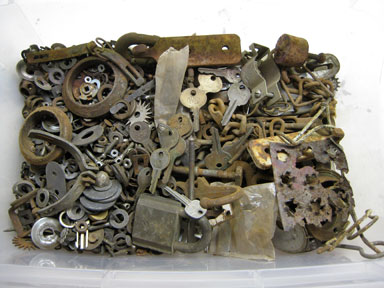
Last night I was reading through a few blogs that I subscribe to, and ran across reference to rust dyeing. I snagged loads of oxidized bits from my Dad’s shop that might work nicely.

metal bits

Of course I would want to place the items so the images left behind make coded messages.

It is interesting that the techniques mentioned are not all that different from some techniques used to apply patina to metal. One site suggested placing the wet fabric wrapped around metal in a plastic bag. Sounds a bit like fuming to me.

I wonder why I hadn’t thought of using patination techniques as a transfer method. I have rusted metal bits that remained in pieces. They were either rusted first or after they were bound into the piece.

Stained Detail

Detail of a work in progress–Stained by the Past


A few highlights of what I found–

Vinegar is used straight or as a 50/50 with water, bath or in a mist bottle

Contact time can be a day to 5 days. Variables would include the color and type of the fabric used, and the type of rust applied, amount of saturation of fabric. Misted fabric would dry quicker than fabric that has been saturated and placed in a plastic bag or container to keep fabric damp.

Neutralizing the rust process requires saturating the rusted on fabric with a saline solution, and a washing. The saline solution can be as weak as 1 tablespoon to a gallon of water.

On The Natural Dye Notebook I found a technique for making a rust solution that can be applied with a brush to fabric.

Mix a small amount natural rust with water, I generally use one teaspoon rust to one cup liquid, or with soy milk…

Green Willow Studio

Artstitches

Hobbyfarms.com


Coins

I enjoy interesting art on coins, stamps, vegetable stickers…

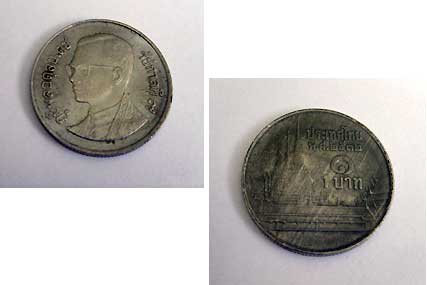
Today I ran across this coin amongst my stuff, but have no recollection where it came from.

Unknown Coin

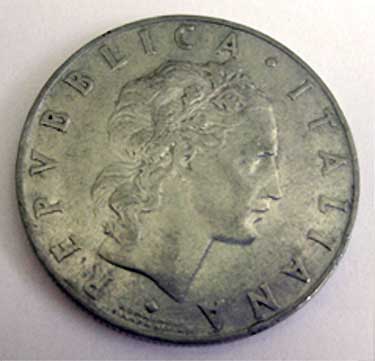
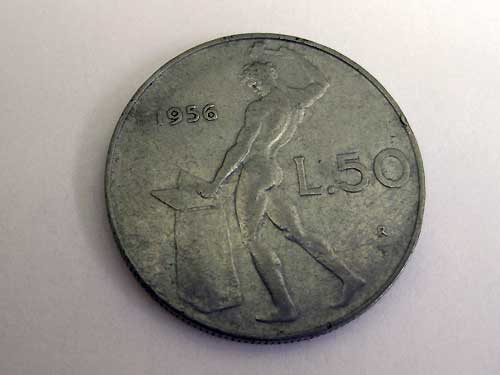
I found this coin when I was in grad school.

1956 Italian Coin Front
I like that the guy is a metal worker of sorts, but safety should require protective gear.

Very cool that it was minted in 1956.
1956 Italian Coin Back

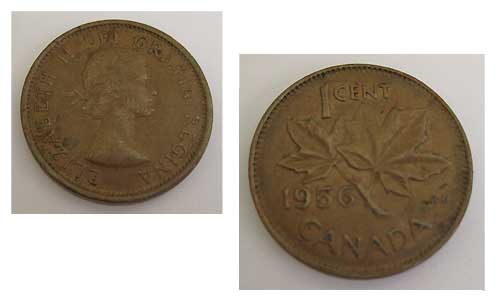
Also minted in 1956.
1956 Penny


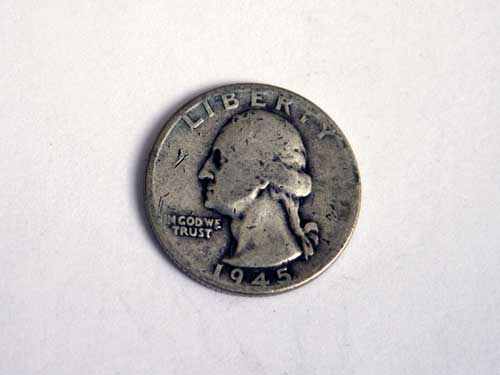
How cool would it be if one of the members of the NY School used this quarter to pay for coffee?
1945 Quarter

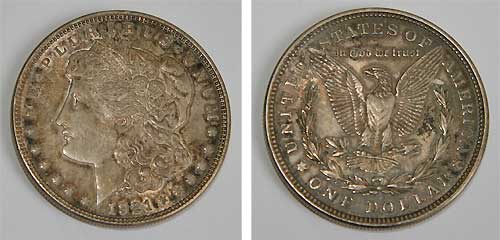
There are a variety of eagles on coins. This one seems about to take flight.
1921 Dollar

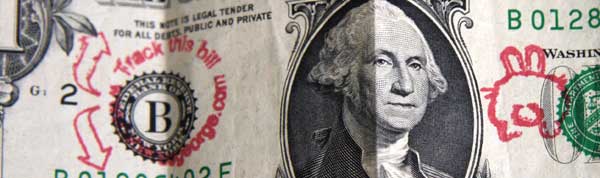
I received the dollar during a purchase in Marion, Ohio. The idea is to post it on the website and then send it back out into the world. I liked the little bunny and have kept it in my wallet for several years.

Bunny on Dollar


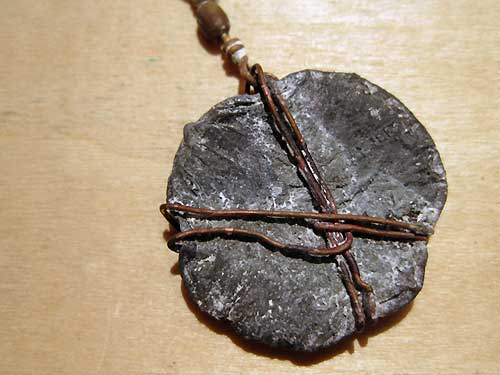
I bound a penny and fired it to 1250ºF thinking that it was copper. I was hoping for a bit of slumping. When I researched the composition of pennies I found that they are primarily zinc. So, not surprising that the coin melted at a lower temperature.
Fired Penny

From the United States Mint site–

The alloy remained 95 percent copper and 5 percent zinc until 1982, when the composition was changed to 97.5 percent zinc and 2.5 percent copper (copper-plated zinc).


Penny, Penny…

There is progress, but it is taking so long to complete the project. I haven’t had loads of time for studio work. I was away because of family stuff and I have been working on several app projects. Can only manage a couple of studio hours in the evening.

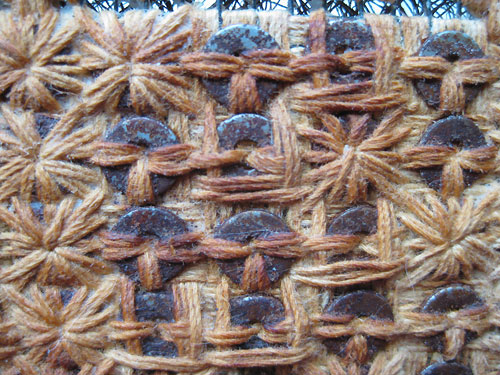
The blocks are tacked in place and now I am stitching them onto the background. Pretty sure that I will not be happy with the stitching until it is more substantial. Perhaps a knot at every hole–3 on each side, would mean 12 knots for each of the 252 blocks or 3,024 knots.

Binding

I haven’t yet decided how I will “age” the piece. Currently leaning toward wax with heat or flame. I do love to torch things. I will need to make some test pieces to see how the materials behave.

There is also the possibility of using asphaltum, which is somewhat consistent with roofing felt and tree wrap. In the past when I used asphaltum I willy-nilly mixed it with shellac and applied it with a brush.

Or sugar. Sugar has been used as a stiffener for crochet work. I gave it a go several years back. Made a cotton open weave vessel.

Sugar Stiffener

6″ x 5.5″ x 6″
1 part water with 2 parts Sugar (I used a raw sugar so it did change the color of the cord)
Heated to dissolve, but didn’t boil. This takes a little time.

Sugar Stiffener Detail

I left the hot sugar in the pot and tossed in the piece to saturate the cord.
Blocked it over a jar covered with foil and placed a piece of plastic under. This is pretty drippy stuff.

The vessel has maintained its form, and has not attracted ants.


See a Penny Blocks Attached…

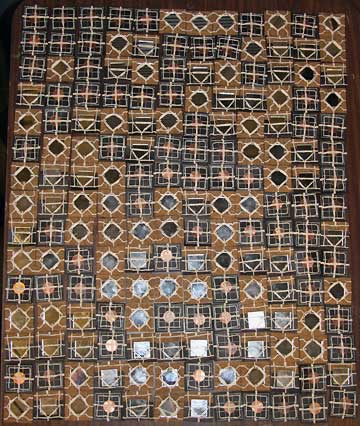
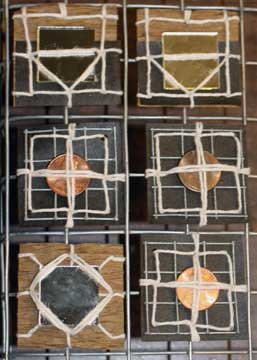
The blocks have been tacked on. Need to let the piece rest. Then a check to make sure the code is correct
Blocks Attached

I noticed that a couple of the blocks representing dots have the binding vertical rather than horizontal.
Detail
Will need to correct that. It is important that the texture of the tree wrap and binding be horizontal for proper alignment with the blocks representing dashes and spacers.


Work In Progress–See A Penny…

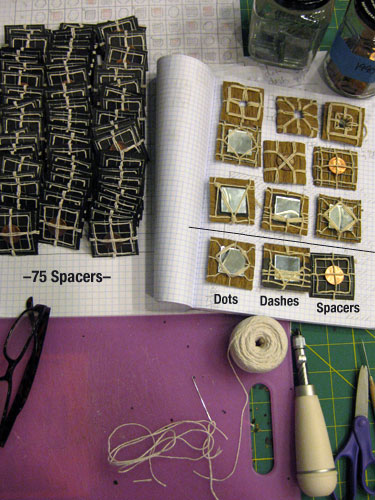
Tonight completed all 180 “blocks” for my current Make Your Own Luck piece.

Blocks

The plan is to attach the blocks to a piece of 1″ hardware cloth to make the piece more stable and stronger for hanging. Since the “blocks” are approximately 1 3/4″ there will be space between for a reinforced stitched border.

One Inch Hardware Cloth


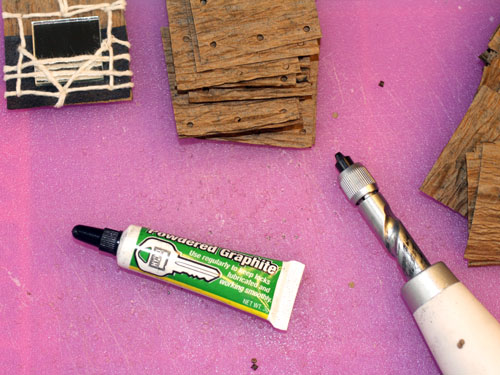
Graphite

All the hole punching caused the screw punch to freeze up a bit. Graphite solved the problem.


Work In Progress–See A Penny…

I am in the process of cutting, punching, and assembling components for a piece that will be a continuation of my Make Your Own Luck series.

Often I work directly on hardware cloth, but for this piece I decided to make separate components to be assembled rather like quilt blocks.

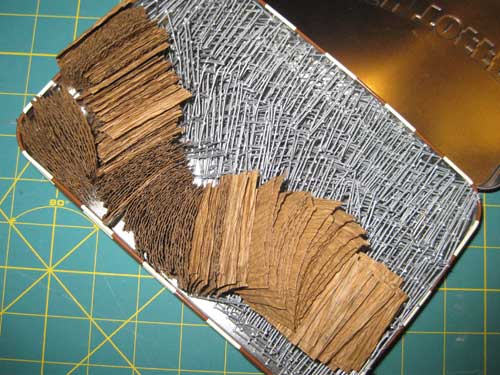
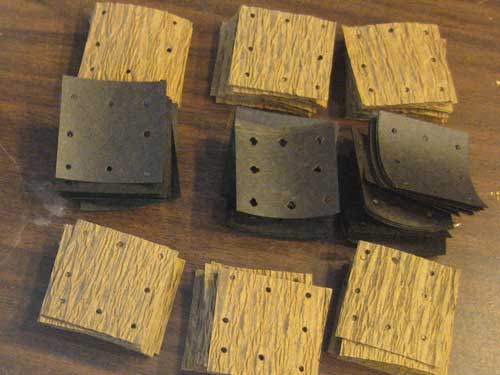
I cut 180 pieces of 1/2″ hardware cloth. Each piece is 3 squares by 3 squares, and will be bound between a layer of tree wrap and roofing felt.
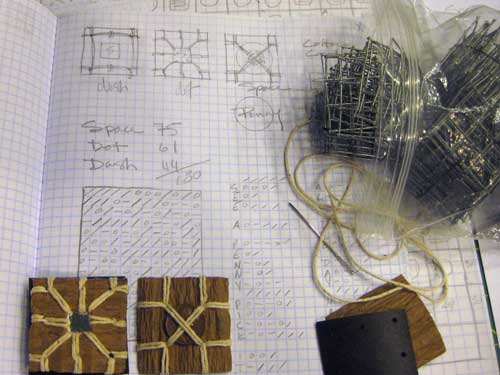
Hardware Cloth

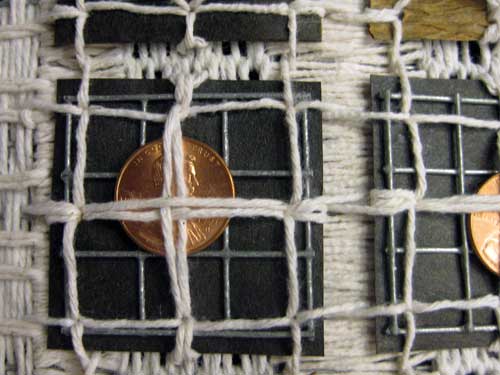
There will be three components to represent dots, dashes, or spacers in the coded message–See a penny, pick it up, all the day have good luck. Each dot and dash component will have a piece of mirror, and each spacer will have a penny bound to it. Haven’t decided on the needlework for the components.

Layout

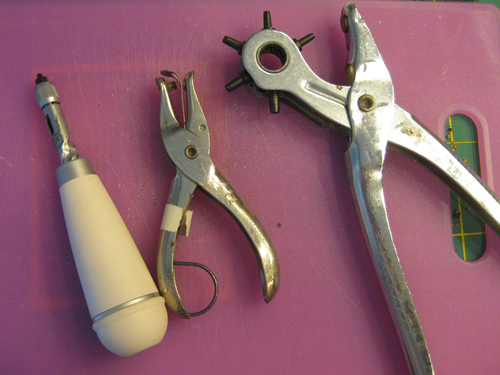
Since I will be making over 2,000 holes I tried different hole punches to find which works best for the job. I used the Martha Stewart Screw Punch, the hole punch my husband used when he was a paperboy, and the punch I used for palm bark.

Punches

Each punch worked great considering the material. I found that the screw punch worked best when punching holes in more than one layer. I was able to use the screw punch with either hand, so when my dominant hand became weary I switched to my helper hand.

Since the materials are a tad sticky I frequently cleaned the punch bit with a needle tool.

Make sure when using any sharp tool that you keep clear of anything that might bleed.

Holes