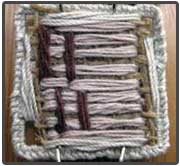
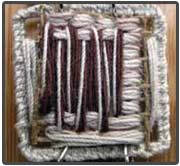
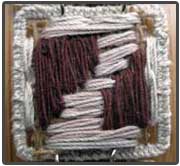
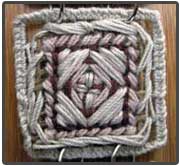
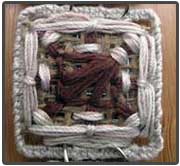
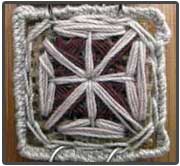
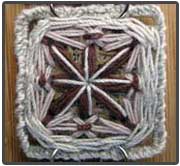
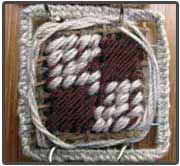
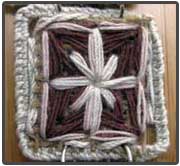
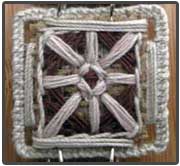
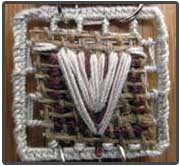
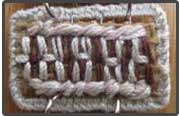
Sticks and Stones Work in Progress

Sketch

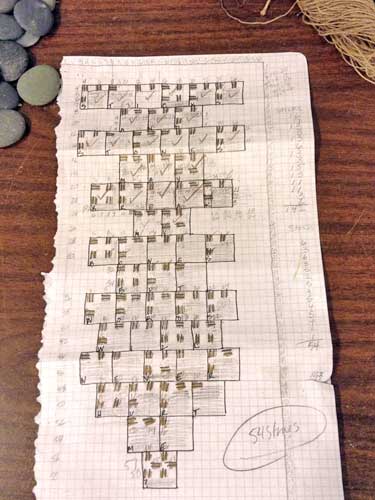
Layout for Sticks and Stones.

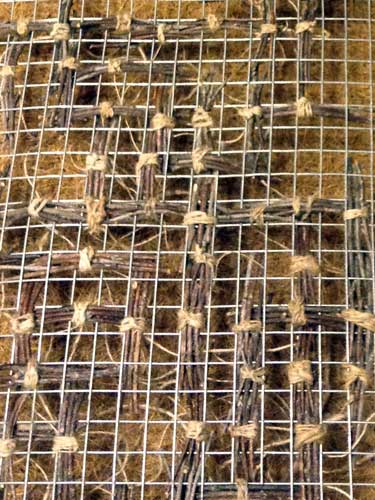
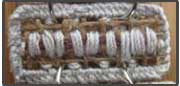
Sticks and Stones Detail 2

Before addition of stones.

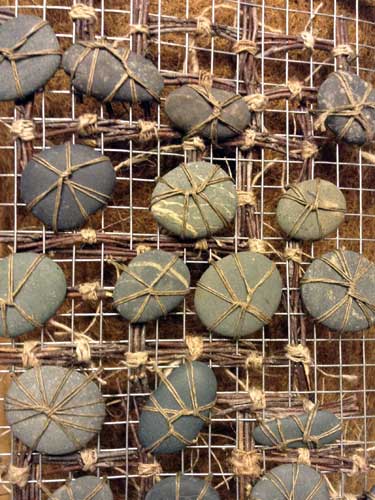
Sticks and Stones Detail 1

Sticks bound with nettle, stones bound with hemp.
Placed on layer of coco fiber.
An additional layer of metal mesh will be attached to the back to support the weight of the stones.

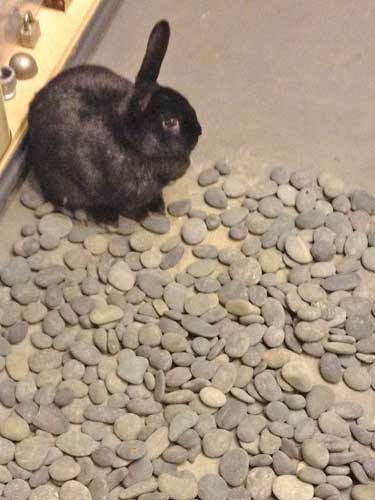
Elliot selecting stones.

Elliot, my studio assistant selecting stones.

Coco fiber roll purchased from the Kinsman Company.


2014 Anniversary Piece

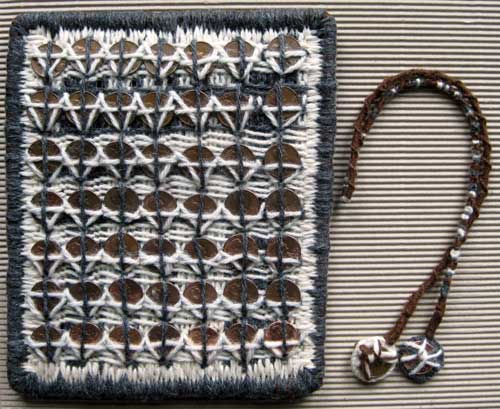
The past several years I made a piece for our wedding anniversary. This year I went simple, a board with pennies attached.

Even in a simple piece I choose materials that I really like to use. Cedar for fragrance and the reference to a cedar chest or wedding chest. I like brass/copper. They are easy to age/add patina. I chose not to patina this piece because I wanted the dates on the pennies to be visible.

I love pennies. I like them for the superstition of good/bad luck. And I like them for their history. And I like them because they have become insignificant. I often use pennies in my work. Sometimes I attach a single penny to date the piece.
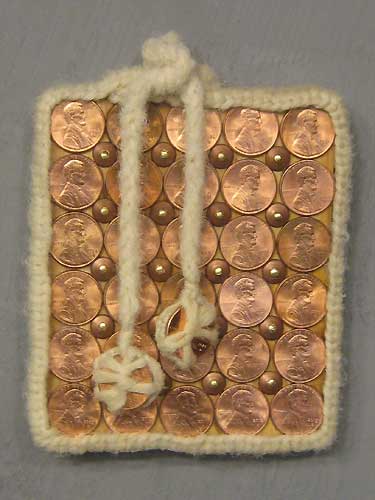
2014 Anniversary Piece

Materials:
Cedar, pennies, copper roves (the dome pieces between the pennies), brass nails, wool, hardware cloth, brass eye hook, stainless steel washers, Dorland’s Wax.

Pennies–A penny for each year. They are dated 1983 to 2014. The 1983 and 2014 pennies are attached to the ends of an Icord.
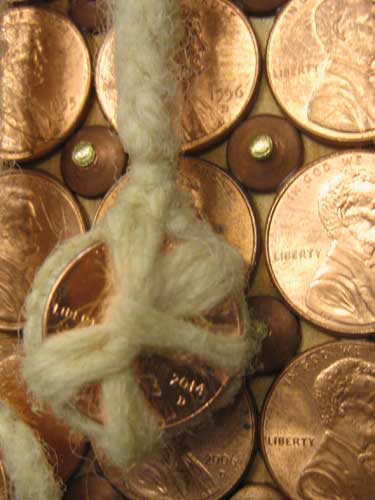
2014 Anniversary Piece Detail

Hardware Cloth Border—stitched with cream wool. Attached to the cedar board with brass nails. Planned for an overlay of the two ends. Inserted the brass eye hook through the overlap.

Icord of cream wool–washed by hand and then tossed in dryer for 20 minutes.

Coverd two stainless steel washers with cream wool. Attached a 1983 and 2014 penny. Stiched them to the Icord. Then attached the Icord to the eye hook.

Applied Dorland’s to entire piece. Used a heat gun to smooth out wax.

Drilled a single hole in the back of the piece for hanging.

Roves are very cool. I found them at Lee Valley Tools.

Time to let the piece rest until gift time.

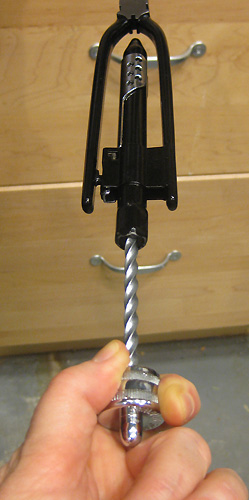
Wire Twist Pliers

My husband is a private pilot and does some of the mechanical work on his plane. He recently bought a tool for twisting wire. I thought the tool would be great for a future project.

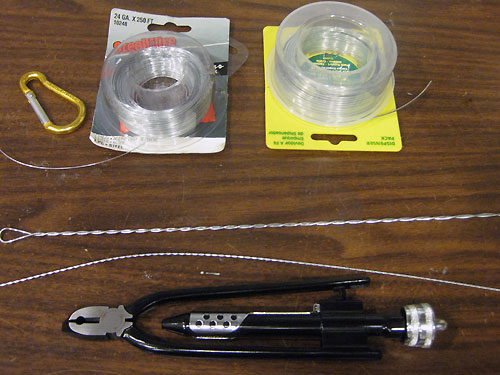
Wire and Wire Twist Tool

I selected steel wire–24 and 18 gauge. A length of wire was cut with the twist pliers’ handy cutter. The wire was bent in half. A clamp was inserted through the loop created and to a stationary object (handle of a drawer). Then it was time to twist the wire.

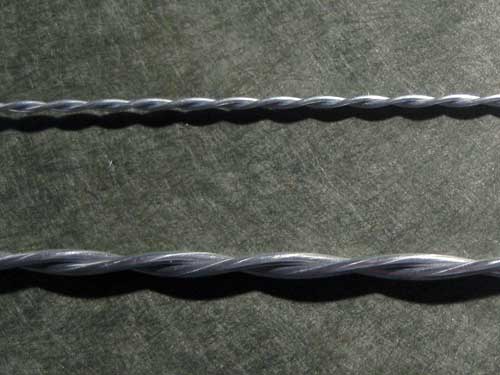
Twisting the 24 gauge wire was easy peasy. But, the 18 gauge wire was really a bit too thick.

Wire Twist Tool

Twisted Wire

The top twisted wire is 24 gauge, the bottom is 18 gauge.

The tool was purchased from Aircraft Spruce.


New Tool–Numbered Tape

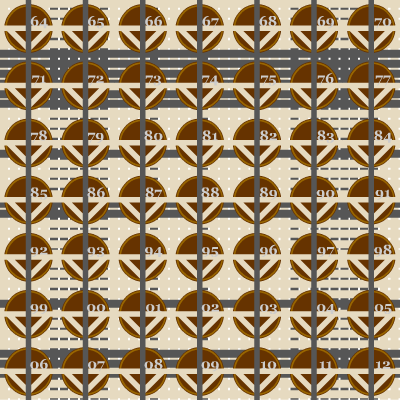
When I use hardware cloth for embroidery, I make my designs based on the spaces not the threads (wire). I am currently working on a piece consisting of three panels. Two of the panels will mirror each other. I needed to make sure that I followed my design without mistakes.

I number my grid paper designs, so it occurred to me that numbering the hardware cloth spaces would make for an easier go.

Numbered Tape 1

It worked great and saved loads of time. No more counting before making a stitch.
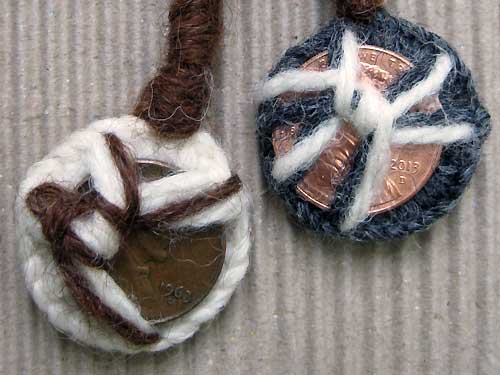
Why the double numbers? So the numbers can be easily read however I am holding the hardware cloth.

Numbered Tape 2


Vintage Wavers As Potential Art Material

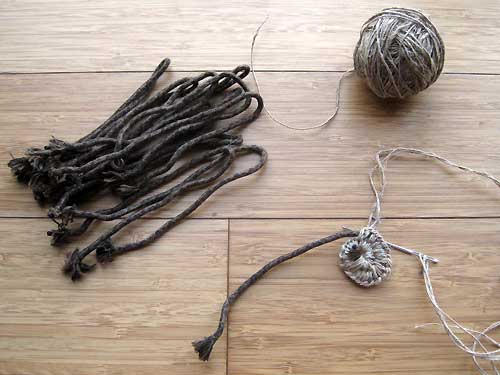
While cleaning and clearing out stuff in my studio I ran across a small bag of vintage wavers. They were a gift from my grandmother in the late 70s. I had always thought that she had naturally wavey hair.

I can’t remember the number of times that I packed and unpacked that little bag of wavers. Always saving them because they were a gift. Rather than taking a photo and discarding them, I decided to use them in my work.

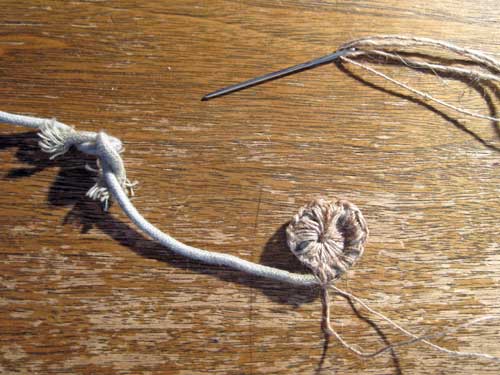
Here’s what happened—had just read a blog post about making rope vessels on The Red Thread. Then I was looking through my stash of fiber and there was some beautiful nettle.

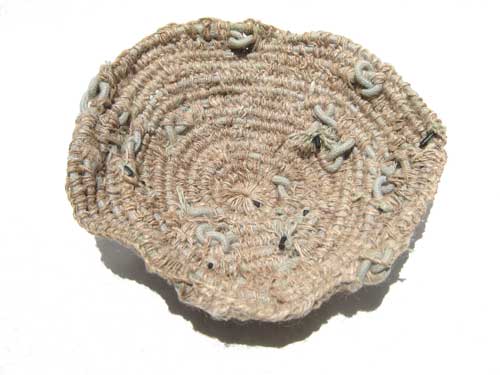
Wavers, Rope Vessels, Nettle.

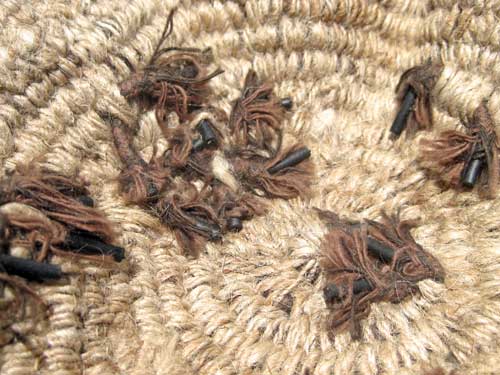
Made loops on either end of the first batch of wavers and attached them loop into loop and a twist. Started binding and stitching the wavers together leaving the frayed ends exposed.

Process

Gray Detail

 Gray Inside

Gray Outside

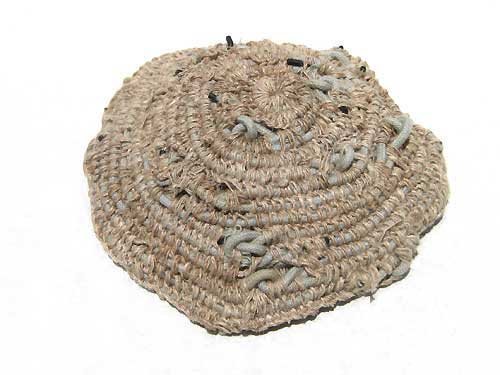
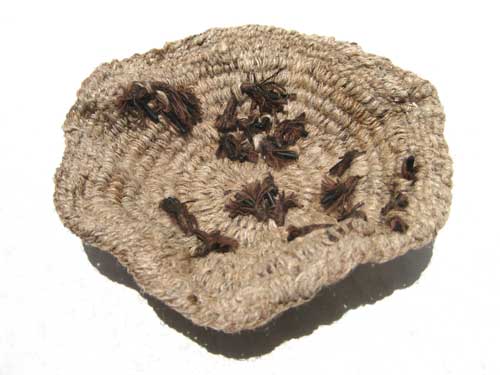
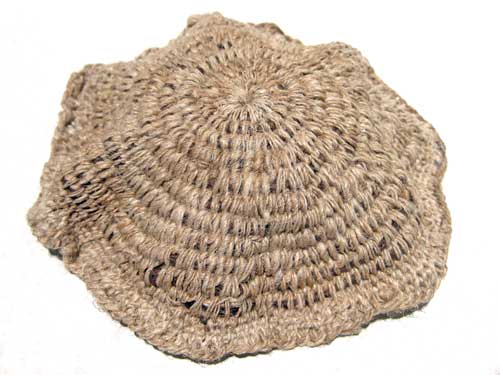
There were enough wavers to make three small pieces, one with gray wavers and two with brown.

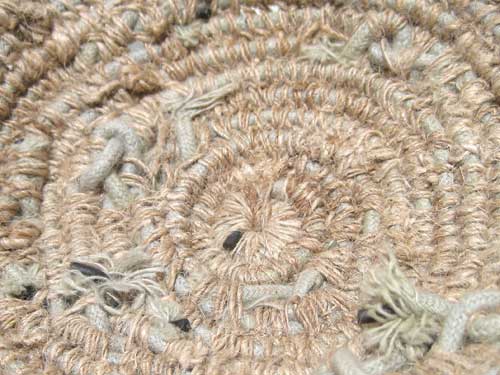
The wavers were wrapped and bound with nettle fiber, while leaving the ends for interest. The technique is similar to looping.

Brown 1 Process

Brown 1 Detail

Brown 1 Interior

Brown 1 Exterior

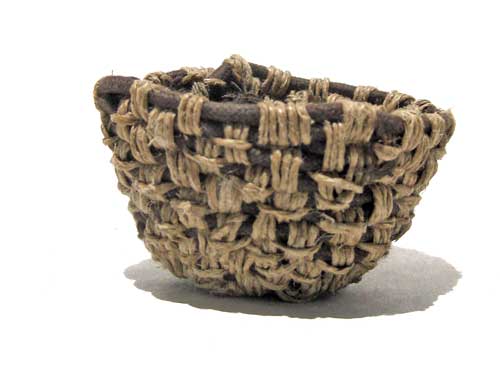
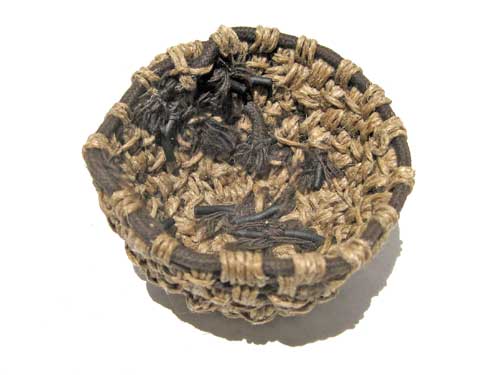
A box will be built for the two similar pieces and the third which is more cup-like will most likely be attached to a base to become a goblet.

Brown 2 Outside

Brown 2 Inside

Hemp was substituted for nettle in the cup piece. The hemp has been unused in my stash for several years because it always seemed too stiff to use in previous pieces. It was softened a bit by running a length a couple of times over the edge of my work table.


0703 Piece in Progress

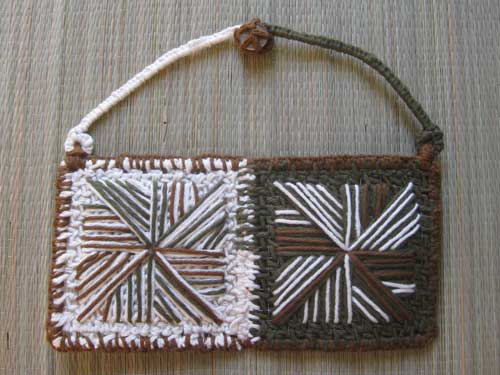
This is a birthday celebration piece. The cream side contains the originally date of birth. The green side is the day with the current year. Morse Code is used with green cord substituted for dashes and rust cord for dots.

20130703 Birthday Front

The date begins in the upper left and works around clockwise.

Morse Code Layout

Pre-Wax
Planning to wax the entire piece to add some age and to keep everything in its proper place.

I have been dinking around with various ways to finish off the backs of pieces. The back is needed to complete the piece. Even if you cannot see the back it does exist. And I don’t want the wall showing through if there is open stitch work.

Recently I have been using starched burlap because I can stitch in title, date of piece, and my name in code.

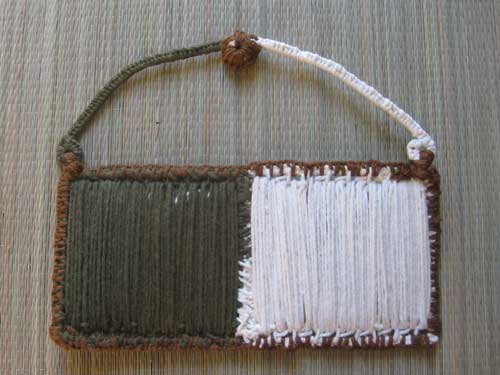
20130703 Birthday Back

This is the first time adding strands of cord to the back with the intent of using the piece rather like a loom. Still deciding if I want to give that a try.

Since the waxing should only take a couple of hours I have plenty of time before my July 3rd deadline to make the decision.

20130703 Birthday Detail

Materials
Hardware Cloth, Cotton Fiber, Metal, 1954 Penny, Rebar Ties

Scale
9.5″ x 8.5″ x .75″
Depth may change if I decide to build a frame/box as part of the piece.

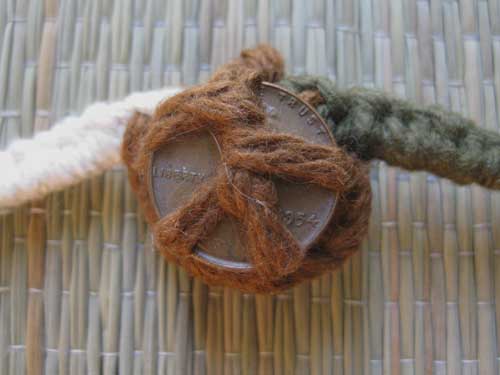
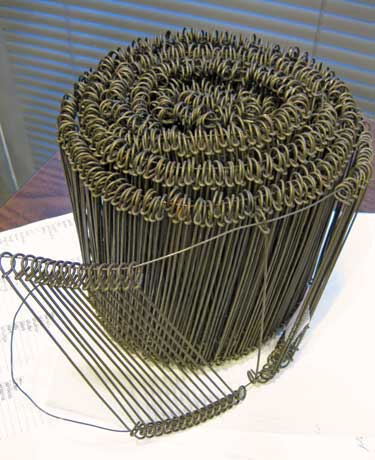
Rebar ties make for a nice hanger. I bought the bundle years ago thinking they would be a great art material. Tried using them several ways, but they haven’t revealed themselves to me as of yet. So, I have been using them for hangers for some small pieces.

Rebar Ties


Dots

When a dot is placed over a vertical line it can become an i. When it is placed at the end of a sentence it emphasizes a thought. Dots and dashes together can become a message in code. Dots used by artists can become so much more.

It is amazing that minimal materials, tools, and a limited palette can result in such beauty.

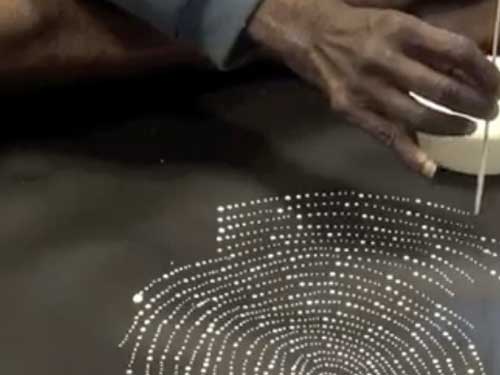
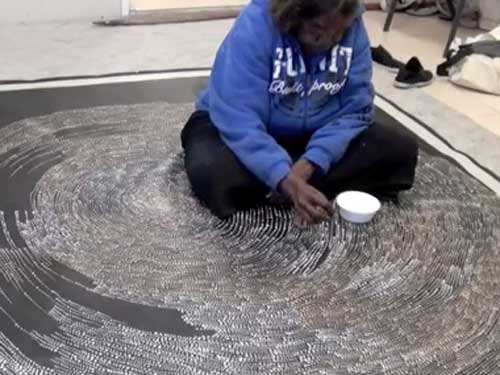
Today I ran across the work of Dorothy Napangardi on Margaret Cooter’s blog.

Dorothy Napangardi

Dorothy Napangardi

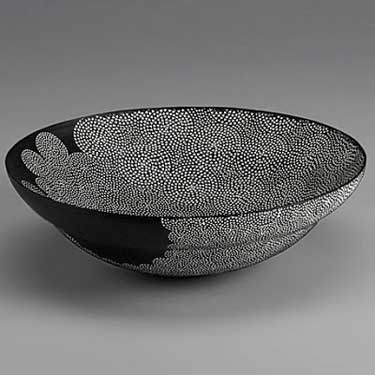
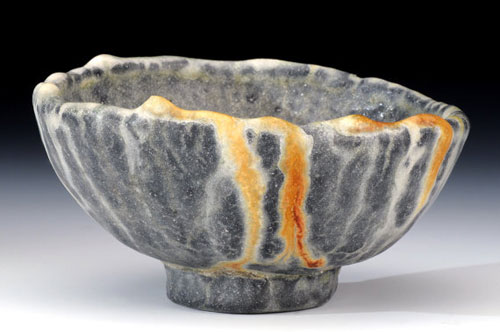
And then I saw Junko Kitamura’s bowl on Musing About Mud.

Junko Kitamura Bowl

And finally the post Africa on the Floor on Fibercopia.

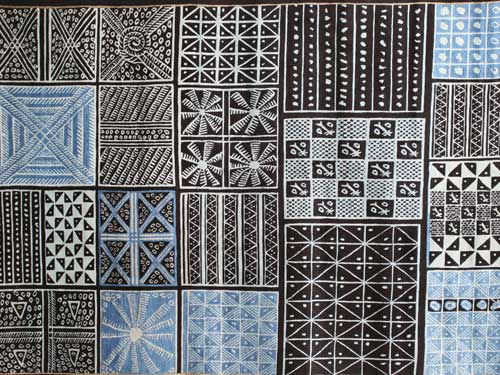
Africa On The Floor


Celebration 50th Birthday Piece In Progress

Sometimes when I begin a project I make a layout in Flash. By making symbols for each letter and number I can quickly compose a layout while preventing errors in the code.

Vertical Layout 1963

Vertical Layout 05111963

Horizontal Layout 2013

Horizontal Layout 05112013

1963 and 2013

Horizontal 2013 Over Vertical 1963

1963 and 2013

Layout With Dated Pennies

The piece is composed of wool, cotton, pennies, hardware cloth, burlap, and starch.

Piece in Wool

The knotted piece connects two pennies (1963 and 2013) is to be hung next to the woven piece. There is a sentiment in Morse Code substituting knots for dots, dashes, and spacers. Grey knots represent dots, cream knots represent dashes, and rust knots are used as spacers between letters of words and larger spaces between words.

Detail 1963 and 2013 Pennies

Detail of component to hang next to woven piece.

The next part of the process is to construct a cedar box/frame. The woven piece will probably be attached with brads. I haven’t decided on the hanger for the knotted component.
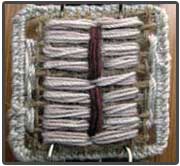

Celebration–A Mixed Media Piece

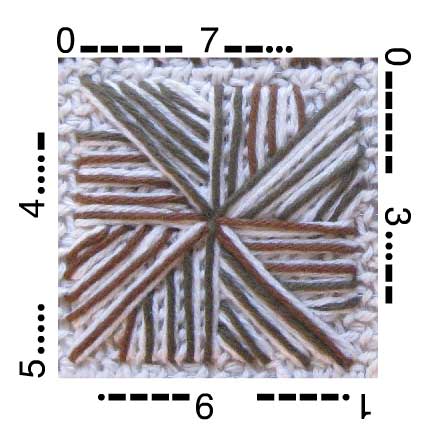
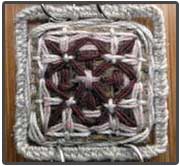
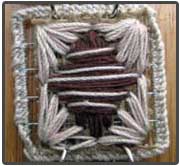
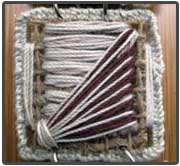
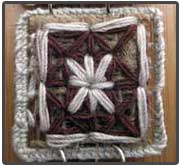
I am in the process of completing a personal project to celebrate the 40th birthday of a family member. I saw an image of nautical flags used for code and liked the idea of each flag representing a letter of the alphabet. I decided to make my own alphabet of stitched pieces for each letter of the alphabet, numbers from 0 to 9, and two types of spacers. I have included images of the actual stitched blocks that I used for this project. The blocks are composed of a piece of 1/4″ hardware cloth, a piece of starched burlap, and cotton embroidery floss.

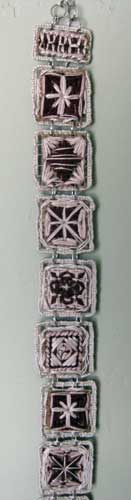
I attached the blocks vertically together with jump rings just to get a notion of how they would look. Each block is approximately 1.5″ x 1.75″ and the spacers are .75″ and .5″ in height which makes the pieces if stitched together approximately 1.5″ wide and 63″ in height.

Detail

While the jump rings are a visual distraction, I do like the the vertical arrangement. When I decide for sure, I will build a narrow cedar box/frame to house the blocks. Currently the plan is to wax the blocks and attach them to the inside of the box with brads.

Block 0

Block Number 0

Block 1

Block Number 1

Block 2

Block Number 2

Block 3

Block Number 3

Block 4

Block Number 4

Block 7

Block Number 7

Block 9

Block Number 9

Block A

Block Letter A

Block B

Block Letter B

Block C

Block Letter C

Block D

Block Letter D

Block E

Block Letter E

Block H

Block Letter H

Block I

Block Letter I

Block L

Block Letter L

Block O

Block Letter O

Block R

Block Letter R

Block S

Block Letter S

Block T

Block Letter T

Spacer 1

Spacer 1

Spacer 2

Spacer 2


Unexpected Connections To The Past

Tim and I went to grad school at WSU in Pullman. Friday He rang me to say he was on his way to Pullman. One of his former students was having their thesis show. We caught up and reminisced. I can’t believe that it has been 20 years since I had my thesis show.

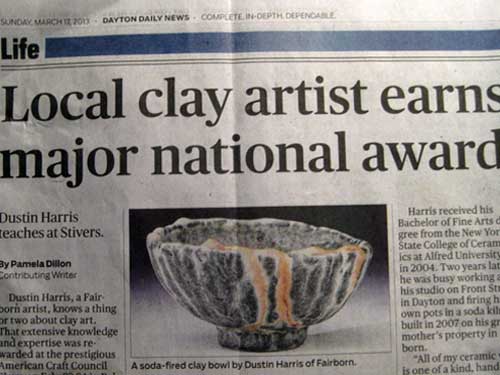
On Saturday I received a letter and the following newspaper clipping from Mark, my friend from my days at Ohio State. He saw the article and remembered how excited I would get whenever I opened a kiln to see what the kiln gods gave me.
Soda-Fired Article

Hearing from Tim, reading Mark’s letter, and seeing Dustin Harris’ soda-fired piece brought back memories of my own past firing experiences and my year as a research assistant working for Ann Christenson on her vapor glazing project.

Phone call and letter, coincidence and connections. I am fortunate to have such thoughtful friends.


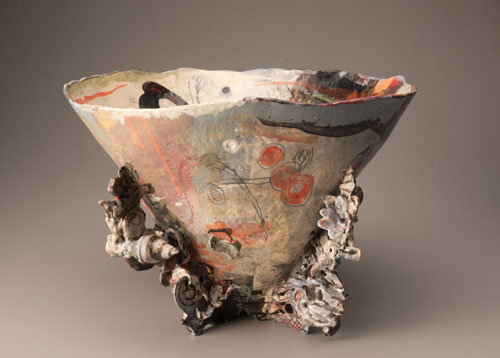
Ann’s Work

More of Ann’s work can be viewed on her website.


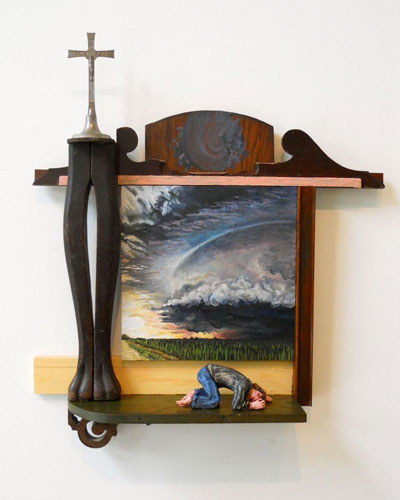
Tim’s Work

An image from Tim’s Figures in Landscape series. You can see more on his website.


Dustin Harris Piece

More of Dustin Harris’ work can be seen here.