Trolley Needle

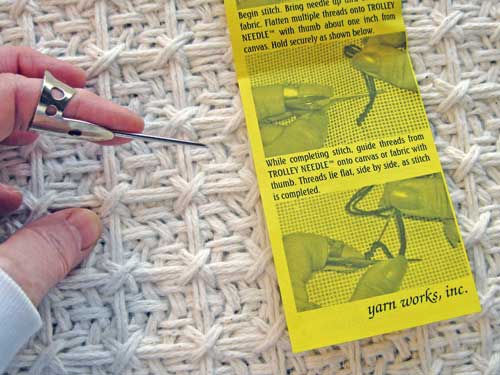
I was researching embroidery techniques and ran across reference to a Trolley Needle. Appeared quite useful, so I ordered one.

Trolley Needle

The tool is used for keeping thread flat and in order when doing needlework. I will not be able to use it for a few weeks because I sustained a repetitive stress injury of my hand and wrist.

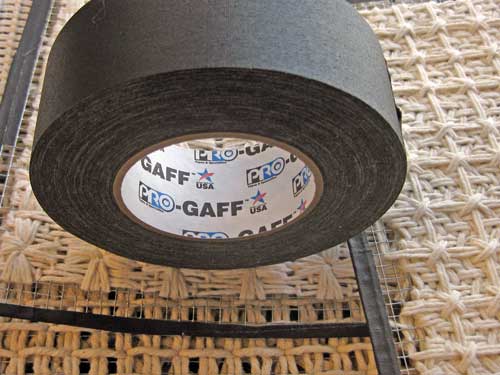
Another item that I keep in my tool chest is gaffer tape. I wrap it around the edge of hardware cloth to prevent snags and frays of fiber and my hands. I like that it sticks nicely but does not leave a sticky residue.

Gaffer Tape

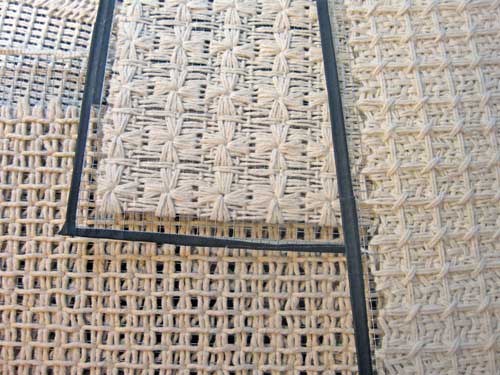
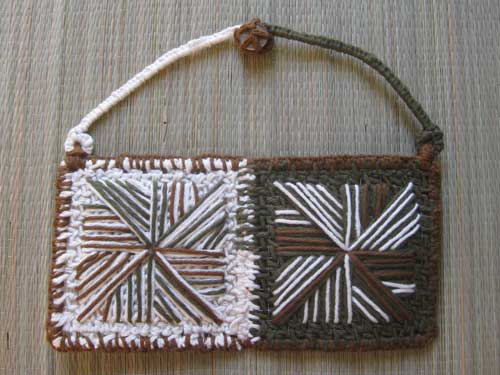
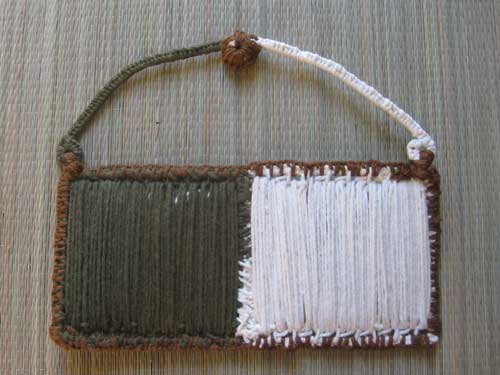
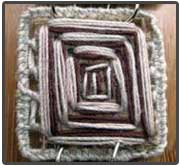
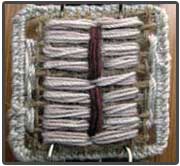
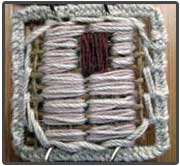
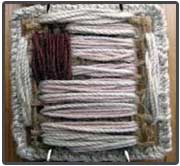
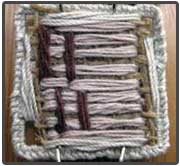
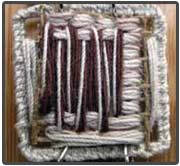
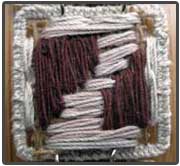
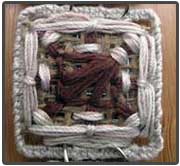
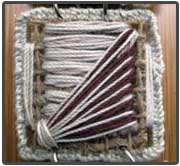
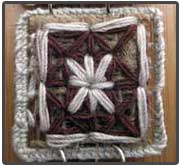
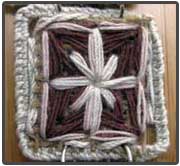
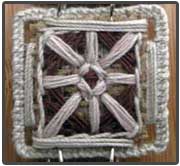
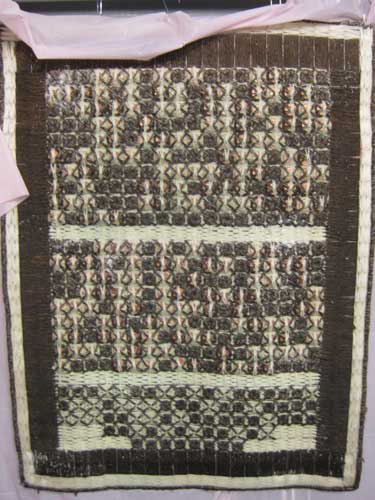
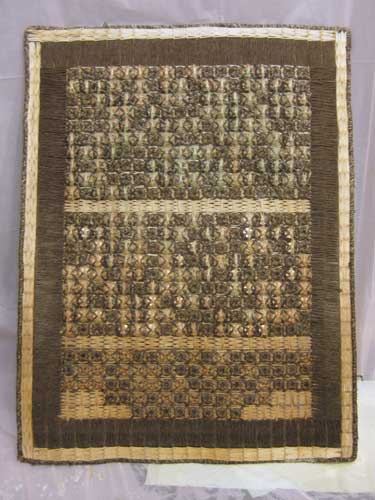
These are a few panels in progress that may be part of a triptych.

Needlework In Progress


Trolley Needle

Gaffer Tape

Mayo Clinic Repetitive Stress Injury

Baylor Health Repetitive Stress Injury


Plum Pie and Fiber Trivet

My niece (who will be staring 6th grade) taught me how to make a pie crust. I do not know if it is all of the years wedging clay, but every time I attempted to make a pie the crust was a huge disappointment. This is the result of the lesson.

Pie

The plums were from the tree in our orchard. My niece used the snowflake cookie cutters I impulsively bought last Christmas in Maryland.

We decided to share the pie with our friends who recently relocated from Washington. While we were there I saw this amazing trivet.

Trivet

I love white on white–embroidered shirts and linens, knot work, woven work… The trivet is thick and the knots while not physically connected appear as diagonals. Simple, yet effective way to make a pattern.

Trivet Detail

Planning to give the technique a go and if it feels right, the pattern may show up in some of my work.


Vintage Wavers As Potential Art Material

While cleaning and clearing out stuff in my studio I ran across a small bag of vintage wavers. They were a gift from my grandmother in the late 70s. I had always thought that she had naturally wavey hair.

I can’t remember the number of times that I packed and unpacked that little bag of wavers. Always saving them because they were a gift. Rather than taking a photo and discarding them, I decided to use them in my work.

Here’s what happened—had just read a blog post about making rope vessels on The Red Thread. Then I was looking through my stash of fiber and there was some beautiful nettle.

Wavers, Rope Vessels, Nettle.

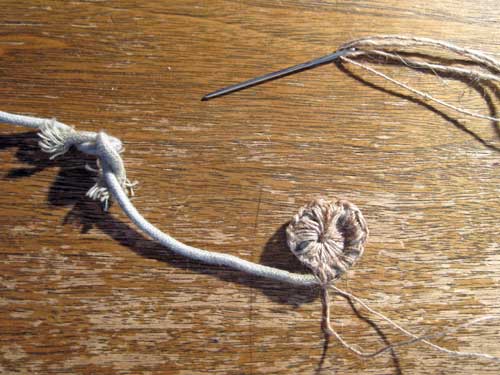
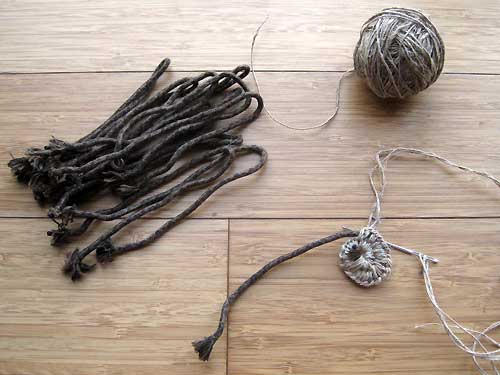
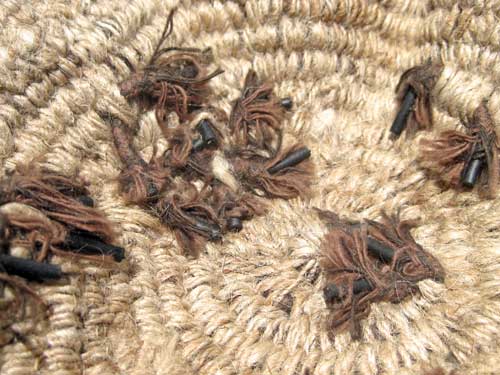
Made loops on either end of the first batch of wavers and attached them loop into loop and a twist. Started binding and stitching the wavers together leaving the frayed ends exposed.

Process

Gray Detail

 Gray Inside

Gray Outside

There were enough wavers to make three small pieces, one with gray wavers and two with brown.

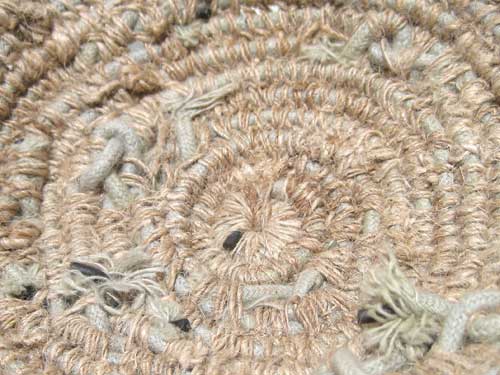
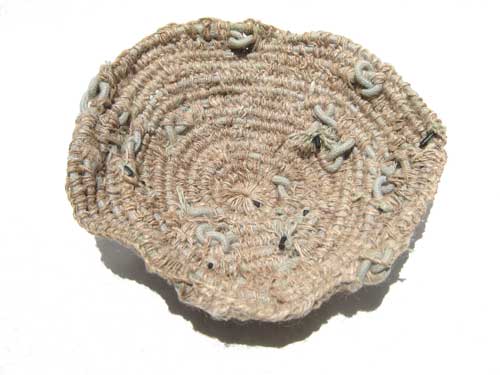
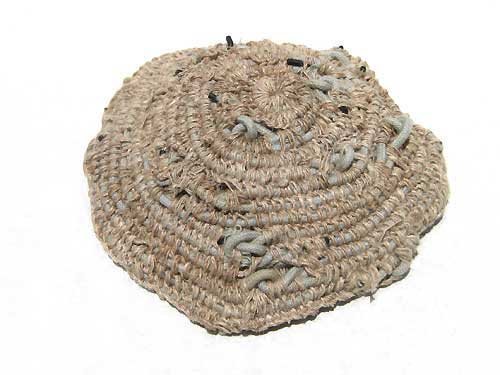
The wavers were wrapped and bound with nettle fiber, while leaving the ends for interest. The technique is similar to looping.

Brown 1 Process

Brown 1 Detail

Brown 1 Interior

Brown 1 Exterior

A box will be built for the two similar pieces and the third which is more cup-like will most likely be attached to a base to become a goblet.

Brown 2 Outside

Brown 2 Inside

Hemp was substituted for nettle in the cup piece. The hemp has been unused in my stash for several years because it always seemed too stiff to use in previous pieces. It was softened a bit by running a length a couple of times over the edge of my work table.


0703 Piece in Progress

This is a birthday celebration piece. The cream side contains the originally date of birth. The green side is the day with the current year. Morse Code is used with green cord substituted for dashes and rust cord for dots.

20130703 Birthday Front

The date begins in the upper left and works around clockwise.

Morse Code Layout

Pre-Wax
Planning to wax the entire piece to add some age and to keep everything in its proper place.

I have been dinking around with various ways to finish off the backs of pieces. The back is needed to complete the piece. Even if you cannot see the back it does exist. And I don’t want the wall showing through if there is open stitch work.

Recently I have been using starched burlap because I can stitch in title, date of piece, and my name in code.

20130703 Birthday Back

This is the first time adding strands of cord to the back with the intent of using the piece rather like a loom. Still deciding if I want to give that a try.

Since the waxing should only take a couple of hours I have plenty of time before my July 3rd deadline to make the decision.

20130703 Birthday Detail

Materials
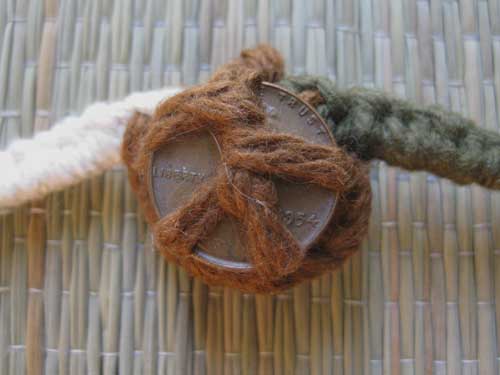
Hardware Cloth, Cotton Fiber, Metal, 1954 Penny, Rebar Ties

Scale
9.5″ x 8.5″ x .75″
Depth may change if I decide to build a frame/box as part of the piece.

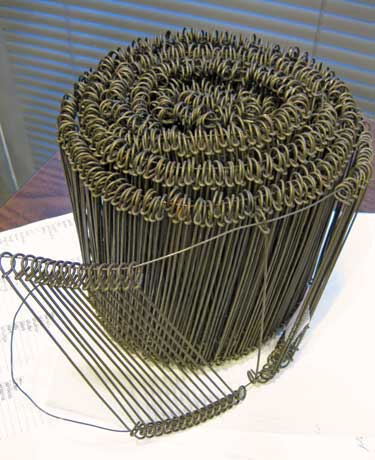
Rebar ties make for a nice hanger. I bought the bundle years ago thinking they would be a great art material. Tried using them several ways, but they haven’t revealed themselves to me as of yet. So, I have been using them for hangers for some small pieces.

Rebar Ties


Celebration 50th Birthday Piece In Progress

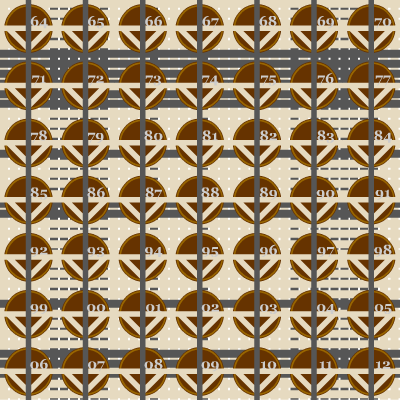
Sometimes when I begin a project I make a layout in Flash. By making symbols for each letter and number I can quickly compose a layout while preventing errors in the code.

Vertical Layout 1963

Vertical Layout 05111963

Horizontal Layout 2013

Horizontal Layout 05112013

1963 and 2013

Horizontal 2013 Over Vertical 1963

1963 and 2013

Layout With Dated Pennies

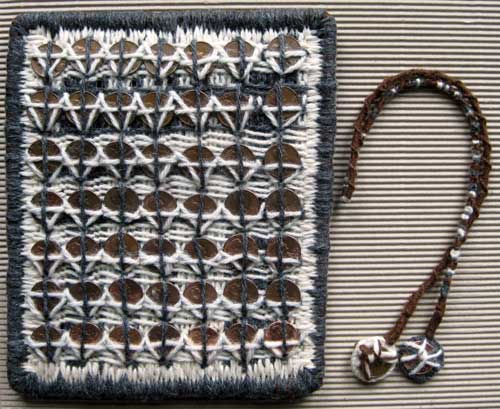
The piece is composed of wool, cotton, pennies, hardware cloth, burlap, and starch.

Piece in Wool

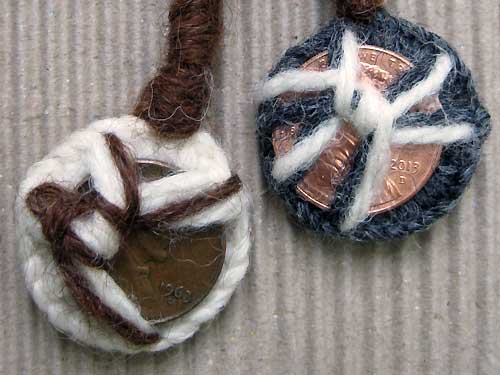
The knotted piece connects two pennies (1963 and 2013) is to be hung next to the woven piece. There is a sentiment in Morse Code substituting knots for dots, dashes, and spacers. Grey knots represent dots, cream knots represent dashes, and rust knots are used as spacers between letters of words and larger spaces between words.

Detail 1963 and 2013 Pennies

Detail of component to hang next to woven piece.

The next part of the process is to construct a cedar box/frame. The woven piece will probably be attached with brads. I haven’t decided on the hanger for the knotted component.


Celebration–A Mixed Media Piece

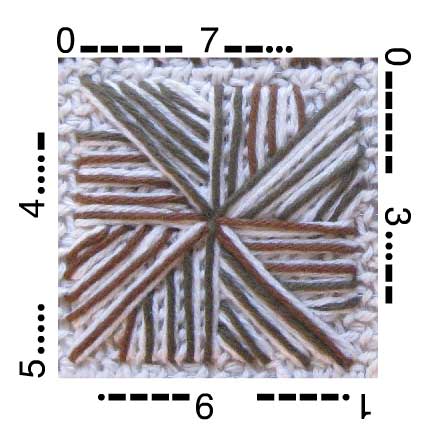
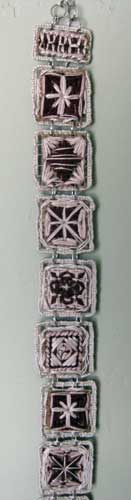
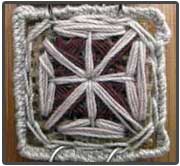
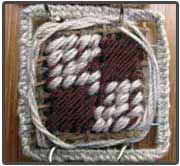
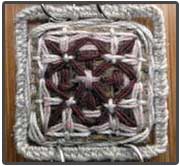
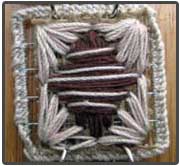
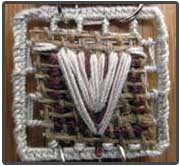
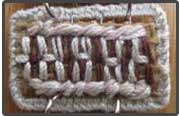
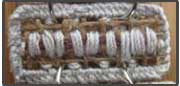
I am in the process of completing a personal project to celebrate the 40th birthday of a family member. I saw an image of nautical flags used for code and liked the idea of each flag representing a letter of the alphabet. I decided to make my own alphabet of stitched pieces for each letter of the alphabet, numbers from 0 to 9, and two types of spacers. I have included images of the actual stitched blocks that I used for this project. The blocks are composed of a piece of 1/4″ hardware cloth, a piece of starched burlap, and cotton embroidery floss.

I attached the blocks vertically together with jump rings just to get a notion of how they would look. Each block is approximately 1.5″ x 1.75″ and the spacers are .75″ and .5″ in height which makes the pieces if stitched together approximately 1.5″ wide and 63″ in height.

Detail

While the jump rings are a visual distraction, I do like the the vertical arrangement. When I decide for sure, I will build a narrow cedar box/frame to house the blocks. Currently the plan is to wax the blocks and attach them to the inside of the box with brads.

Block 0

Block Number 0

Block 1

Block Number 1

Block 2

Block Number 2

Block 3

Block Number 3

Block 4

Block Number 4

Block 7

Block Number 7

Block 9

Block Number 9

Block A

Block Letter A

Block B

Block Letter B

Block C

Block Letter C

Block D

Block Letter D

Block E

Block Letter E

Block H

Block Letter H

Block I

Block Letter I

Block L

Block Letter L

Block O

Block Letter O

Block R

Block Letter R

Block S

Block Letter S

Block T

Block Letter T

Spacer 1

Spacer 1

Spacer 2

Spacer 2


My New Favorite Tool… a thimble

I always had one of those metal thimbles in my sewing box. Never used it. I liked the look of it, but it didn’t really fit and felt bulky.

I recently ran across a silicone and metal thimble. Since I have been doing a lot of stitch work I decided to try it.

Thimble View 2

The thimble is comfortable and is great for pushing the needle through my work.

Thimble View 1

After several hours of work, I went to the kitchen for a snack. Started washing my hands and there it was. Had actually forgotten that I was wearing it.

It sure beats using pliers to pull the needle through my work. I suspect using the thimble will also extend the life of my needles.

Clover Protect and Grip Thimbles


Potentially Dangerous Can Be Beautiful

I recently snagged some Oleander pods from the parking lot of a neighborhood restaurant. In California it is common to have plantings in parking lots.

Oleander has a reputation for killing people and animals. Some stories have a valid science component, others lean toward myth and urban legend.

The pods I snagged have dried and opened exposing their lovely seeds.

Oleander Pod with Seeds

Why did I snag the seed pods? I use poison plant bits in my work. Some of the bits that I use are from plants banned in a few states. The reason for the ban is reactionary. A couple of kids decide to get high, use too much, have a bad reaction, and the plant is held responsible.

Each of the cups in my Poison Cup series has a small bag of bits from poisonous plants. These are a few of the bags included in the series.

Seed Bags

The title of the series is actually Preservation. While the cups refer to the tea ceremony and poison goblets, the cups have been perforated making them a nice vessel for seedlings.


PC09

Treat with Respect contains the seed bag in the upper right corner of the above graphic.
The bag contains 11 Castor Bean seeds.

Additional image of the series can be seen on my website.


Nerium (Oleander)

Fatal Wienie Roast

Oleander Poisoning

ASPCA

The Poison Garden Website

The Merck Veterinary Manual


See a Penny… I will finish this piece?

The following quote from François Truffaut’s film Day for Night comes to mind when thinking about the Penny piece.

“Making a film is like a stagecoach ride in the old west. When you start, you are hoping for a pleasant trip. By the halfway point, you just hope to survive.”

I have been living with the penny piece hanging in my studio. Before I wax the piece and construct a cedar box/frame/crate for it, I must be happy with the border.
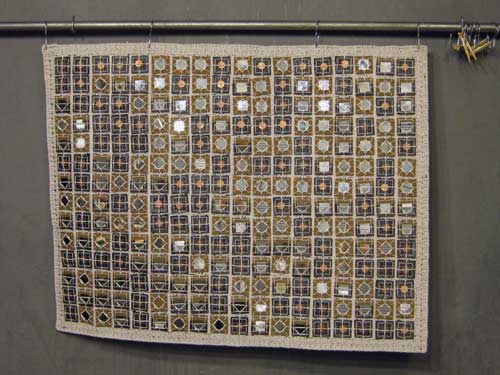
See A Penny

It is not substantial enough so I decided to make an I-cord to bind onto the edge.

I-cord

When I finished the I-cord and placed it next to the piece it didn’t work for me. Too many different stitches and too many colors of cotton. The wax application will help integrate the materials, but the I-cord does not add what I had hoped.

I-cord with piece

Decided rather than the border as just the edge, it will include the few inches to the edge. Added jute and coconut fiber to the piece to define the “new” border and to add some color.

Jute and Coconutfiber

If you haven’t used coconut fiber, be prepared to wear safety gear—mask, goggles, and gloves. The fiber is quite sharp and dirty. Actually it is a good idea to wear a mask when working with jute and some other fiber.

This is how the I-cord looks now.
I-cord on Piece

The current plan is to insert jute rope through the I-cord and then bind the lot to the piece with a combination of cotton and jute.

Jute Rope

When I bought jute rope the blurb stated it was treated to prevent rot. I asked the representative from the company what that meant. He said the rope was treated with kerosene. I knew it was a bit dangerous using a hot wax technique and torching the lot, but the word kerosene gave me pause.

Why hadn’t I set myself on fire?

When using hot wax and a torch I always keep a fire extinguisher at the ready. I was using bamboo as part of the structure for some pieces and apparently the interior of bamboo can be in flames before the exterior. Rather exciting to see it happen.


La Nuit Américaine (Day for Night) is a film within a film, the director is the actor playing the director, and there are loads of bits about filmmaking. And day for night is a technique for shooting film during the day to give the illusion of night.

François Truffaut
Hack Writers
François Truffaut – the man who loved actors
Day for Night

After Bath…

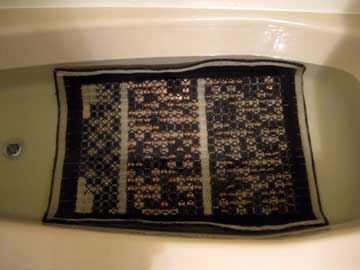
I have been trying to figure out how to age/distress wool pieces. I was pretty sure that cold wax would be the solution, but an interesting thing happened. I removed the felt that I had stitched onto the back of a piece to find casemaking moths living in a crease near the bottom.

That was it, nothing left to lose. I filled the bath with water and sodium bicarb. Tossed in the piece and left it overnight.

Piece in Bath

The next morning I applied a solution of peroxide, white vinegar, and salt.

Piece After Bath

Then wrapped the piece in plastic, a bit of a brief fuming. When I unwrapped the piece sometime in the afternoon, much of the metal had oxidized. I took the piece outside and sprayed it down with the garden hose. The piece was left outside to air dry and catch some sun.

My hope is a soak overnight in salt water, saturation with a metal oxidizer, a drenching with water, and some sun would break the moth cycle.
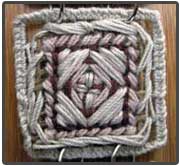
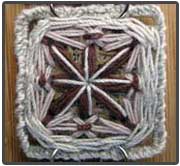
This is how the piece looks tonight.

Piece With Rust

Tomorrow I plan to give the piece an application of shellac. Yep, bug goo. I have been testing some oxides mixed with denatured alcohol, then added to shellac.

Eventually, it will be time to build a frame/box most likely out of cedar.