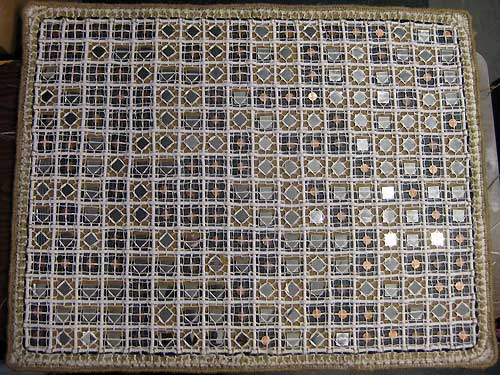
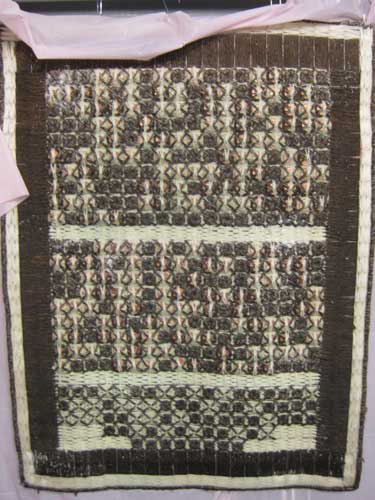
Before adding the jute border.
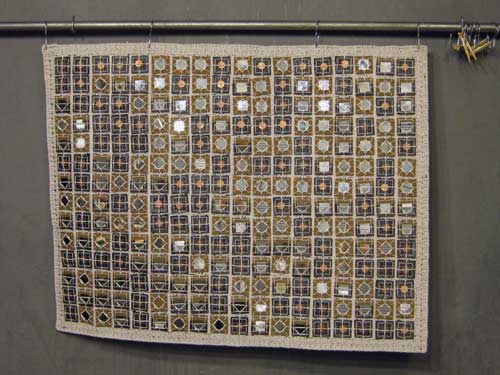
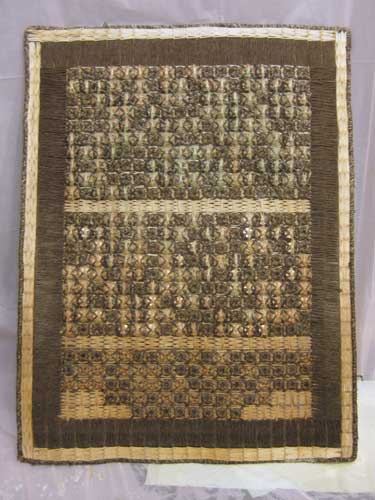
After adding the jute border.
Corner Detail.
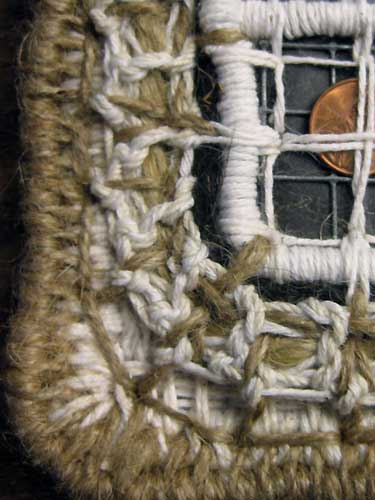
Need to add some more jute stitches to the corners and then the piece will be ready for aging.
Before adding the jute border.
After adding the jute border.
Corner Detail.
Need to add some more jute stitches to the corners and then the piece will be ready for aging.
I always had one of those metal thimbles in my sewing box. Never used it. I liked the look of it, but it didn’t really fit and felt bulky.
I recently ran across a silicone and metal thimble. Since I have been doing a lot of stitch work I decided to try it.

The thimble is comfortable and is great for pushing the needle through my work.

After several hours of work, I went to the kitchen for a snack. Started washing my hands and there it was. Had actually forgotten that I was wearing it.
It sure beats using pliers to pull the needle through my work. I suspect using the thimble will also extend the life of my needles.
Clover Protect and Grip Thimbles
The following quote from François Truffaut’s film Day for Night comes to mind when thinking about the Penny piece.
“Making a film is like a stagecoach ride in the old west. When you start, you are hoping for a pleasant trip. By the halfway point, you just hope to survive.”
I have been living with the penny piece hanging in my studio. Before I wax the piece and construct a cedar box/frame/crate for it, I must be happy with the border.
It is not substantial enough so I decided to make an I-cord to bind onto the edge.

When I finished the I-cord and placed it next to the piece it didn’t work for me. Too many different stitches and too many colors of cotton. The wax application will help integrate the materials, but the I-cord does not add what I had hoped.

Decided rather than the border as just the edge, it will include the few inches to the edge. Added jute and coconut fiber to the piece to define the “new” border and to add some color.

If you haven’t used coconut fiber, be prepared to wear safety gear—mask, goggles, and gloves. The fiber is quite sharp and dirty. Actually it is a good idea to wear a mask when working with jute and some other fiber.
This is how the I-cord looks now.

The current plan is to insert jute rope through the I-cord and then bind the lot to the piece with a combination of cotton and jute.

When I bought jute rope the blurb stated it was treated to prevent rot. I asked the representative from the company what that meant. He said the rope was treated with kerosene. I knew it was a bit dangerous using a hot wax technique and torching the lot, but the word kerosene gave me pause.
Why hadn’t I set myself on fire?
When using hot wax and a torch I always keep a fire extinguisher at the ready. I was using bamboo as part of the structure for some pieces and apparently the interior of bamboo can be in flames before the exterior. Rather exciting to see it happen.
La Nuit Américaine (Day for Night) is a film within a film, the director is the actor playing the director, and there are loads of bits about filmmaking. And day for night is a technique for shooting film during the day to give the illusion of night.
François Truffaut
Hack Writers
François Truffaut – the man who loved actors
Day for Night
There are plants that live with us for years. Their beauty brings joy and perhaps even a sense of well being.
After I get past the death aspect of the plant, I start to see the textures and color combinations.
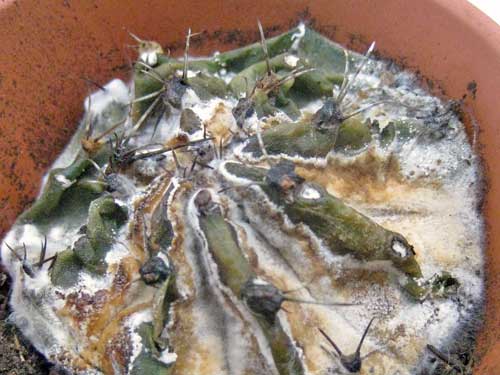
Can’t help first thinking about textured ceramic glazes.
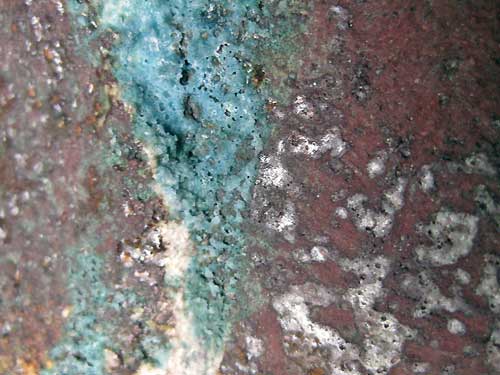
Multiple Glaze-Fired Detail
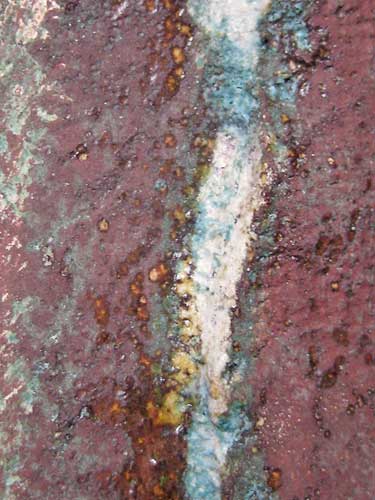
Multiple Fired Glaze-Fired Piece With Egyptian Paste.
Then how can I make a similar surface on wood and metal. I generally do not think about how to use the actual plant in my work.
There is beauty to be found in so many things, even a dying, rotting plant. And I do love sharp and pointy things that act as protection.
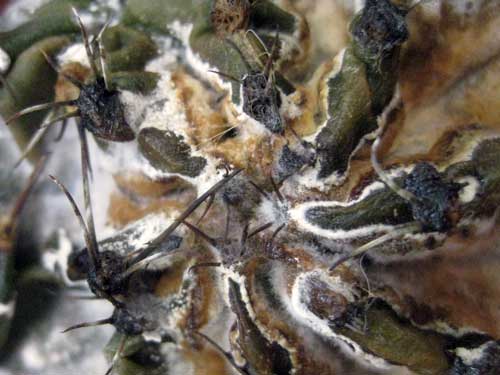
I did a bit of research today regarding diseases of cactus and found some information on cactus disease on The Cactus Museum site. Then to my surprise there is a cactus moth.
What is it with moths? Have they always been around and I never paid them much attention? There are moths that pollinate my Brugmansia, so some moths are good for the garden.
Texas Parks & Wildlife– Cactus Moth Poses New Invasive Species Threat to Texas Biodiversity
I have been trying to figure out how to age/distress wool pieces. I was pretty sure that cold wax would be the solution, but an interesting thing happened. I removed the felt that I had stitched onto the back of a piece to find casemaking moths living in a crease near the bottom.
That was it, nothing left to lose. I filled the bath with water and sodium bicarb. Tossed in the piece and left it overnight.
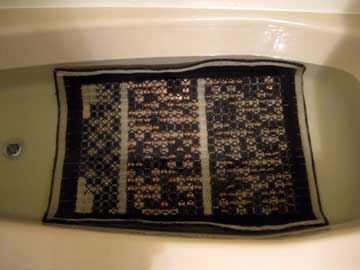
The next morning I applied a solution of peroxide, white vinegar, and salt.
Then wrapped the piece in plastic, a bit of a brief fuming. When I unwrapped the piece sometime in the afternoon, much of the metal had oxidized. I took the piece outside and sprayed it down with the garden hose. The piece was left outside to air dry and catch some sun.
My hope is a soak overnight in salt water, saturation with a metal oxidizer, a drenching with water, and some sun would break the moth cycle.
This is how the piece looks tonight.
Tomorrow I plan to give the piece an application of shellac. Yep, bug goo. I have been testing some oxides mixed with denatured alcohol, then added to shellac.
Eventually, it will be time to build a frame/box most likely out of cedar.
I am still fighting case making moths. Last night I opened a jar of small pieces that I made for testing, to find moths living amongst them. I hate killing things, but I am getting quite frustrated with not knowing where or when I will find critters. I am pretty sure that I brought them into the house in hay for the bunnies.
On the Conservation Center site I found this information about a moth infestation of a Tibetan Ladahki Headdress. I had originally read that the only way to kill the moth cycle was heat. Not a good solution, since I previously used wax on some of my pieces. This is the method used–
…frozen to prevent contamination of the other objects in the lab and to kill moth activity, including all adults, larvae and eggs. After remaining in a freezer at -20˚C for one and a half months…
I have been reading a bit about artifacts and conservation looking for information as to how to age/distress components added to artifacts. Thought perhaps some interesting materials or methods to use them might be appropriate for some of my work.
I feel like I am constantly learning new things about, well just about everything. I don’t want to alter the color of the wool pieces too much, but I do need to distress them. Perhaps the solution for future pieces is to distress the wool before I use it, or not use it at all. When I have used hot wax on wool the result is a rather plastic appearance.
I ordered a variety of waxes and am attempting to use cold wax processes. I am liking d-limonene with white and amber microcrystalline, but I do not like that my studio has the odor of orange oil.
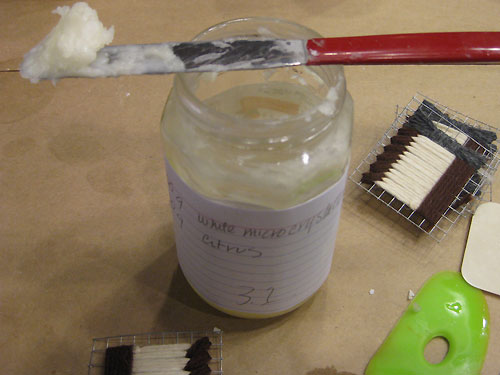
White Microcrystalline Wax with d-Limonene
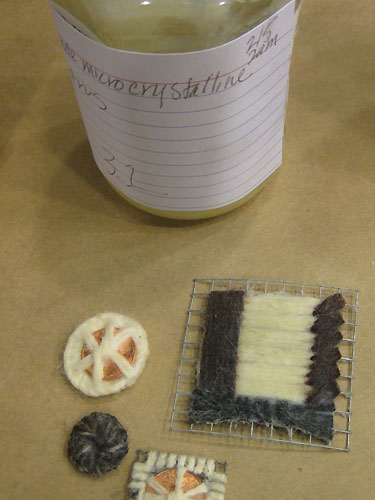
Waxed Pieces
Displaying the finished wool pieces is another problem that I have been thinking about. I was planning to build boxes/crates to house/display the pieces, but then how to keep the pieces in place? I generally opt for nails straight through with a head that I like.
This would be a great option–
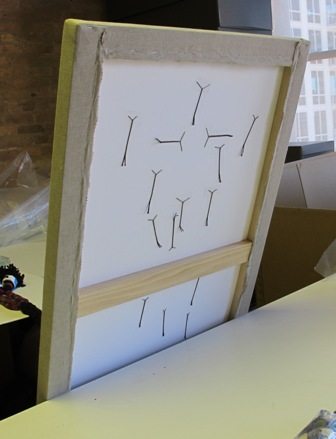
Mounting Headdress. Image from the Conservation Center Site
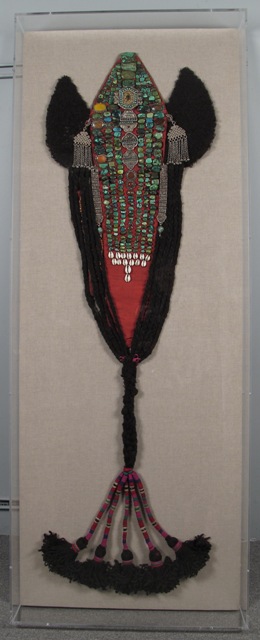
Finished Conservation of Headdress. Image from the Conservation Center Site
Last night I was thinking about how to age and hang a piece, so I did a google search for combinations of encaustic, wool, cotton, twine, rope, encased in plaster, and hit the Penn Artifact Lab. It is a working conservation space that can be viewed by visitors with a blog component. How cool is that?
While I was in Maryland, I spent part of a day at the Smithsonian Natural History Museum. The museum has the FossiLab where you can watch folks working. The access to part of the process of conservation adds another aspect to the exhibitions.
Back to my search. I found this description–
“After prying some of the loose plaster away, I found that luckily, the plaster seen around the outside of the painting is only a thin skim coat layer, and that paper was used as a barrier layer in places between the painting and the plaster.”

I looked around a bit and found so many interesting and amazing images of artifacts. Ran across this bit on a coffin and cedar–
“Cedar is a prized wood because the trees produce chemicals that make them resistant to insect damage and various forms of rot.
I documented the appearance of the board, noting its construction details, such as four wooden pegs and mitered edges. One curious feature was thin metal ribbons running in channels along the long axis of the board.”

Cedar is one of my favorite materials. It is soft, easy to carve, can be yellow or pink in color, stains nicely for my purposes, and it has a great fragrance. I originally started using it when I was making Tools for Rent a series of bronze daggers.

I was in the hardware store looking for some wood to build boxes when I was hit with the memory of opening my mother’s cedar chest. Got to thinking about the arbitrary value of an individual based on the contents of a box and how that compares to the arbitrary value placed on art. And I really like the fragrance.
Back to my search. I found this image of a bone awl. It is so clean, lovely, and elegant.

Folks listed on the Artifact Lab blog–
Project Conservator Molly Gleeson
Senior Conservator Lynn Grant
Conservators Julia Lawson and Nina Owczarek
Penn Museum’s Egyptian Section curators
Curator Dr. David Silverman
Associate Curators Dr. Josef Wegner and Dr. Jennifer Wegner
The Artifact Lab and the Penn Museum blogs have great detailed information. I just subscribed to both.
Last night I completed the verticals and 4 horizontal rows. I have an additional 9 horizontal rows and 2 borders before I can “age” the piece.
Aging can be the most exciting part of the process because it can be somewhat destructive. It takes the “newness” edge off of the work while integrating the materials and giving the work a sense of history.
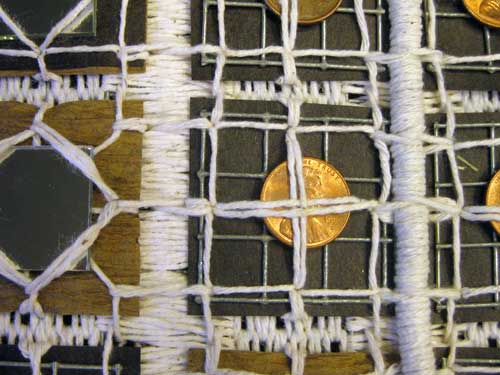
This was prior to completing the verticals and beginning the horizontals.
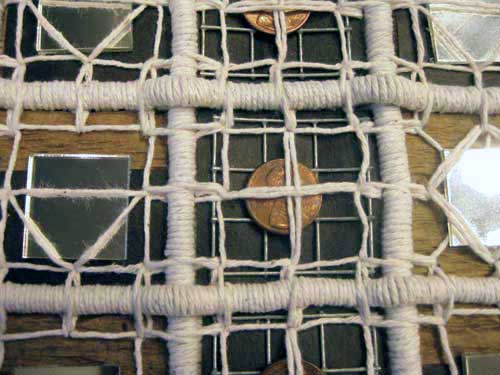
First Horizontals
This weekend I am planning to test patina and wax techniques. I also need to decide how to hang the piece. Box it or not. I do love boxes and have a tendency to want to box up everything.
My love for boxes started with the empty box as the piece.
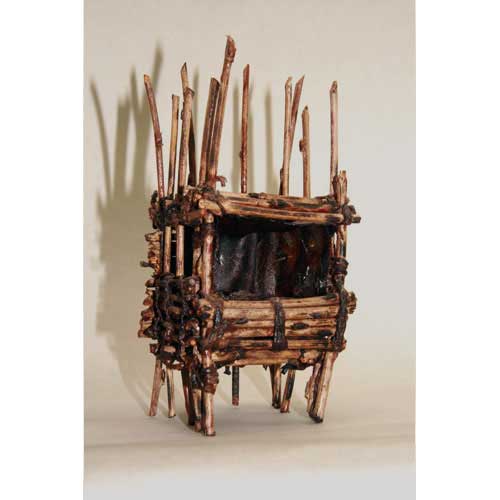
Adele is part of my Avian Headbox series
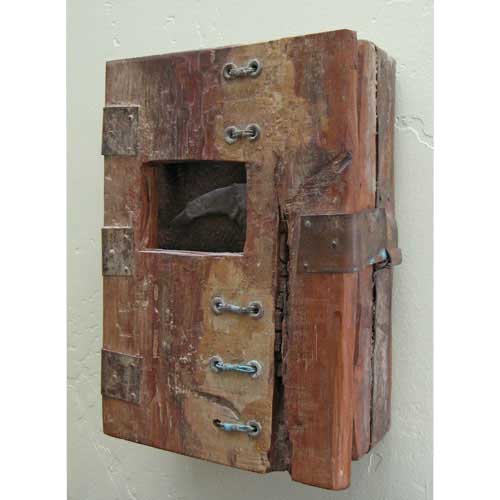
The box element of my Tools for Rent or dagger series was for protection, storage, and presentation.
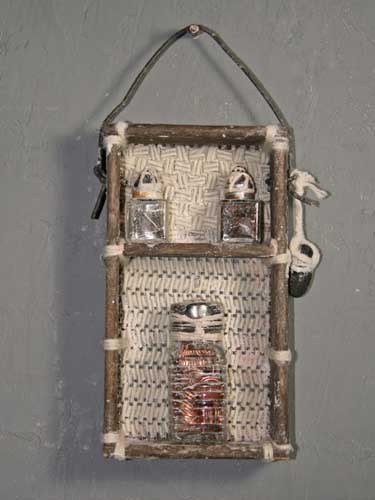
I opened up the box for Wholly Luck which is part of my Make Your Own Luck series
My website is GirlArtist.com. Nancy Scarry Girl Artist is my take on Wile E. Coyote Super Genius.
Fabric Turned Inside Out Prior to Washing Still Wet From Sodium Bath
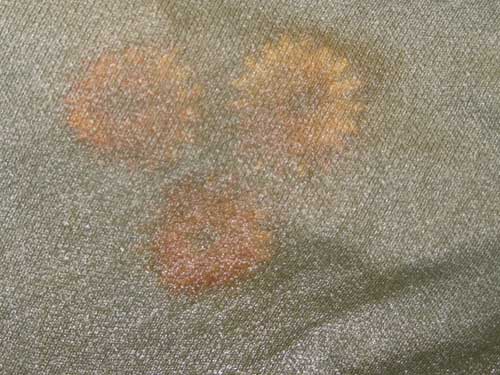
The Result After Washing and Drying
The next test–try using oxidized copper pieces to transfer/dye blue and green onto fabric.
A couple of nights back, 31 August, I decided to give rust dyeing a go. I was clearing out my closets and found some tees that could not have been donated because they had seen studio time and/or bunny teeth.
I placed metal items that I found interesting directly on the shirt, misted with full strength vinegar and sprinkled with kosher salt. I have liked using the larger salt crystals in the past.
There is a double layer of plastic inside the tee.
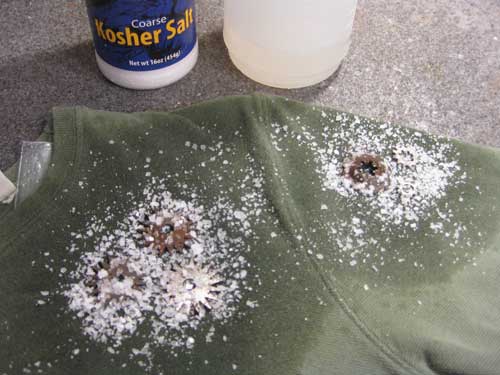
Since the shirt has a bit of a mesh texture, I placed a piece of cling wrap over the salted metal bits, then weighted it with a binder of past sketches.
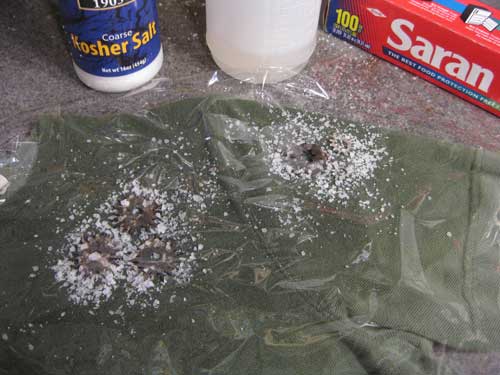
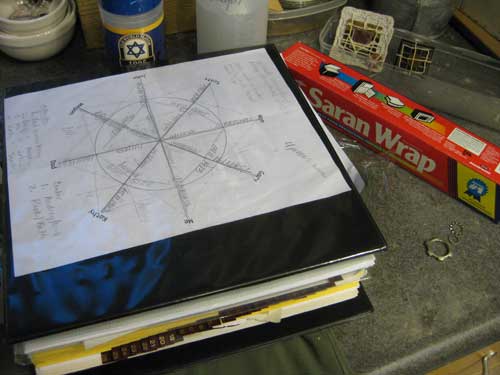
Every evening I misted the metal bits then returned the cling wrap and binder.
Tonight when I removed the binder and the cling wrap I noticed there was some salt residue where the edge of the cling wrap had been.
The rust result excited the heck out of me. And not thinking I stacked up the rusty bits on the shirt. I was so excited to see the build of rust on the fabric I forgot that the metal bits were still rusty.
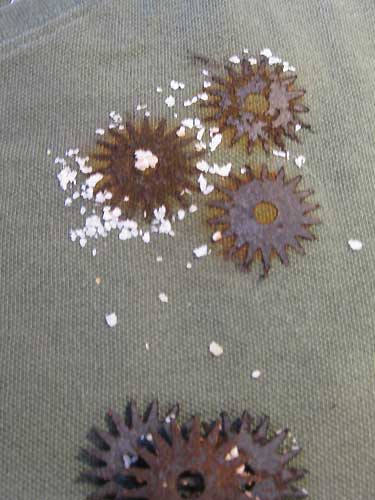
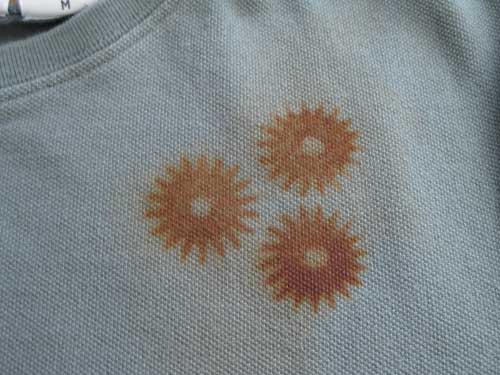
The result is beautiful, but how much will remain after washing?
I followed the general comments about using 1 tablespoon of salt to 1 gallon of water to set the rust dye.
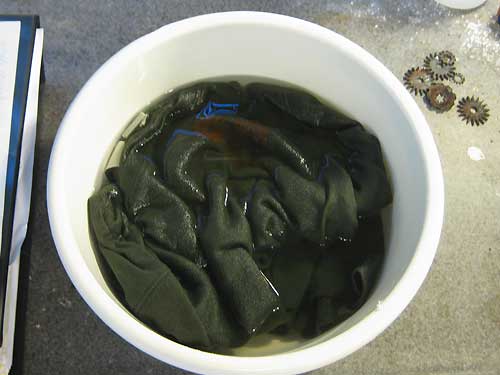
Here is what I was thinking–
A couple of years back, I found reference to a peroxide patina to “age” metal. The formula is simple and the result is quick. What if you use this on the metal bits and then place them on fabric?
16 ounces of Hydrogen Peroxide
2 ounces of White Vinegar
1/2 teaspoon of salt
I needed an oxidized metal hook for a piece and since I didn’t have one I gave the peroxide/vinegar/salt a go.
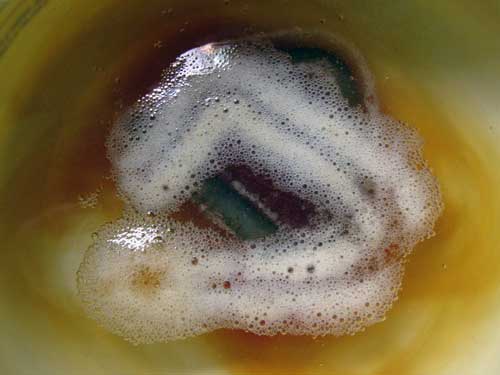
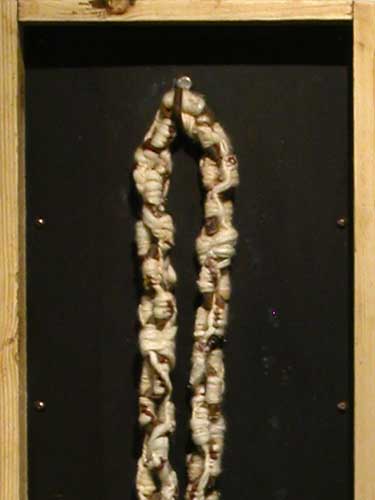
Honestly I do not remember a source for the formula. I saw reference to it several places. When I went looking for the formula this evening to give credit, I found instructions on Instructables.com.