Cracked and Melted Glass

I subscribe to several craft blogs so that I am never short of ideas for craft projects while visiting my niece and nephew. Occasionally, I will read about a technique or material that might be reworked for a project that I might want to make. A few days ago I read a post about cracked glass stones on the Dollar Store Crafts blog. The instructions were simple–oven temperature 425º for 20 minutes and then an ice bath.

I liked the idea of it, heating glass stones and then immersing them in ice water for a rapid cooling. This is not all that different from raku firing, remove work from a hot kiln, then cooling it quickly in a bucket of water. Quenching after raku firing is more dramatic, but a similar notion.

I thought that I would give it a try. Picked up a bag of glass stones at the local Dollar Tree. Surprised to find 100 stones in the bag.
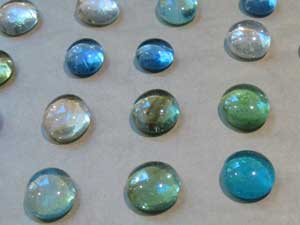
Glass Stones Before

I lined the baking sheet with paper and spaced the stones a finger width apart.
Glass Stones After

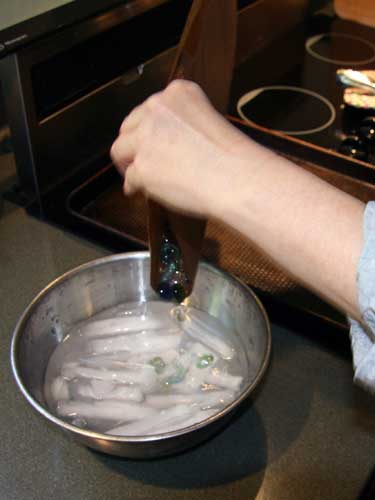
The paper liner came in handy to lift and pour the hot stones into the ice bath.
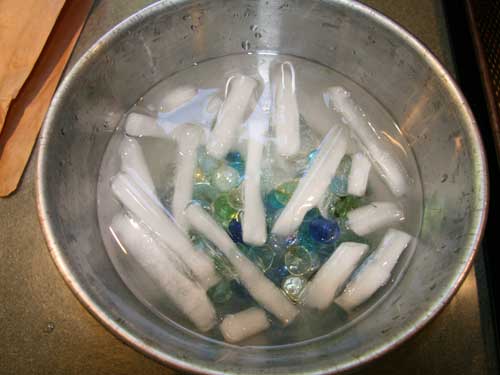
Glass Stones in Ice Bath

Stones in the ice bath.

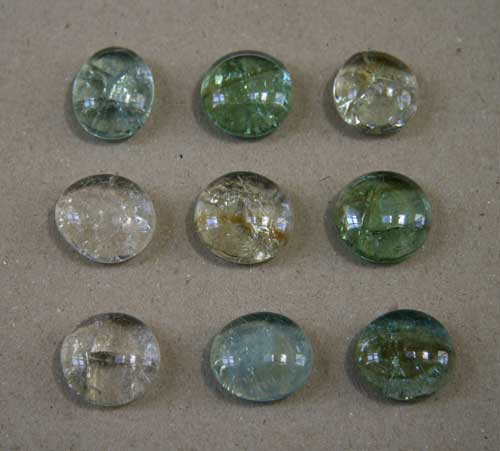
Glass Stones Cracked

The result is some nice and at times subtle fractures.

What are my plans? I was thinking about the possibility of using fractured glass bits as part of code in some of my work. I could use the color of the stones or the method for binding them to act as an aesthetic element which is also code.

I got to thinking about some tests that I did in a kiln firing with metal tins and glass beads. I had a bunch of beads left from some craft projects and thought might be able to somehow use them.
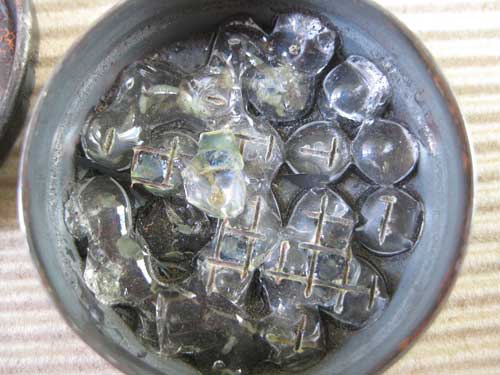
Glass Beads Fired in Kiln

Glass beads with a bit of metal mesh in tin fired to approximately cone 015.
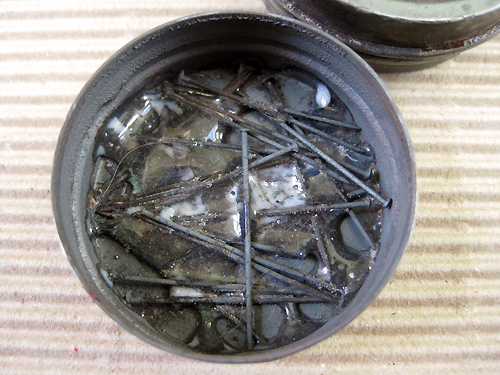
Glass Beads and Pins Fired in Kiln

Glass beads and straight pins in tin fired to approximately cone 015.

I was hoping for some slumping of the glass over the metal bits. That didn’t happen, but there is always something positive with every test. Something to use in a different way or to build on. Sometimes I may not integrate the results into a project for several years. It is important to keep records. It saves a lot of time and testing in the future.
Potentially Dangerous Can Be Beautiful

I recently snagged some Oleander pods from the parking lot of a neighborhood restaurant. In California it is common to have plantings in parking lots.

Oleander has a reputation for killing people and animals. Some stories have a valid science component, others lean toward myth and urban legend.

The pods I snagged have dried and opened exposing their lovely seeds.

Oleander Pod with Seeds

Why did I snag the seed pods? I use poison plant bits in my work. Some of the bits that I use are from plants banned in a few states. The reason for the ban is reactionary. A couple of kids decide to get high, use too much, have a bad reaction, and the plant is held responsible.

Each of the cups in my Poison Cup series has a small bag of bits from poisonous plants. These are a few of the bags included in the series.

Seed Bags

The title of the series is actually Preservation. While the cups refer to the tea ceremony and poison goblets, the cups have been perforated making them a nice vessel for seedlings.


PC09

Treat with Respect contains the seed bag in the upper right corner of the above graphic.
The bag contains 11 Castor Bean seeds.

Additional image of the series can be seen on my website.


Nerium (Oleander)

Fatal Wienie Roast

Oleander Poisoning

ASPCA

The Poison Garden Website

The Merck Veterinary Manual


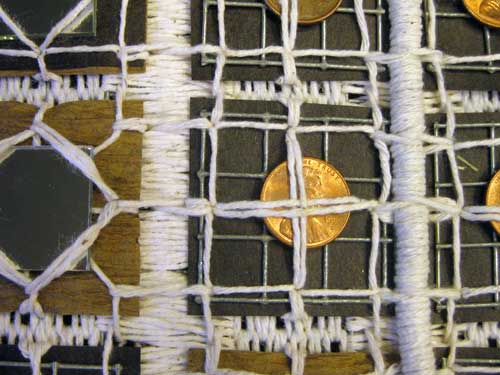
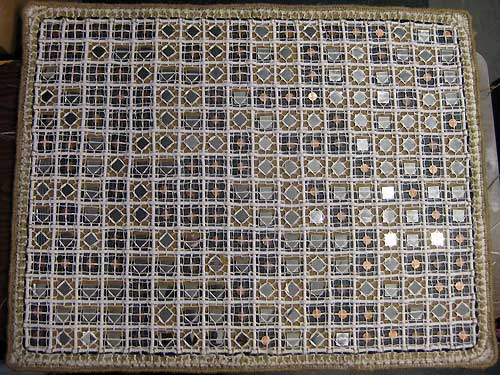
See a Penny… I will finish this piece?

The following quote from François Truffaut’s film Day for Night comes to mind when thinking about the Penny piece.

“Making a film is like a stagecoach ride in the old west. When you start, you are hoping for a pleasant trip. By the halfway point, you just hope to survive.”

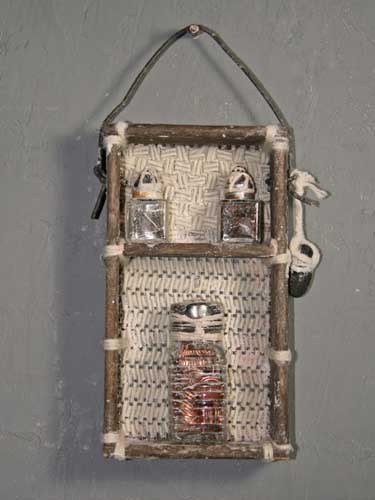
I have been living with the penny piece hanging in my studio. Before I wax the piece and construct a cedar box/frame/crate for it, I must be happy with the border.
See A Penny

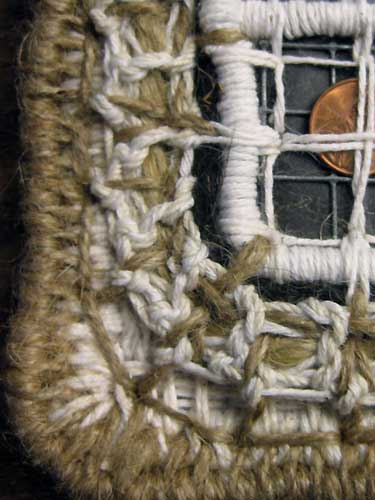
It is not substantial enough so I decided to make an I-cord to bind onto the edge.

I-cord

When I finished the I-cord and placed it next to the piece it didn’t work for me. Too many different stitches and too many colors of cotton. The wax application will help integrate the materials, but the I-cord does not add what I had hoped.

I-cord with piece

Decided rather than the border as just the edge, it will include the few inches to the edge. Added jute and coconut fiber to the piece to define the “new” border and to add some color.

Jute and Coconutfiber

If you haven’t used coconut fiber, be prepared to wear safety gear—mask, goggles, and gloves. The fiber is quite sharp and dirty. Actually it is a good idea to wear a mask when working with jute and some other fiber.

This is how the I-cord looks now.
I-cord on Piece

The current plan is to insert jute rope through the I-cord and then bind the lot to the piece with a combination of cotton and jute.

Jute Rope

When I bought jute rope the blurb stated it was treated to prevent rot. I asked the representative from the company what that meant. He said the rope was treated with kerosene. I knew it was a bit dangerous using a hot wax technique and torching the lot, but the word kerosene gave me pause.

Why hadn’t I set myself on fire?

When using hot wax and a torch I always keep a fire extinguisher at the ready. I was using bamboo as part of the structure for some pieces and apparently the interior of bamboo can be in flames before the exterior. Rather exciting to see it happen.


La Nuit Américaine (Day for Night) is a film within a film, the director is the actor playing the director, and there are loads of bits about filmmaking. And day for night is a technique for shooting film during the day to give the illusion of night.

François Truffaut
Hack Writers
François Truffaut – the man who loved actors
Day for Night


The Death of a Sad Plant or Sad Death of a Plant

There are plants that live with us for years. Their beauty brings joy and perhaps even a sense of well being.

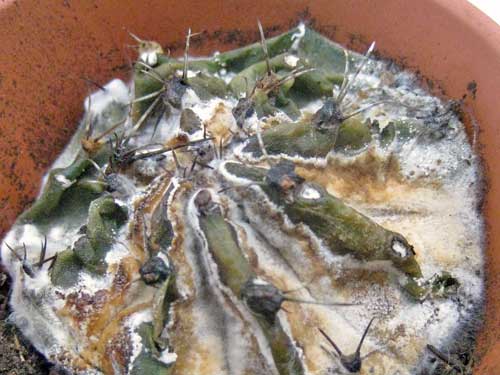
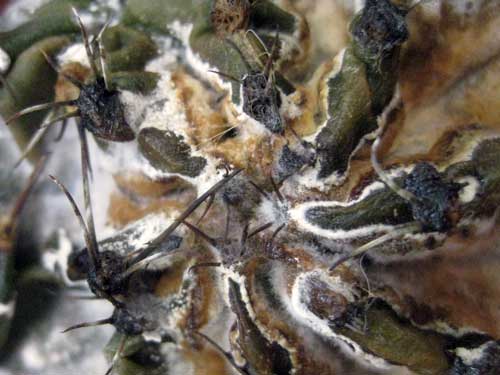
After I get past the death aspect of the plant, I start to see the textures and color combinations.

Death Sad Plant

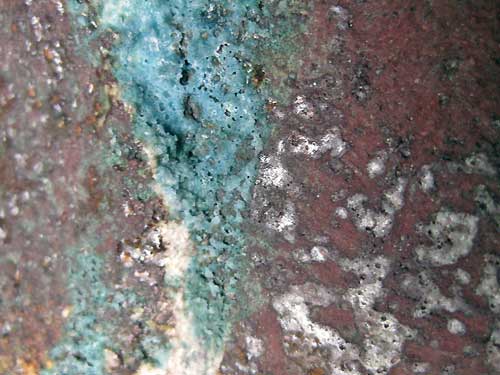
Can’t help first thinking about textured ceramic glazes.

Glaze Detail

Multiple Glaze-Fired Detail

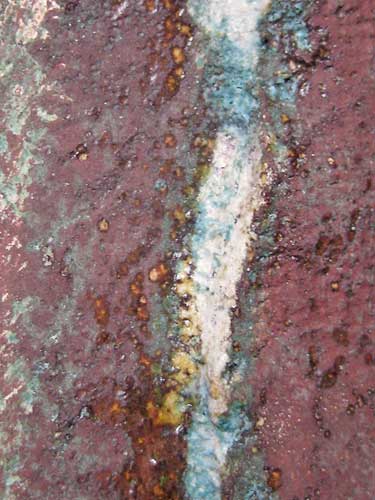
Glaze Detail

Multiple Fired Glaze-Fired Piece With Egyptian Paste.

Then how can I make a similar surface on wood and metal. I generally do not think about how to use the actual plant in my work.

There is beauty to be found in so many things, even a dying, rotting plant. And I do love sharp and pointy things that act as protection.

Death Sad Plant Detail


I did a bit of research today regarding diseases of cactus and found some information on cactus disease on The Cactus Museum site. Then to my surprise there is a cactus moth.

What is it with moths? Have they always been around and I never paid them much attention? There are moths that pollinate my Brugmansia, so some moths are good for the garden.

The Cactus Museum

Arizona-Sonora Desert Museum

Texas Parks & Wildlife– Cactus Moth Poses New Invasive Species Threat to Texas Biodiversity


After Bath…

I have been trying to figure out how to age/distress wool pieces. I was pretty sure that cold wax would be the solution, but an interesting thing happened. I removed the felt that I had stitched onto the back of a piece to find casemaking moths living in a crease near the bottom.

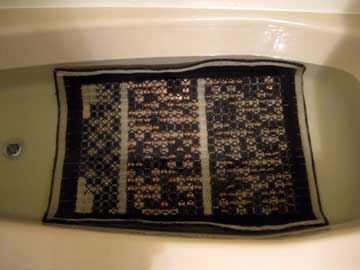
That was it, nothing left to lose. I filled the bath with water and sodium bicarb. Tossed in the piece and left it overnight.

Piece in Bath

The next morning I applied a solution of peroxide, white vinegar, and salt.

Piece After Bath

Then wrapped the piece in plastic, a bit of a brief fuming. When I unwrapped the piece sometime in the afternoon, much of the metal had oxidized. I took the piece outside and sprayed it down with the garden hose. The piece was left outside to air dry and catch some sun.

My hope is a soak overnight in salt water, saturation with a metal oxidizer, a drenching with water, and some sun would break the moth cycle.

This is how the piece looks tonight.

Piece With Rust

Tomorrow I plan to give the piece an application of shellac. Yep, bug goo. I have been testing some oxides mixed with denatured alcohol, then added to shellac.

Eventually, it will be time to build a frame/box most likely out of cedar.


Moths, Conservation, Cold Wax…

I am still fighting case making moths. Last night I opened a jar of small pieces that I made for testing, to find moths living amongst them. I hate killing things, but I am getting quite frustrated with not knowing where or when I will find critters. I am pretty sure that I brought them into the house in hay for the bunnies.

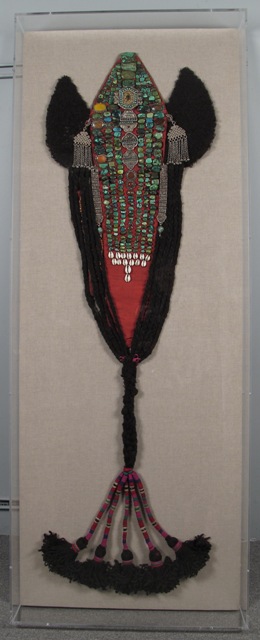
On the Conservation Center site I found this information about a moth infestation of a Tibetan Ladahki Headdress. I had originally read that the only way to kill the moth cycle was heat. Not a good solution, since I previously used wax on some of my pieces. This is the method used–

…frozen to prevent contamination of the other objects in the lab and to kill moth activity, including all adults, larvae and eggs. After remaining in a freezer at -20˚C for one and a half months…

I have been reading a bit about artifacts and conservation looking for information as to how to age/distress components added to artifacts. Thought perhaps some interesting materials or methods to use them might be appropriate for some of my work.

I feel like I am constantly learning new things about, well just about everything. I don’t want to alter the color of the wool pieces too much, but I do need to distress them. Perhaps the solution for future pieces is to distress the wool before I use it, or not use it at all. When I have used hot wax on wool the result is a rather plastic appearance.

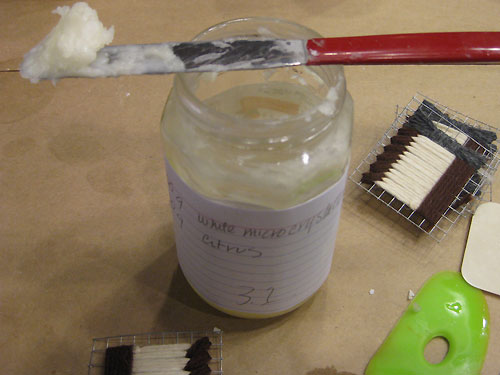
I ordered a variety of waxes and am attempting to use cold wax processes. I am liking d-limonene with white and amber microcrystalline, but I do not like that my studio has the odor of orange oil.

White Microcrystalline Wax with d-Limonene

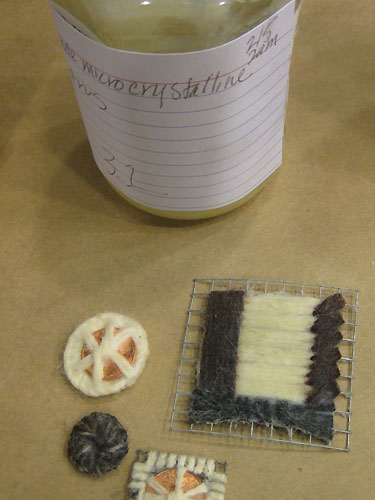
Waxed Pieces

Displaying the finished wool pieces is another problem that I have been thinking about. I was planning to build boxes/crates to house/display the pieces, but then how to keep the pieces in place? I generally opt for nails straight through with a head that I like.

This would be a great option–

Mounting Headdress

Mounting Headdress. Image from the Conservation Center Site

Finished Conservation of Headdress

Finished Conservation of Headdress. Image from the Conservation Center Site

Penny Piece Yet Again

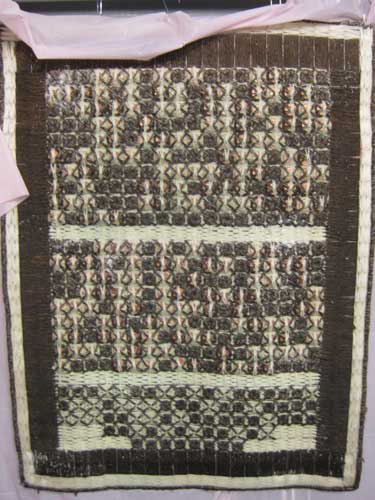
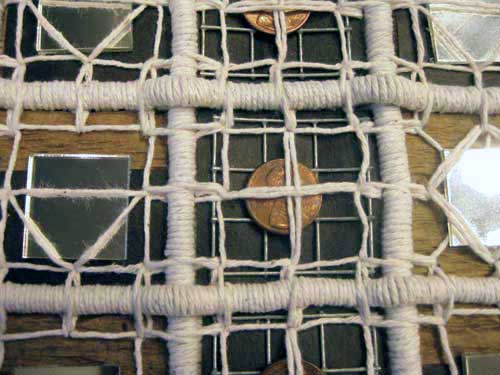
Last night I completed the verticals and 4 horizontal rows. I have an additional 9 horizontal rows and 2 borders before I can “age” the piece.

Aging can be the most exciting part of the process because it can be somewhat destructive. It takes the “newness” edge off of the work while integrating the materials and giving the work a sense of history.

Verticals CU

This was prior to completing the verticals and beginning the horizontals.


Horizontals

First Horizontals


This weekend I am planning to test patina and wax techniques. I also need to decide how to hang the piece. Box it or not. I do love boxes and have a tendency to want to box up everything.

My love for boxes started with the empty box as the piece.

Adele

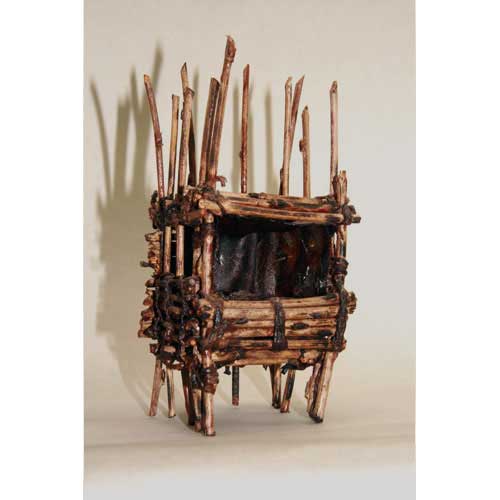
Adele is part of my Avian Headbox series


Anzen

The box element of my Tools for Rent or dagger series was for protection, storage, and presentation.


Wholly Luck

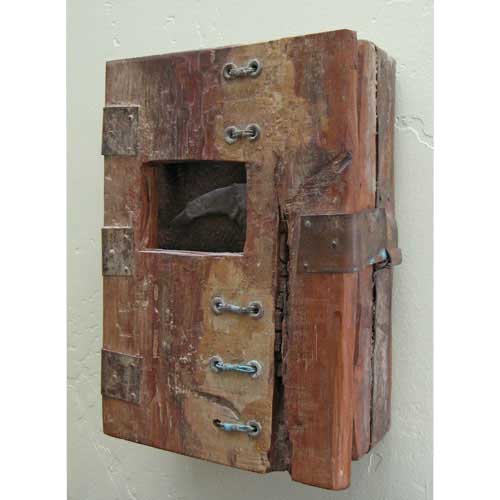
I opened up the box for Wholly Luck which is part of my Make Your Own Luck series


My website is GirlArtist.com. Nancy Scarry Girl Artist is my take on Wile E. Coyote Super Genius.


See A Penny Continuation

Been busy making apps, so little studio time in the past couple of weeks. Finally some studio time this weekend.

When you are not able to have consistent studio time, sometimes going back to a project means reacquainting yourself with it.

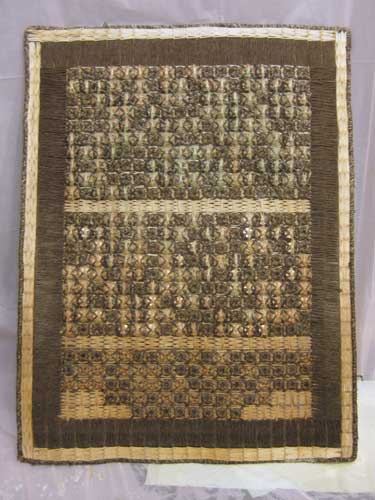
Current

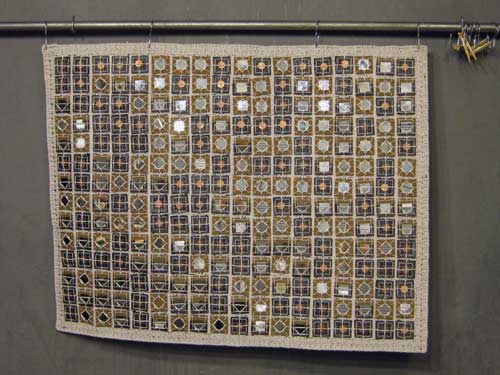
Decided to add wrapped rope to emphasize the grid, to cover the edges of the blocks, and to give more of a quilt-like feel.

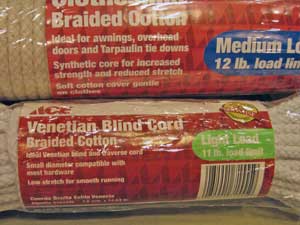
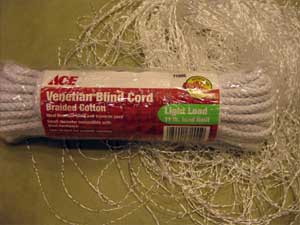
I have found that often cotton rope has a synthetic core. I didn’t know however, that cotton Venetian Blind cord is made with a synthetic core as well. And that synthetic isn’t listed on the label. The fellow working in the store said that if it wasn’t on the label it wasn’t in the rope or cord.
I purchased two types, the Venetian Blind cord for the grid and the thicker clothesline rope for the border.

Continuation 1

I cut lengths of sash cord to use for the verticals, then removed the core.
Continuation 2

The main reason that I do not want a synthetic core is because I am planning to use a hot process on the piece. Nylon melts. The removed nylon can be cut up and used in other processes.
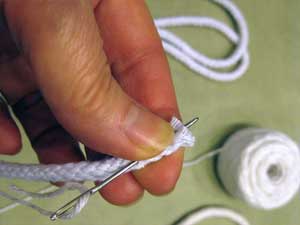
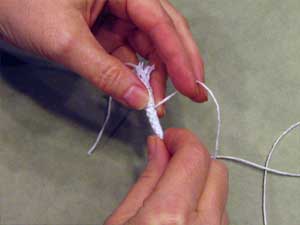
I wrapped the lengths of sash cord by first inserting one end of the cotton twine through the sash cord.

Continuation 3


Yep, my fingernails are a bit green. I spent a couple of hours pruning my Brugs and Datura.

Datura


Wrapping was done by simply rotating the Venetian Blind cord. When nearly wrapped, I cut the cotton cord, slipped on a needle, and inserted the tail up through and out.

Continuation 4

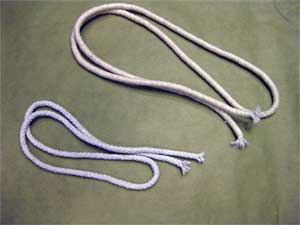
Before and After Wrapping

Continuation 6

I have a couple of verticals to finish before starting the horizontals, and then adding a border. The wrapped cord needs to be added to the left of the penny blocks.

Continuation 8


Clearing Out and Rust Dyeing

A couple of nights back, 31 August, I decided to give rust dyeing a go. I was clearing out my closets and found some tees that could not have been donated because they had seen studio time and/or bunny teeth.

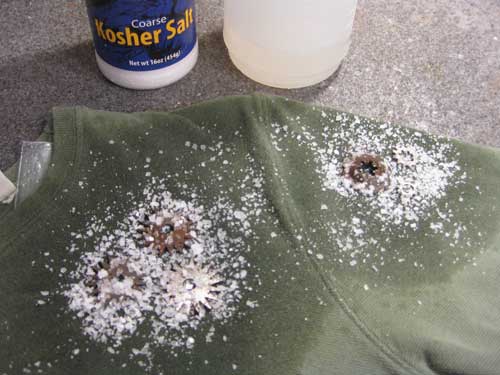
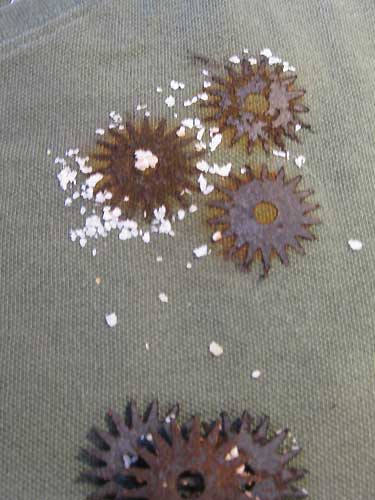
I placed metal items that I found interesting directly on the shirt, misted with full strength vinegar and sprinkled with kosher salt. I have liked using the larger salt crystals in the past.

There is a double layer of plastic inside the tee.

Rust Dye Process Image 1

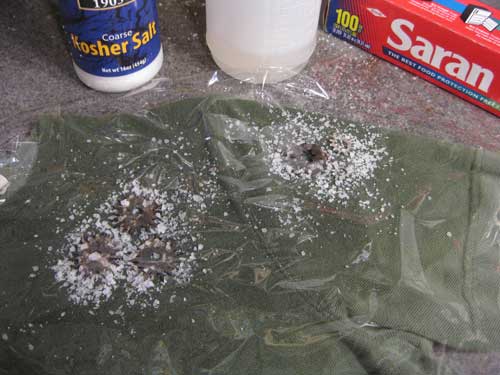
Since the shirt has a bit of a mesh texture, I placed a piece of cling wrap over the salted metal bits, then weighted it with a binder of past sketches.

Rust Dye Process Image 2

Rust Dye Process Image 3

Every evening I misted the metal bits then returned the cling wrap and binder.

Tonight when I removed the binder and the cling wrap I noticed there was some salt residue where the edge of the cling wrap had been.

The rust result excited the heck out of me. And not thinking I stacked up the rusty bits on the shirt. I was so excited to see the build of rust on the fabric I forgot that the metal bits were still rusty.

Rust Dye Results 1

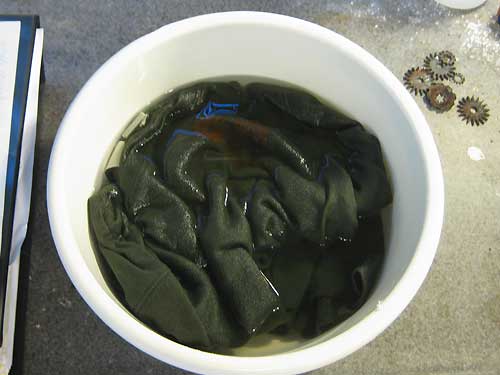
The result is beautiful, but how much will remain after washing?

I followed the general comments about using 1 tablespoon of salt to 1 gallon of water to set the rust dye.

Rust Dye Results 2

Here is what I was thinking–

A couple of years back, I found reference to a peroxide patina to “age” metal. The formula is simple and the result is quick. What if you use this on the metal bits and then place them on fabric?

16 ounces of Hydrogen Peroxide
2 ounces of White Vinegar
1/2 teaspoon of salt

I needed an oxidized metal hook for a piece and since I didn’t have one I gave the peroxide/vinegar/salt a go.

First Attempt Peroxide

Result Peroxide Patina

Honestly I do not remember a source for the formula. I saw reference to it several places. When I went looking for the formula this evening to give credit, I found instructions on Instructables.com.